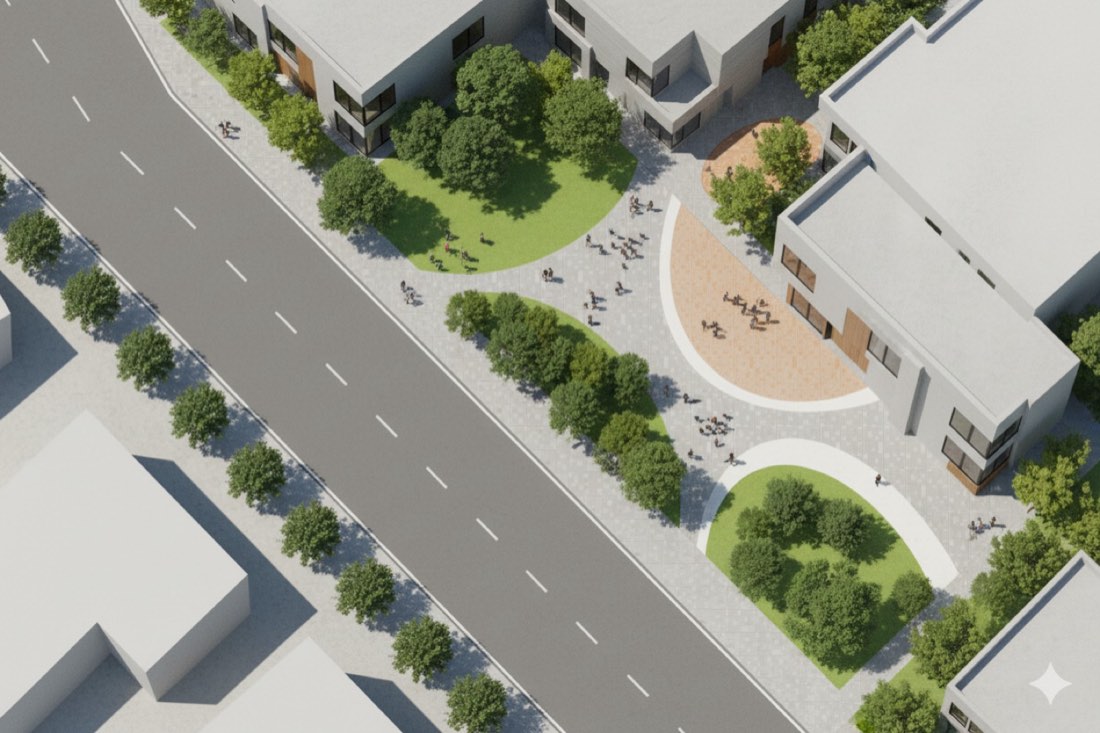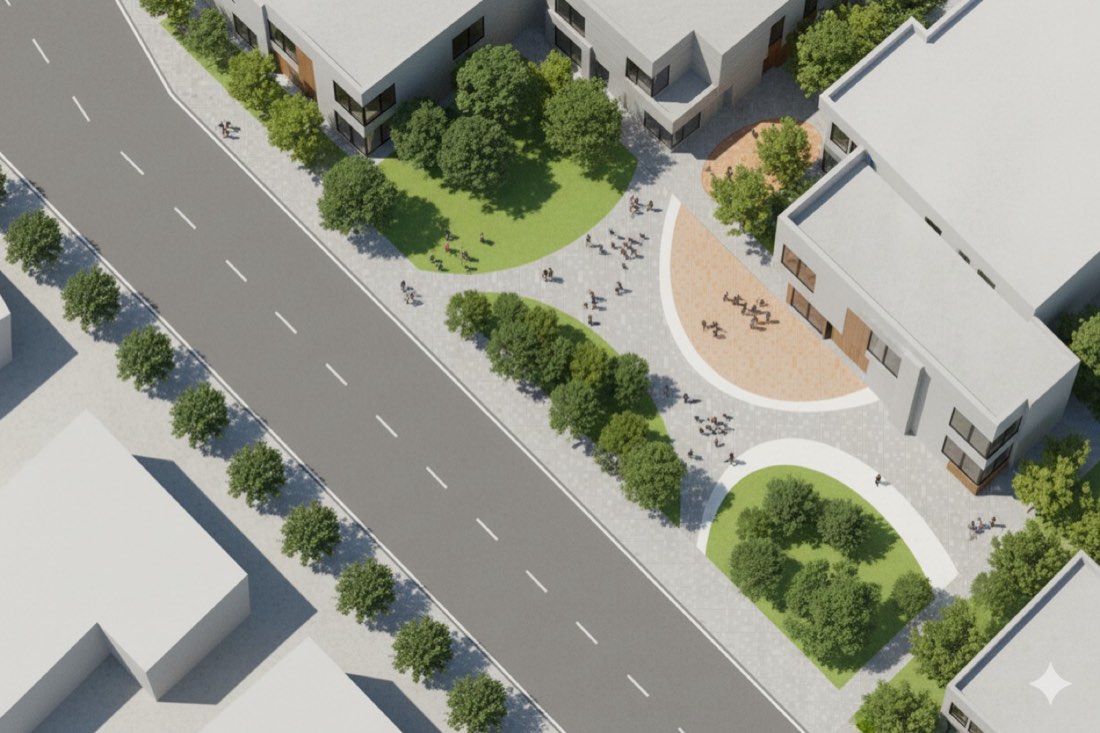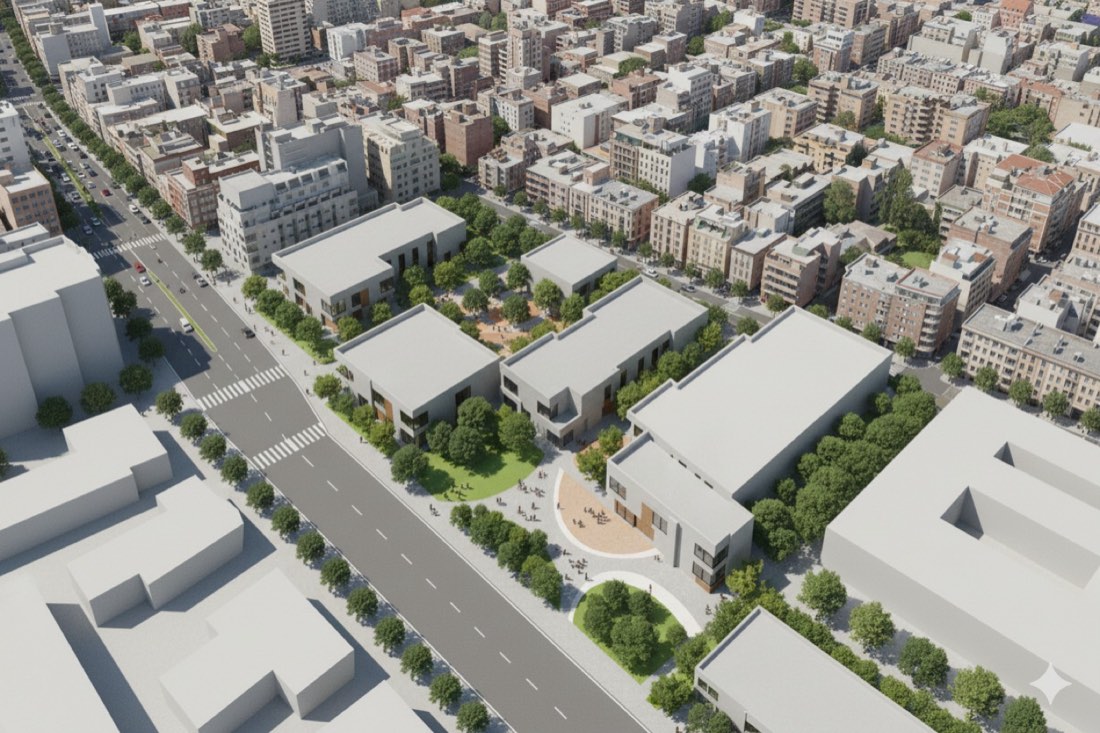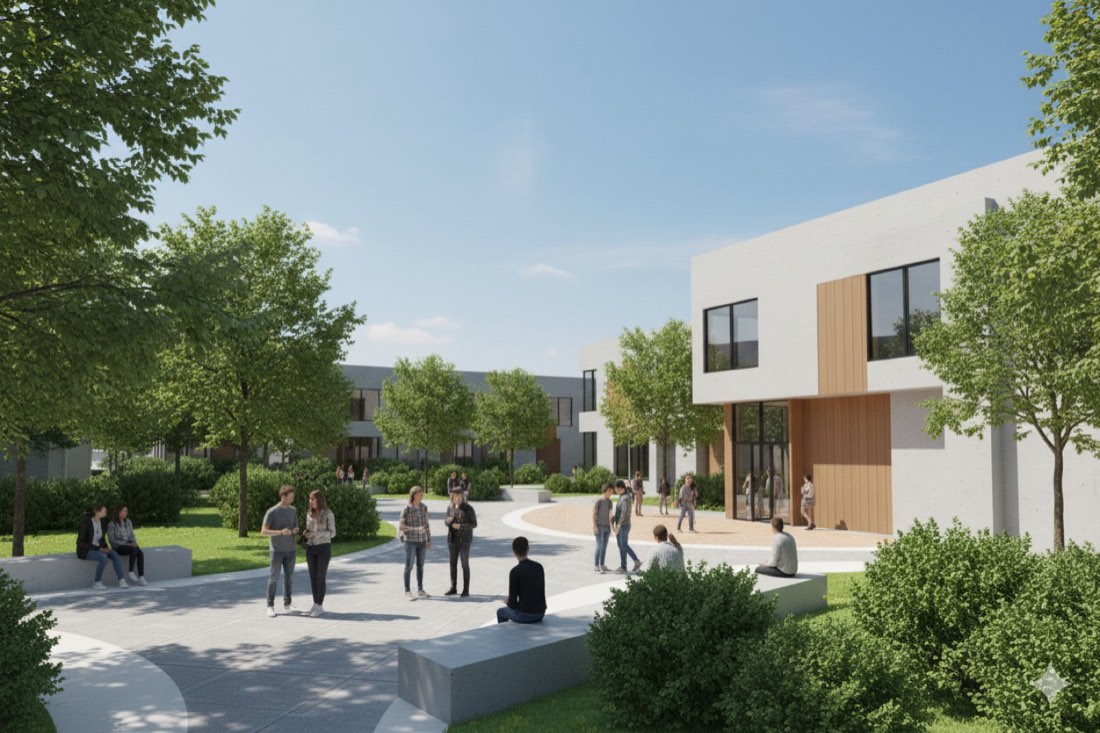
AIAI for Architecture

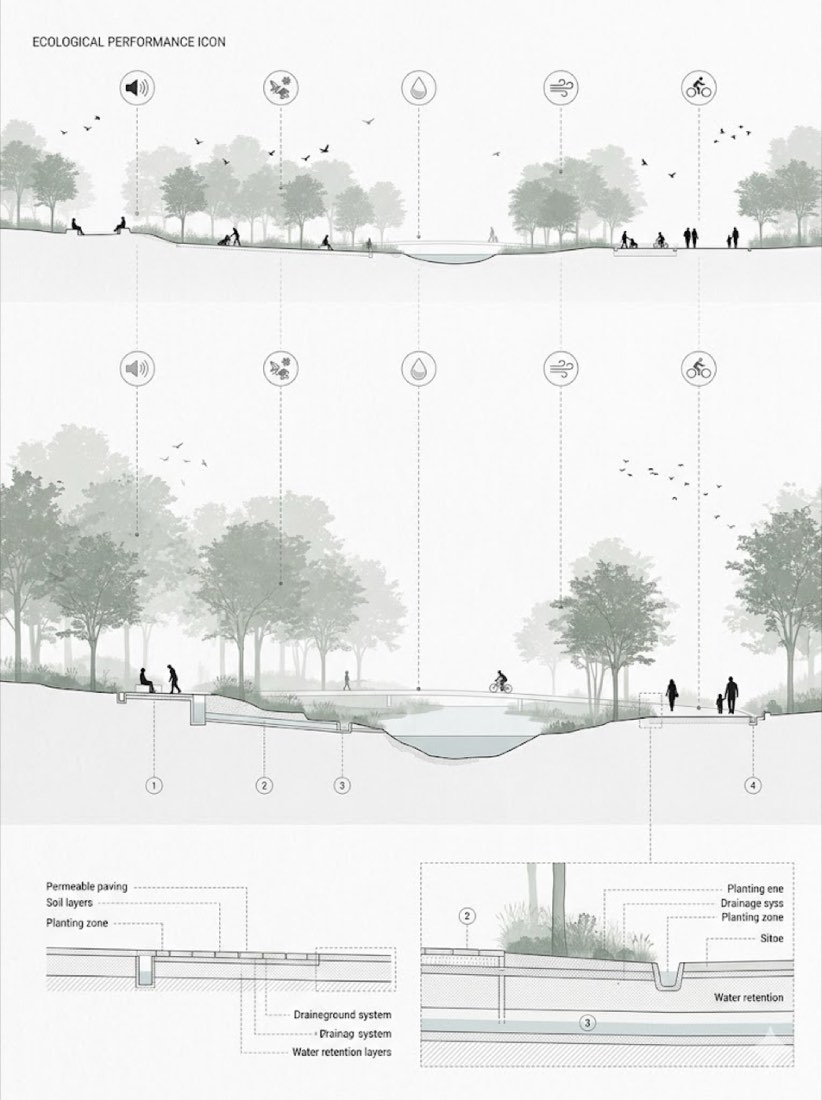
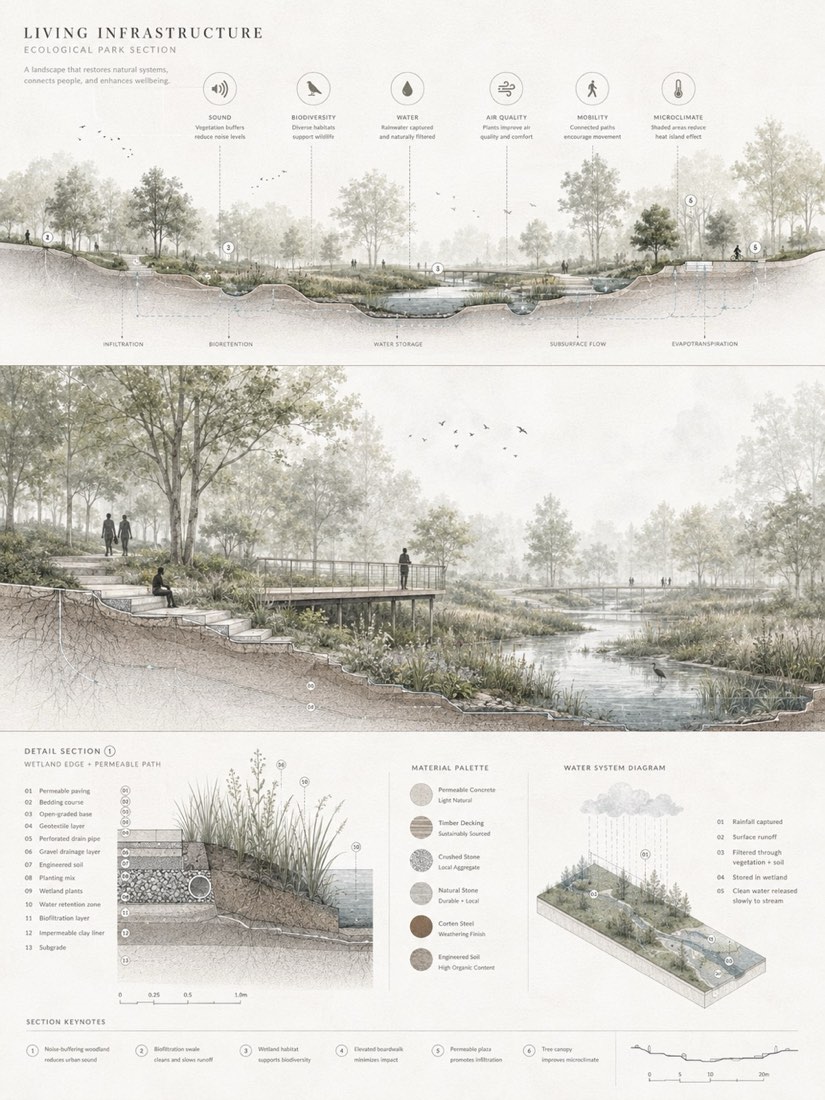
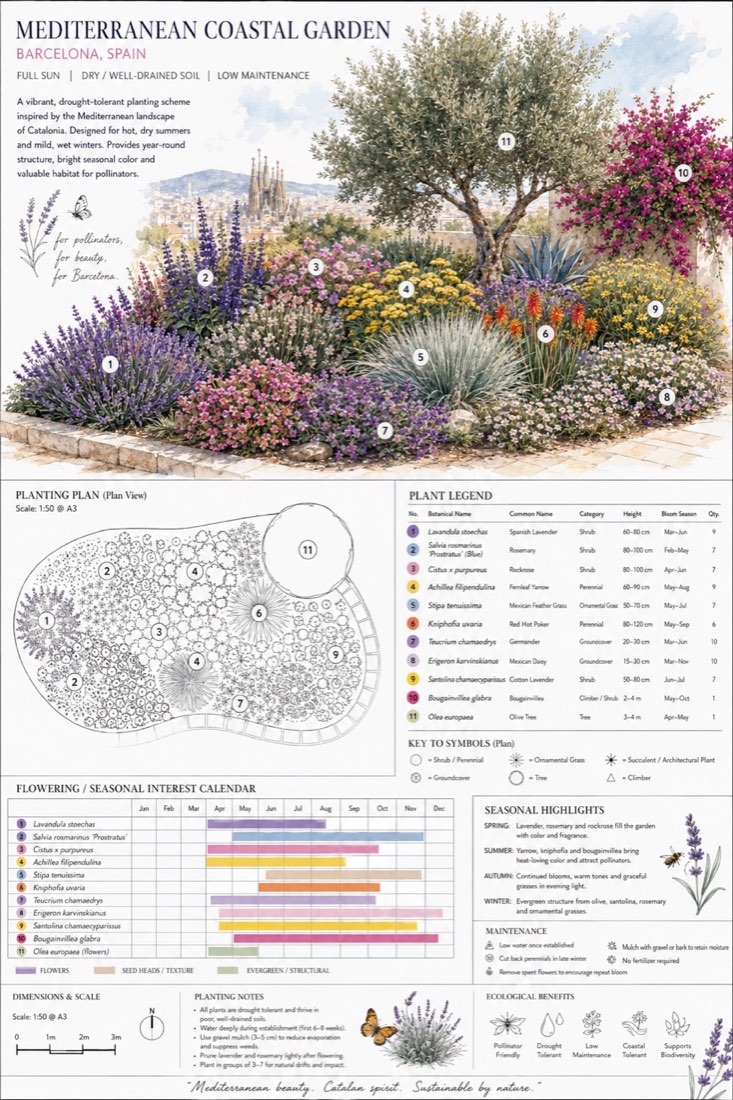
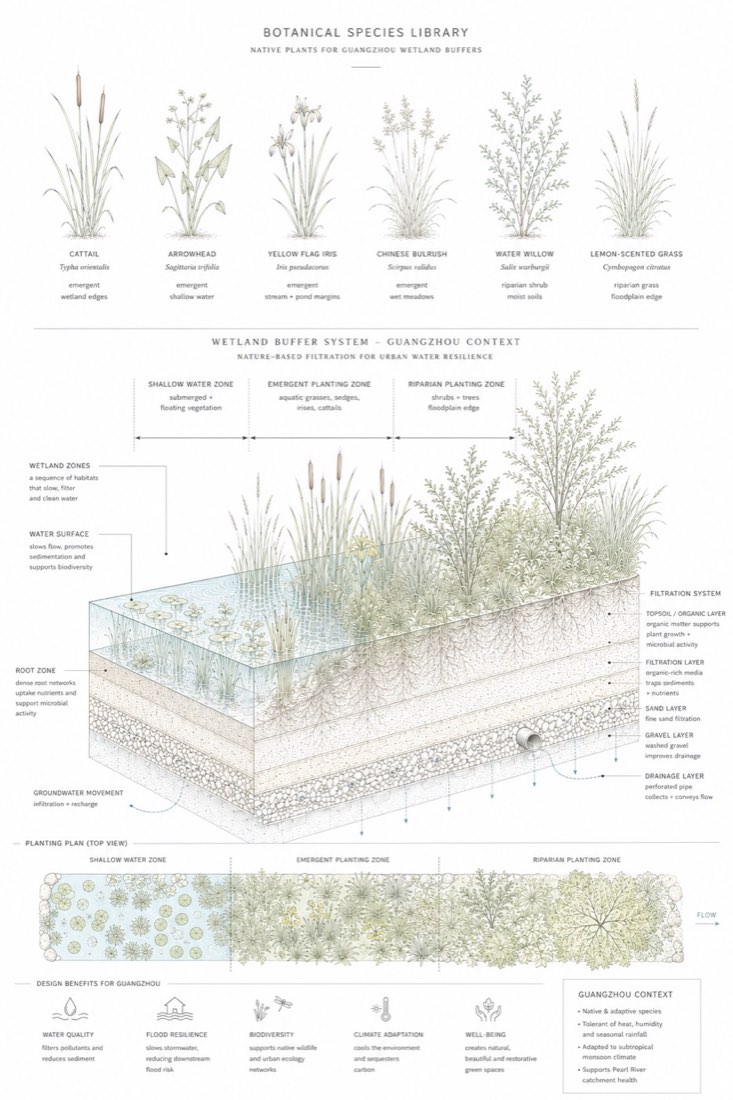
Advanced Practice for Landscape Design planting, streets and site plans.

Streetscapes, planting plans, plan-to-perspective and analytical overlays for landscape architects. Streetscape, Planting, Plan to Perspective, Plan to CAD, Photo to 3D model, Plan to Birdseye and Perspective, Rendering to analytical diagram overlays.

7 lessons36 examples42 prompts
Advanced Practice for Landscape Design

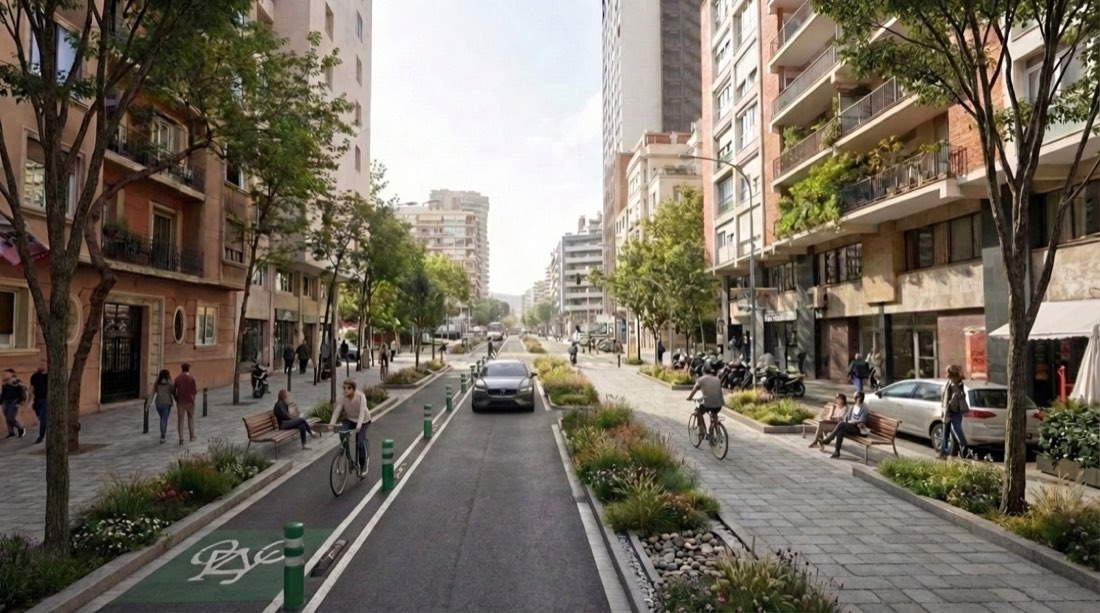
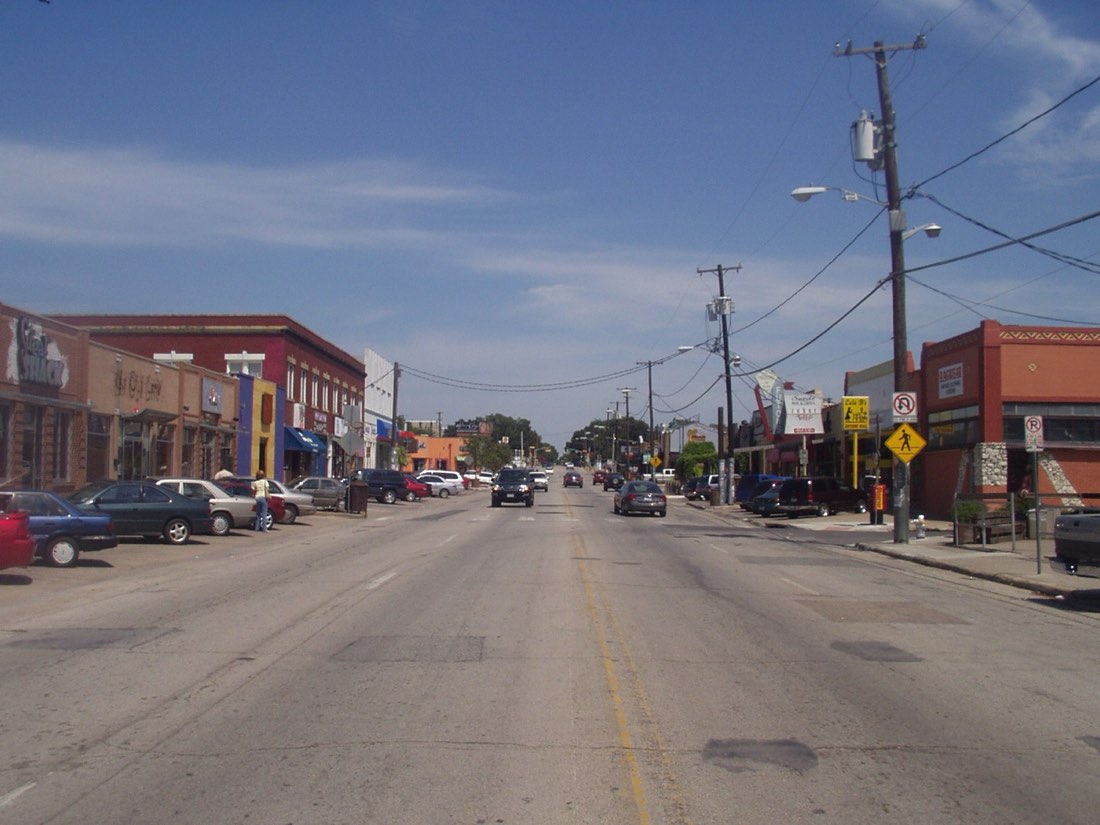
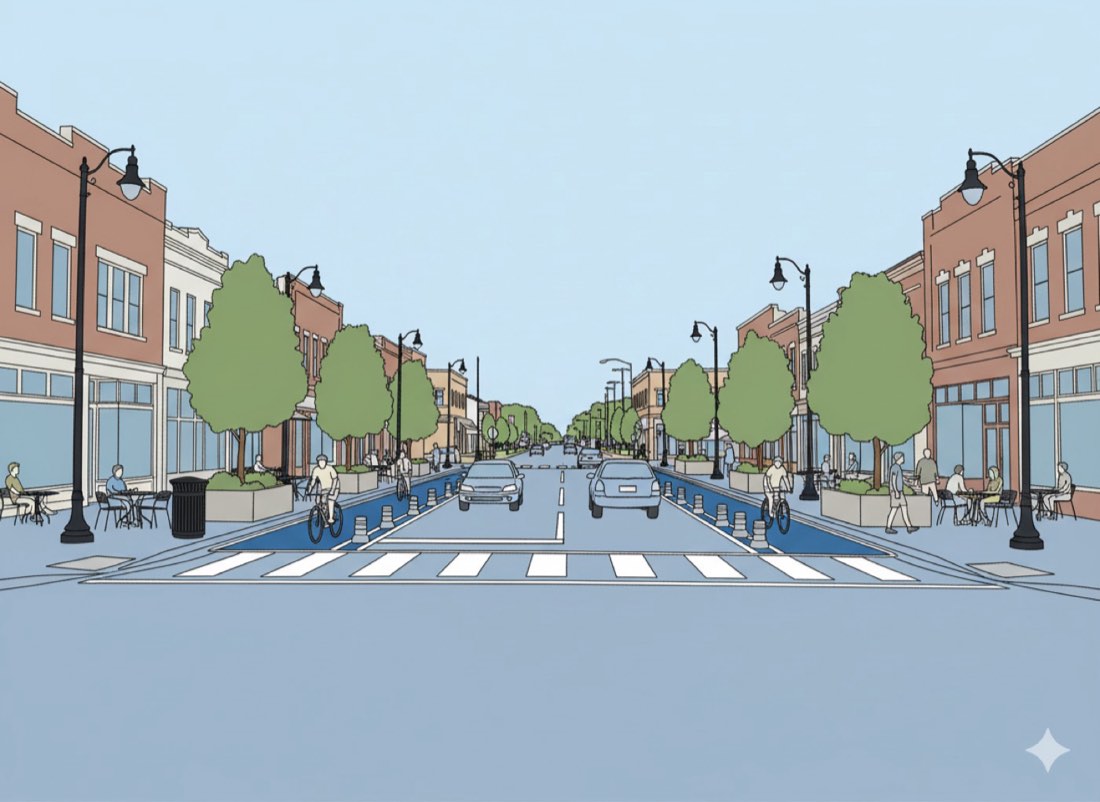
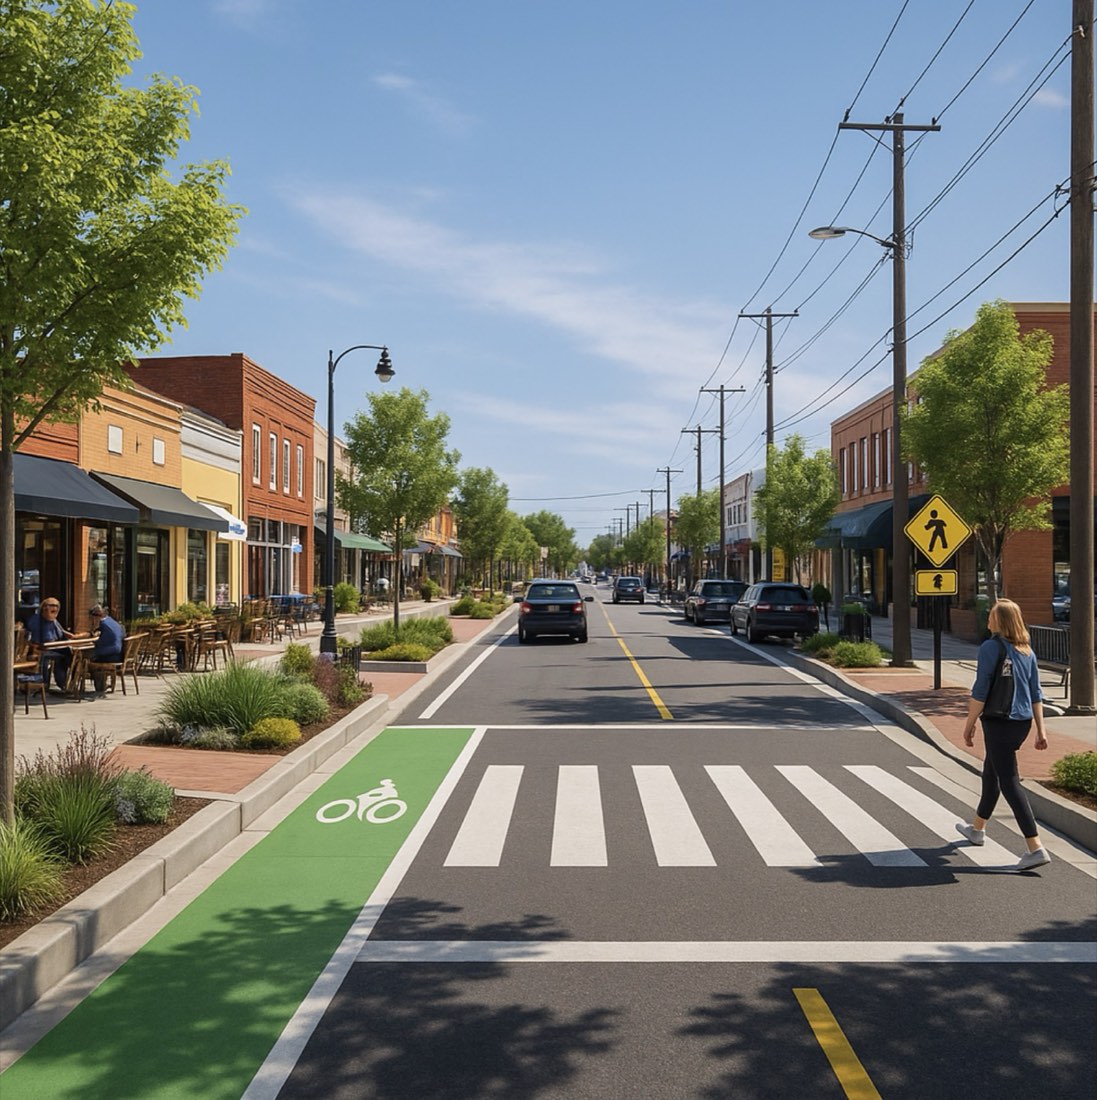
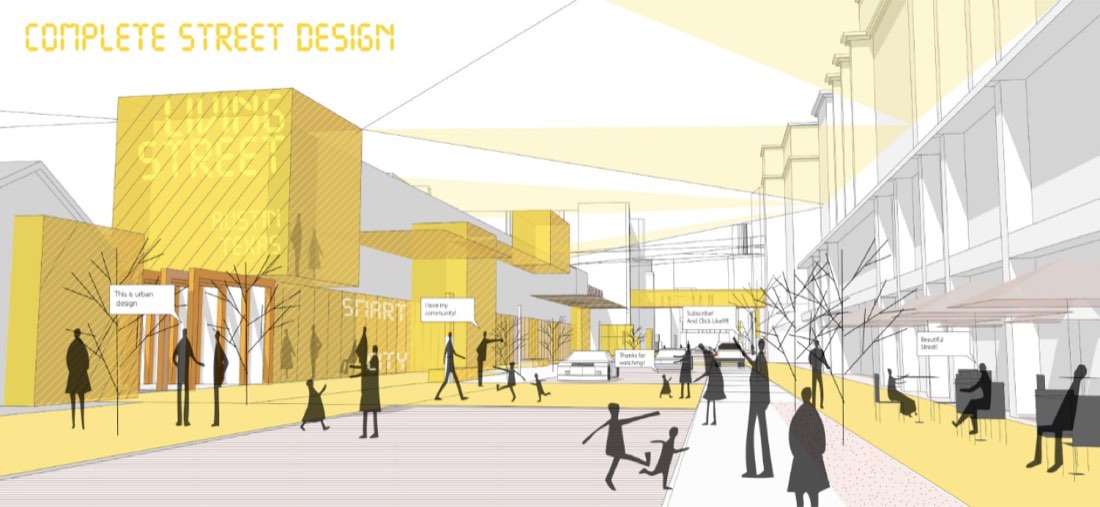
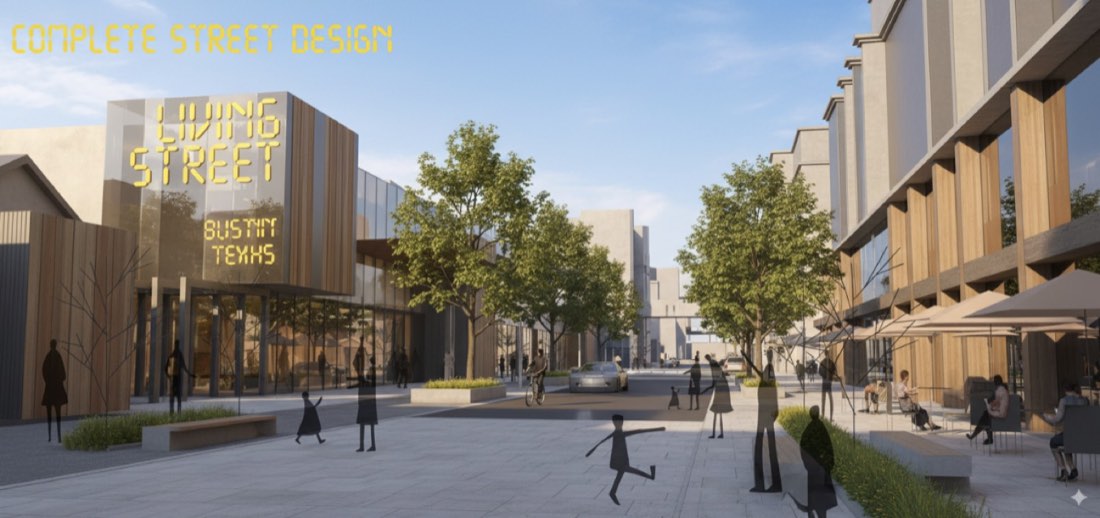
Streetscape

✦ Before → After11 examplesExample 01 · FreeOpen lesson →
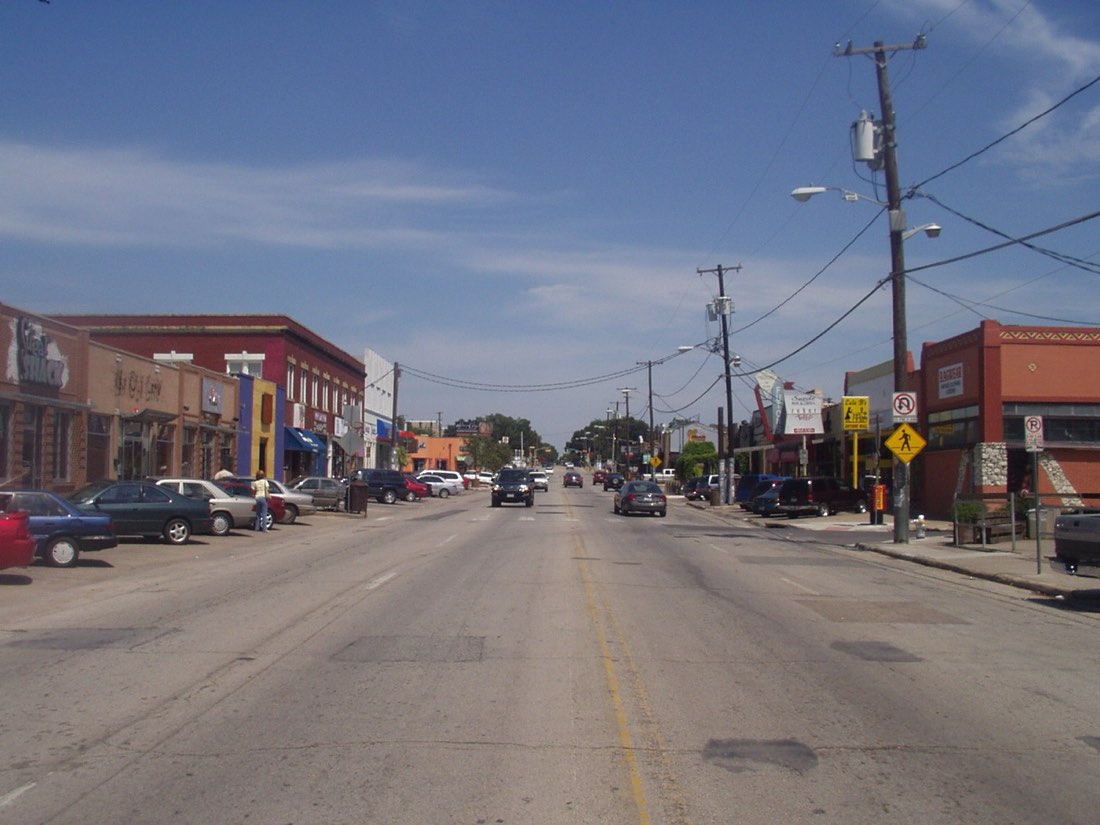
Example 01
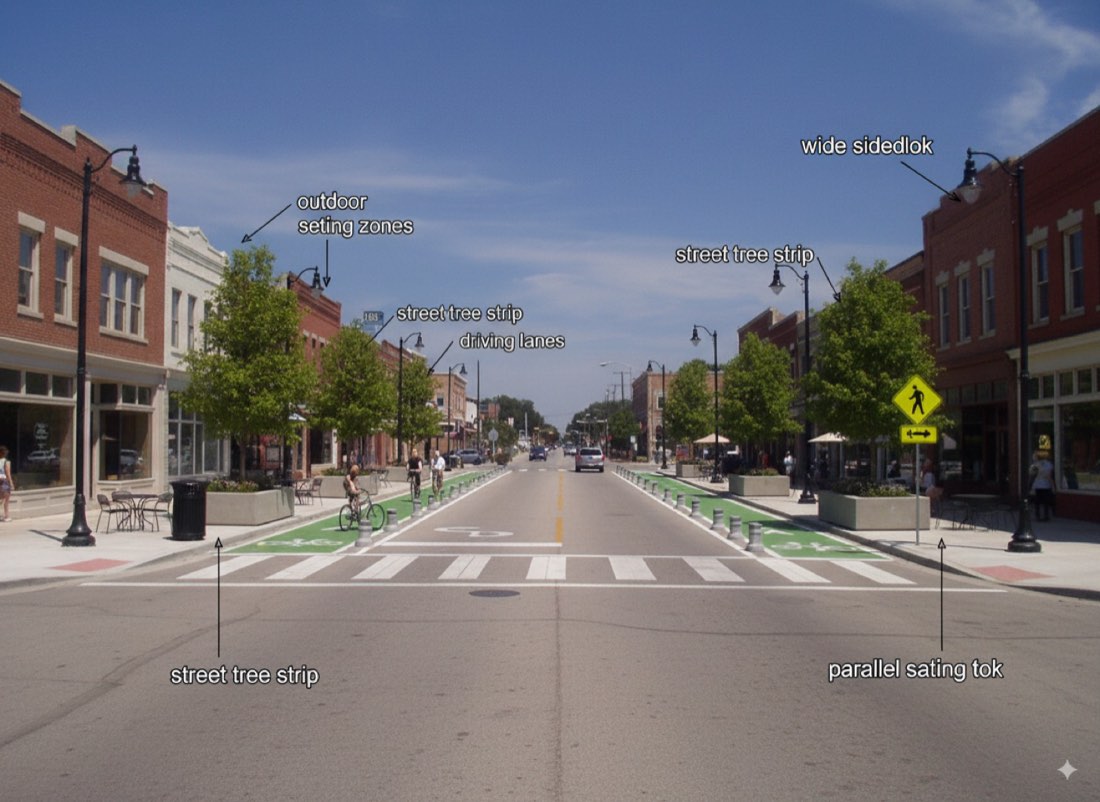
Streetscape – Example 1: After

Streetscape

Prompt · Free prompt

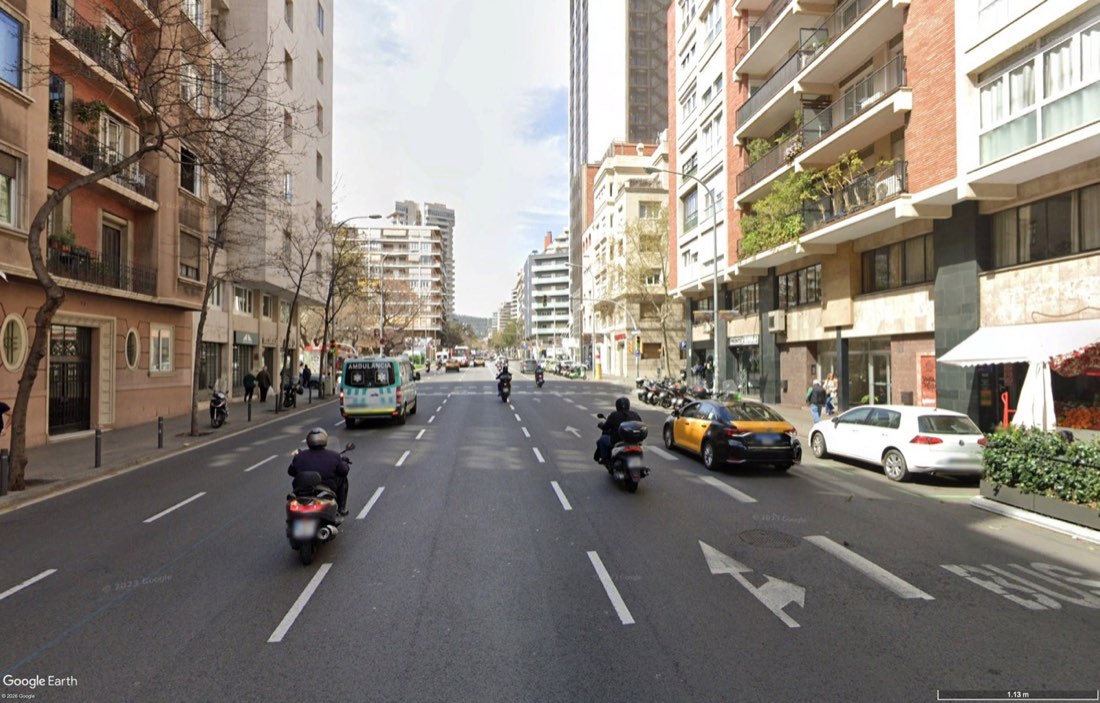
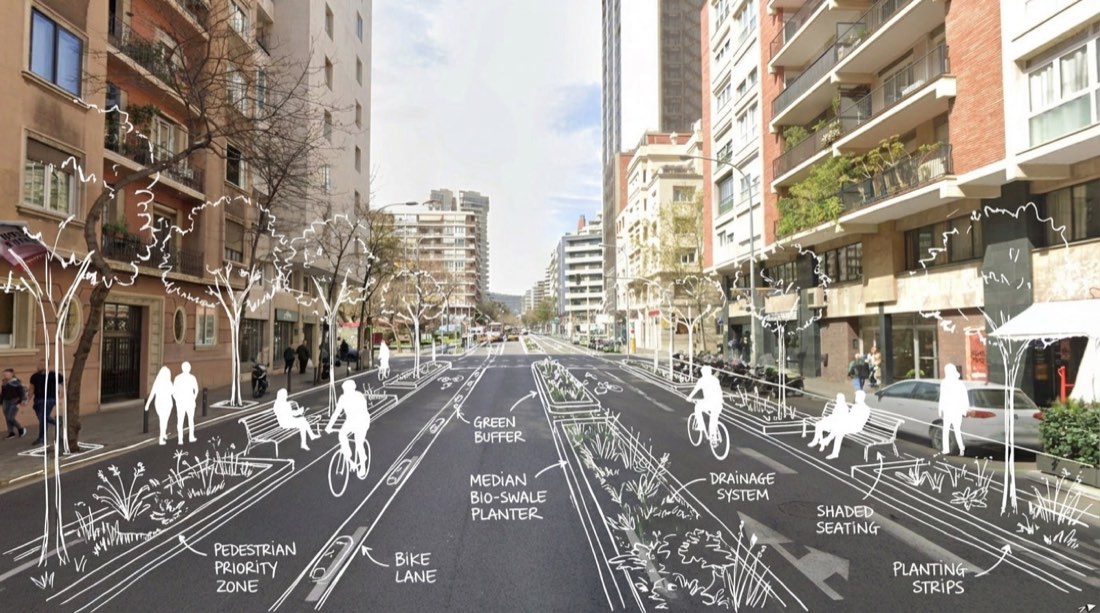
Transform my street-view image into a streetscape design diagram with hand-drawn white sketch overlays.Keep the original photo as the base layer, preserving perspective, lighting, and existing context. Overlay loose, hand-drawn white linework (thin ink lines with slight variation) to illustrate streetscape improvements, including: wide pedestrian paths, shared street zones, median bio-swale planter in the center of road, bike lanes, planting edges, bio-swales, rain gardens, street trees, seating niches, curb extensions, and traffic-calmed lanes. Use organic, slightly imperfect sketch lines (not rigid CAD), clearly following the perspective of the street.Add simple white human silhouettes (walking, cycling, sitting) to show activity and scale. Include clean annotation labels and arrows in a handwritten or architectural diagram style to identify elements such as:pedestrian priority zone, bike lane, green buffer, drainage system, shaded seating, and planting strips. Highlight key interventions subtly (bike lane, green infrastructure) while keeping the overall graphic light and readable. Style: photo + architectural sketch overlay, urban design concept visualization, minimal, narrative-driven, Instagram-ready, competition diagram aesthetic. Within seconds, you’ll get a sketch that shows your proposed streetscape design in a clear and presentation-friendly way. Output:

把我的街景照片转换为一张叠加手绘白色草图线条的街道景观设计分析图。保留原照片作为底图,保持透视、光线和现有环境。在上面叠加随性的手绘白色线条(略有粗细变化的细墨线),表现街道景观的改造,包括:宽阔的人行道、共享街道区、道路中央的生态草沟分隔带、自行车道、种植边带、生态草沟、雨水花园、行道树、休息凹位、路缘外扩和交通稳静化车道。使用自然、略带不完美的草图线条(不是僵硬的 CAD 线),清楚地顺应街道透视。加入简单的白色人物剪影(步行、骑车、坐着),表现活动和尺度。以手写或建筑分析图风格加入清晰的标注文字和箭头,标出各要素,例如:行人优先区、自行车道、绿色缓冲带、排水系统、遮阴座椅和种植带。低调地突出重点改造(自行车道、绿色基础设施),同时让整体图示轻盈易读。风格:照片 + 建筑草图叠加,城市设计概念可视化,极简,有叙事性,适合 Instagram,竞赛分析图美感。几秒钟后,你就会得到一张清晰、便于汇报的街道景观设计草图。输出:
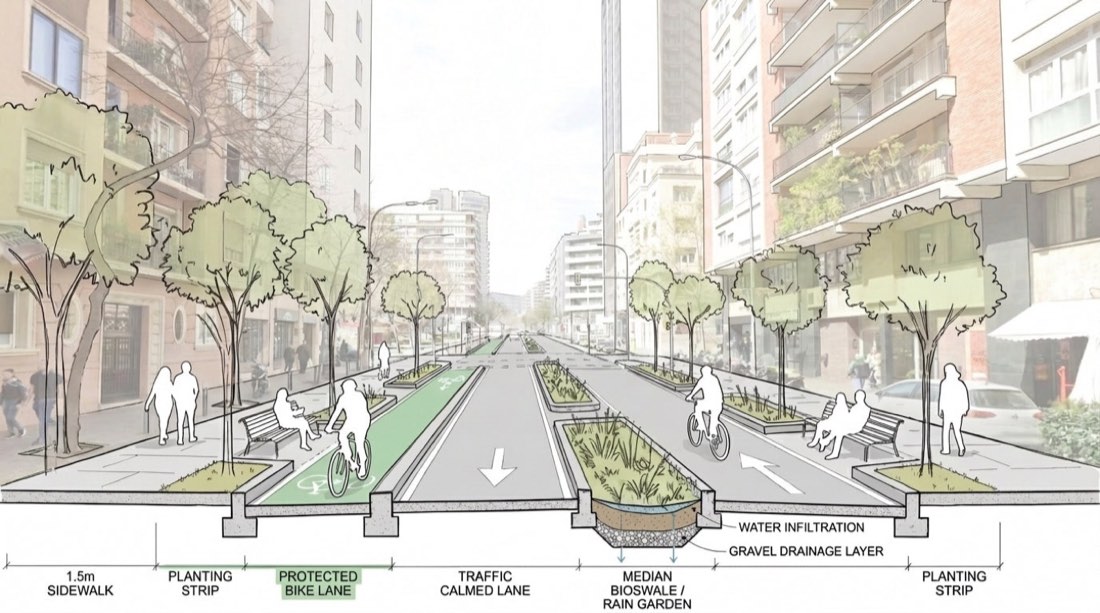
Example 04
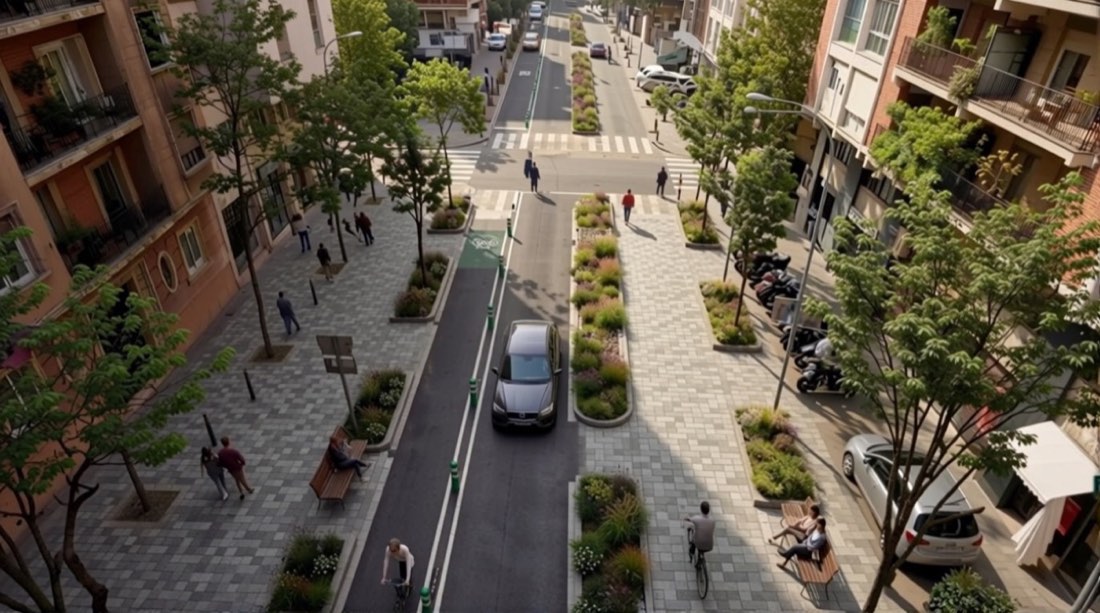
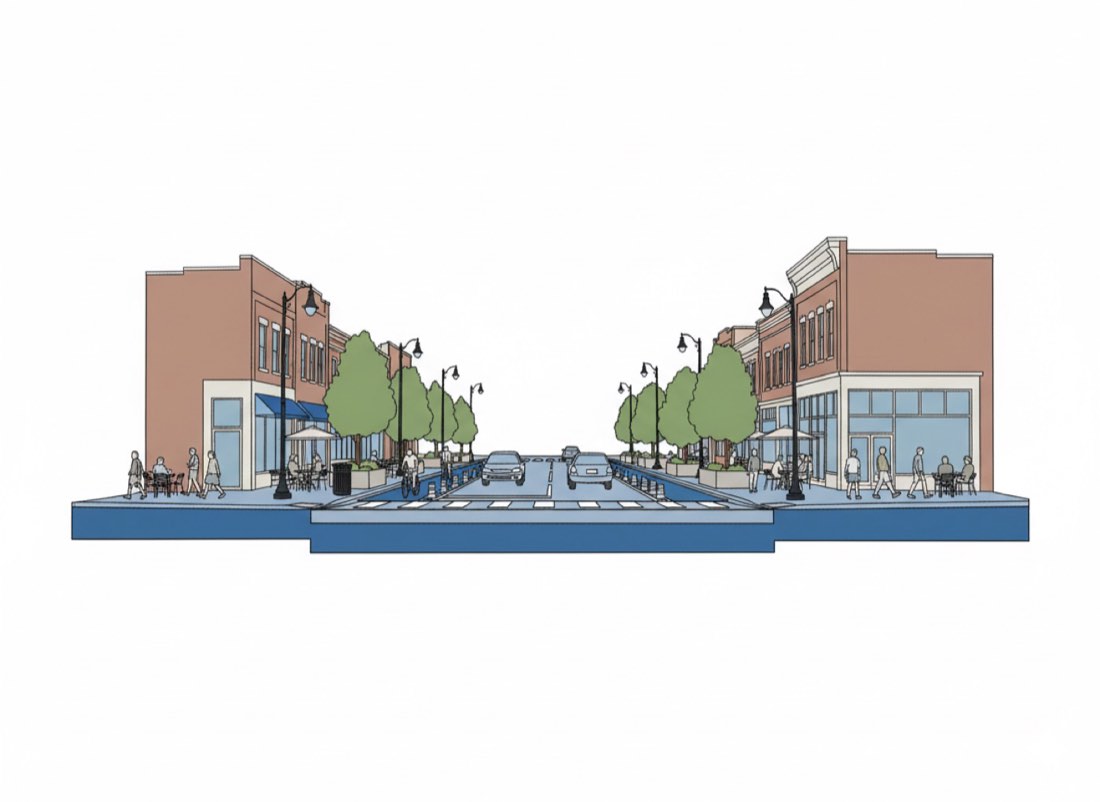
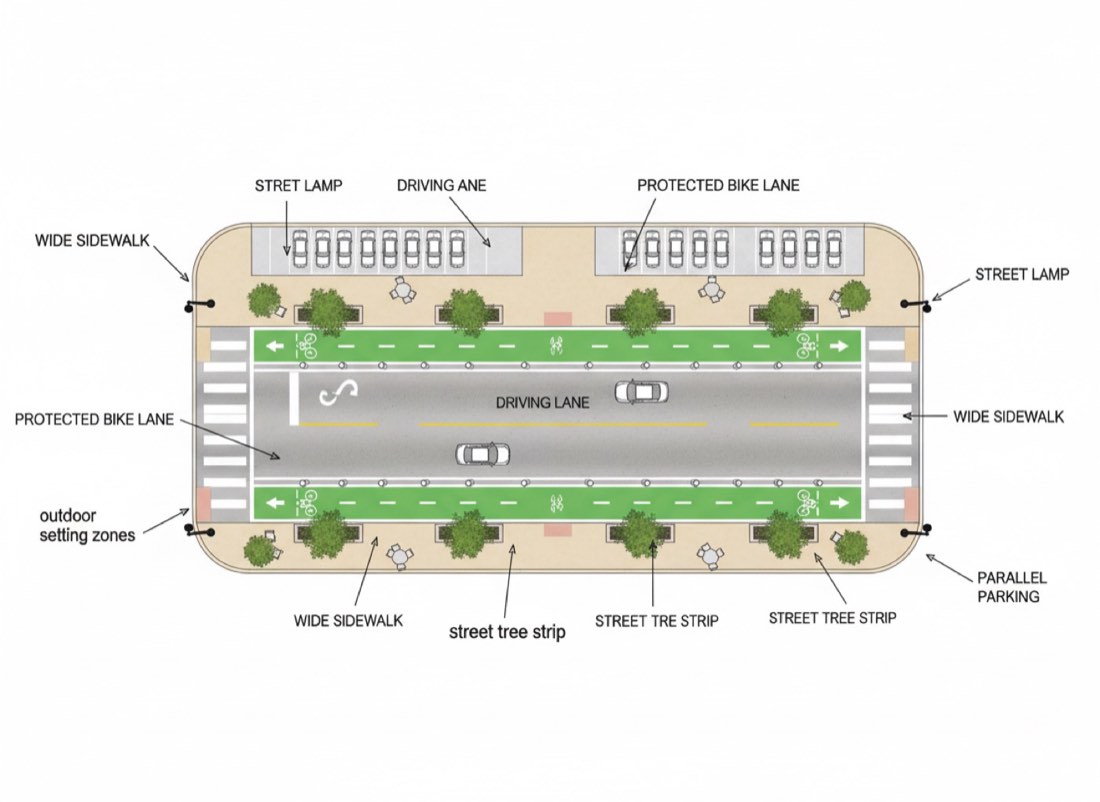
Streetscape – Example 4: Prompt 4 (Generate Multi-Angle Views)Streetscape – Example 4: After
Prompt 4 (Generate Multi-Angle Views)After

Prompt 4 (Generate Multi-Angle Views) → Make animation

PromptMembers only
Advanced Practice for Landscape Design

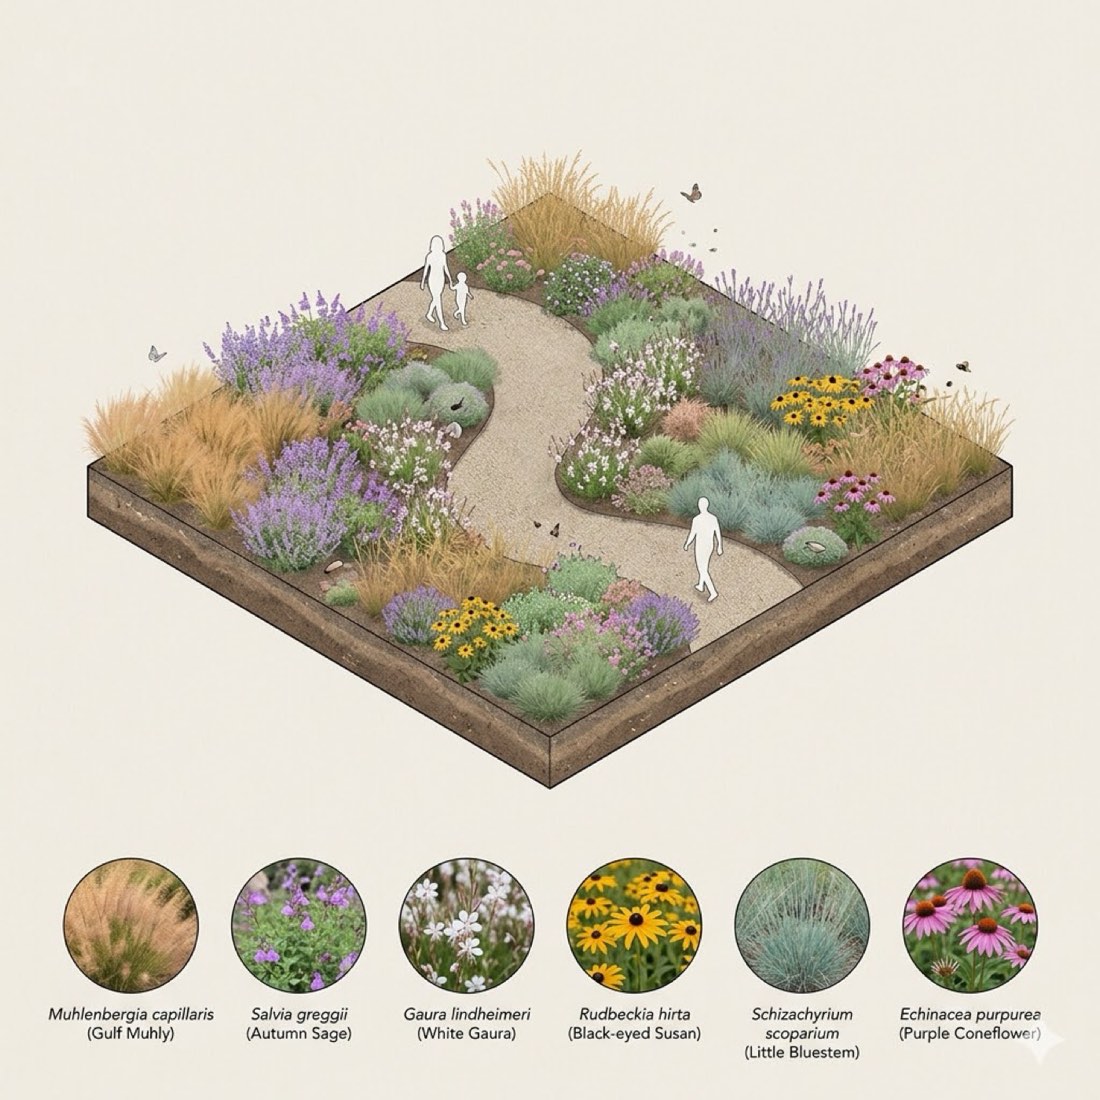
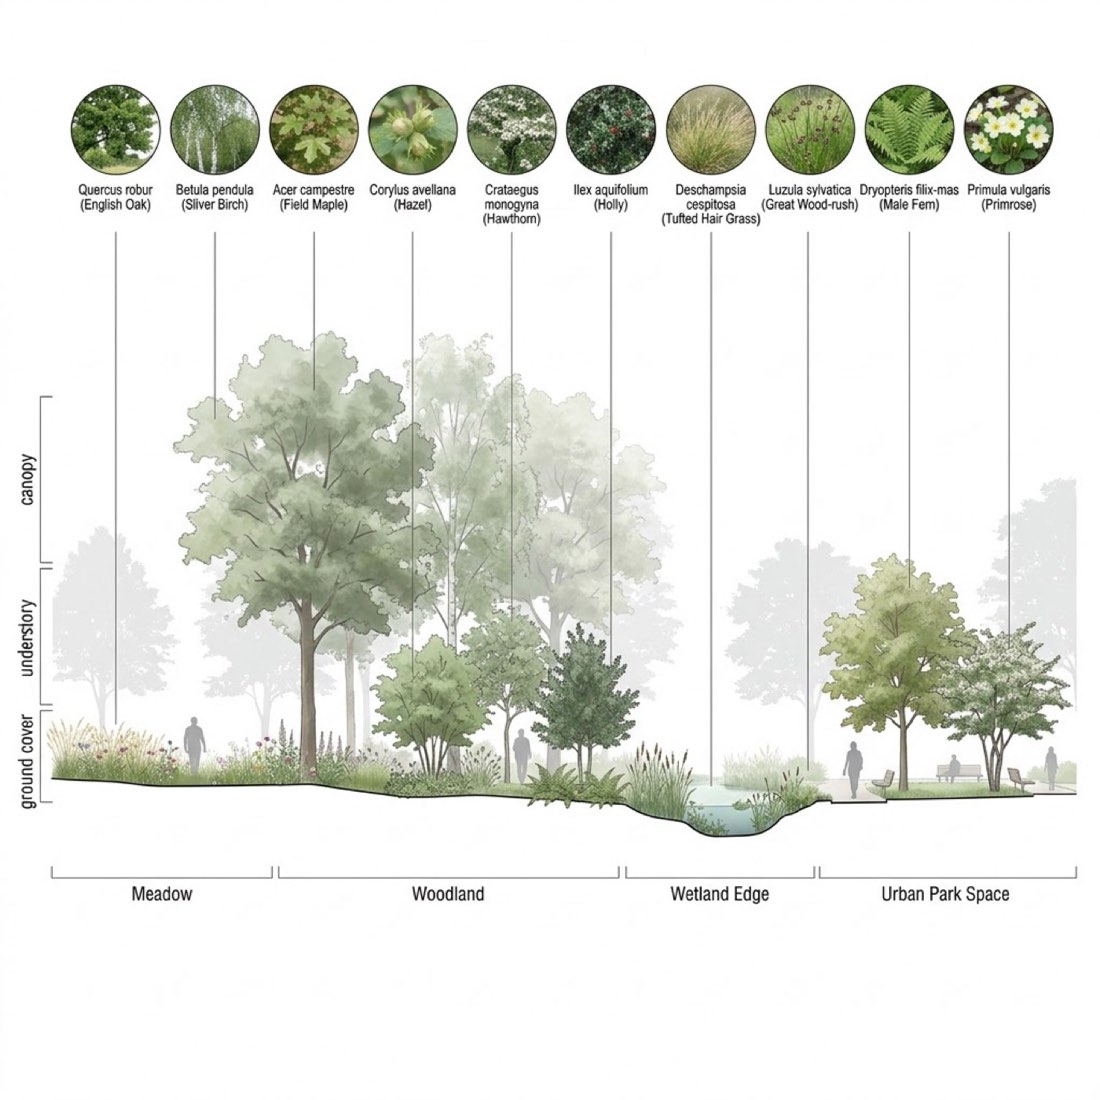
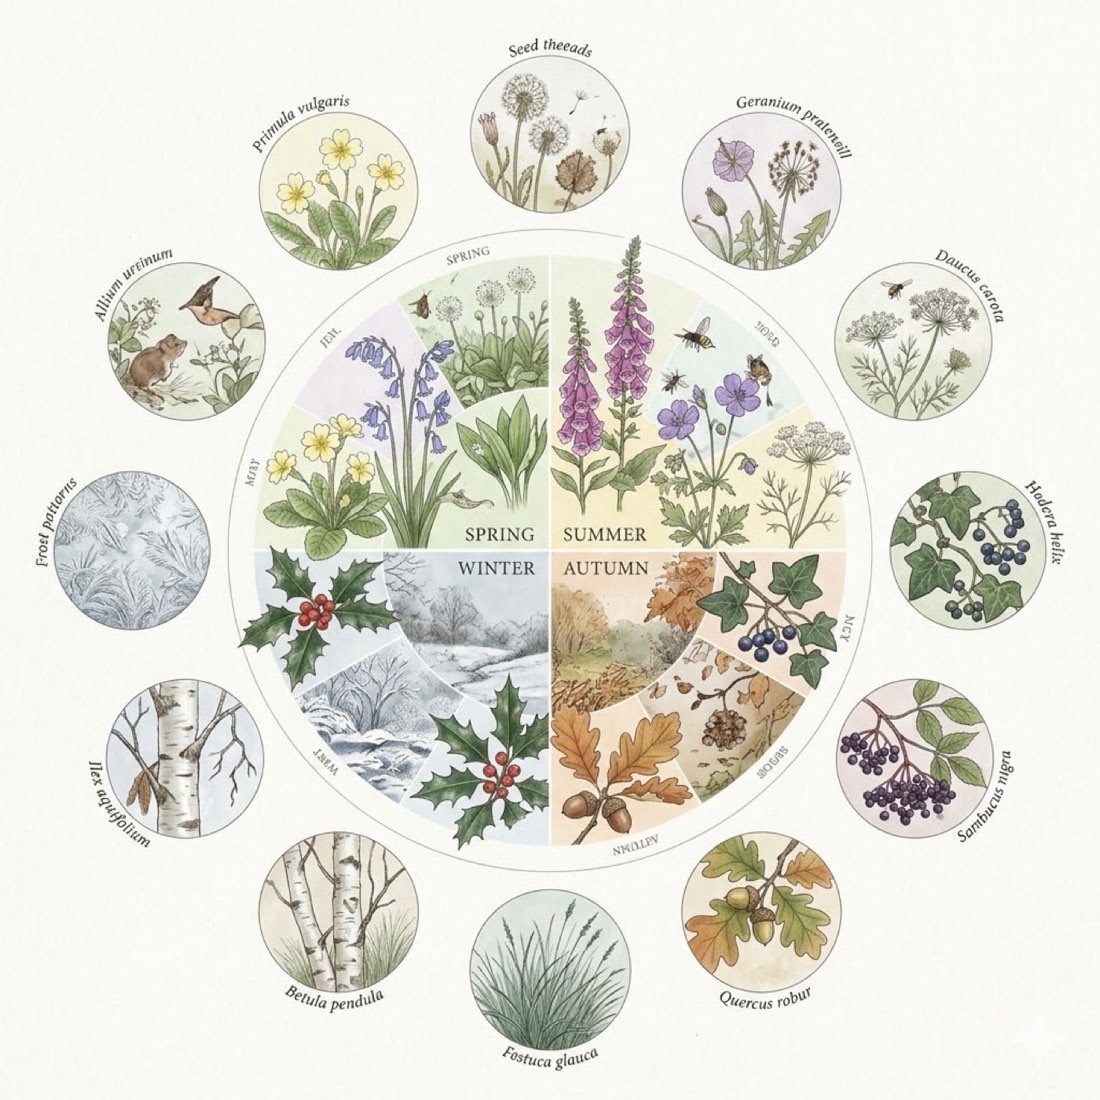
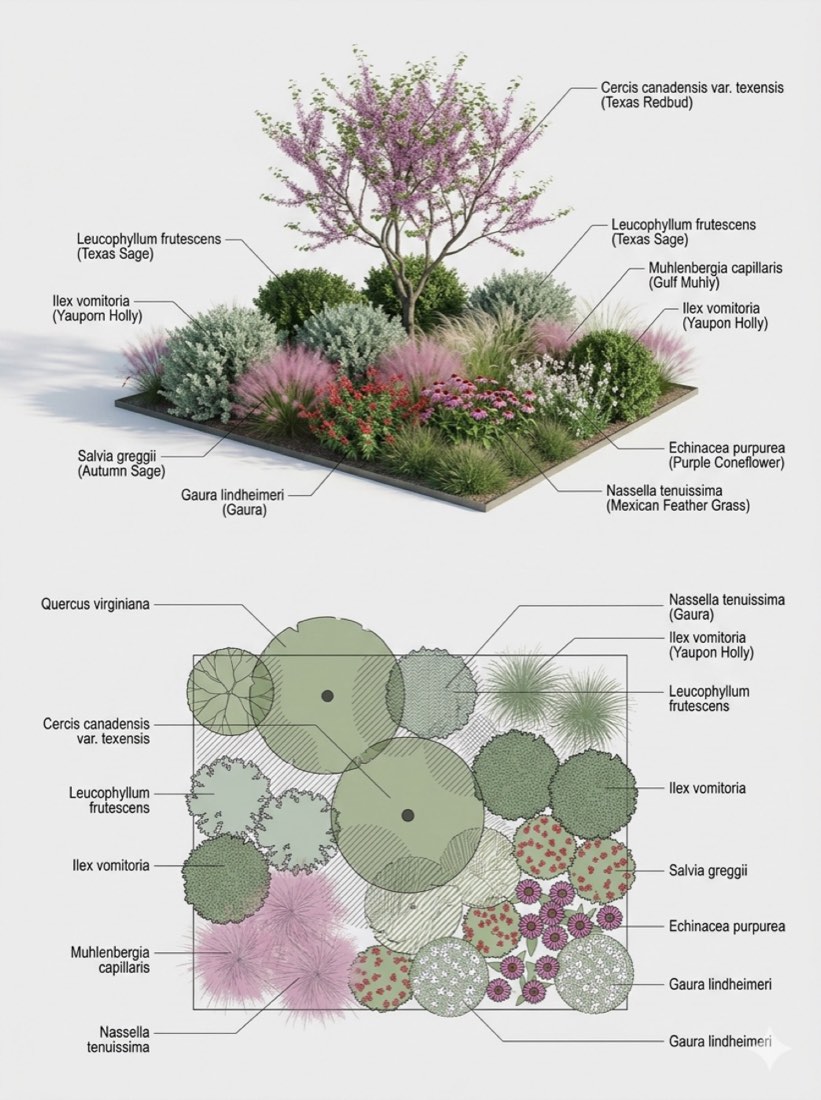
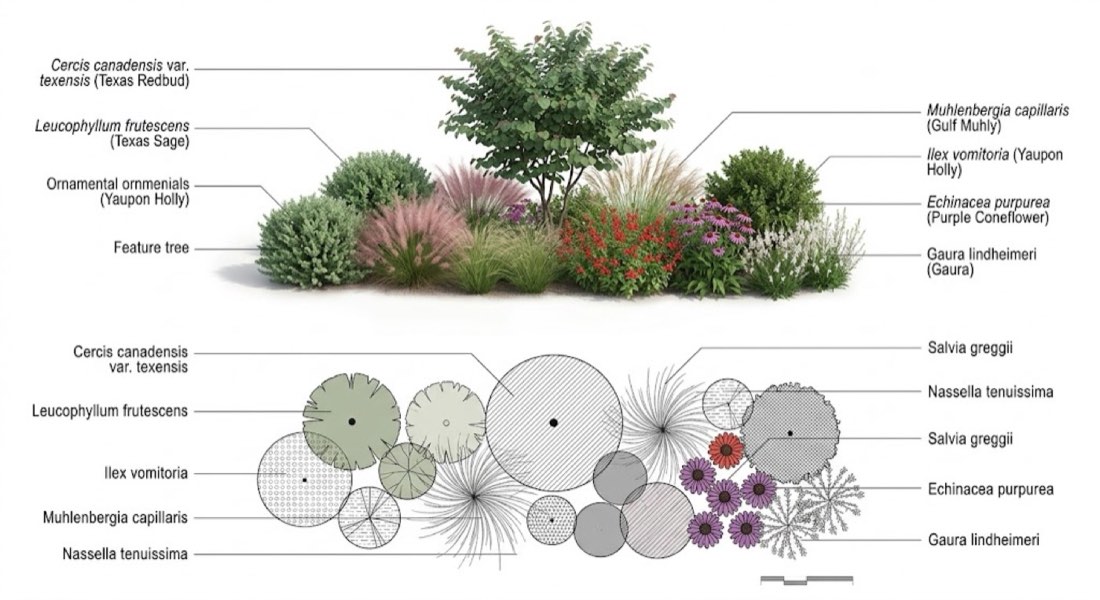
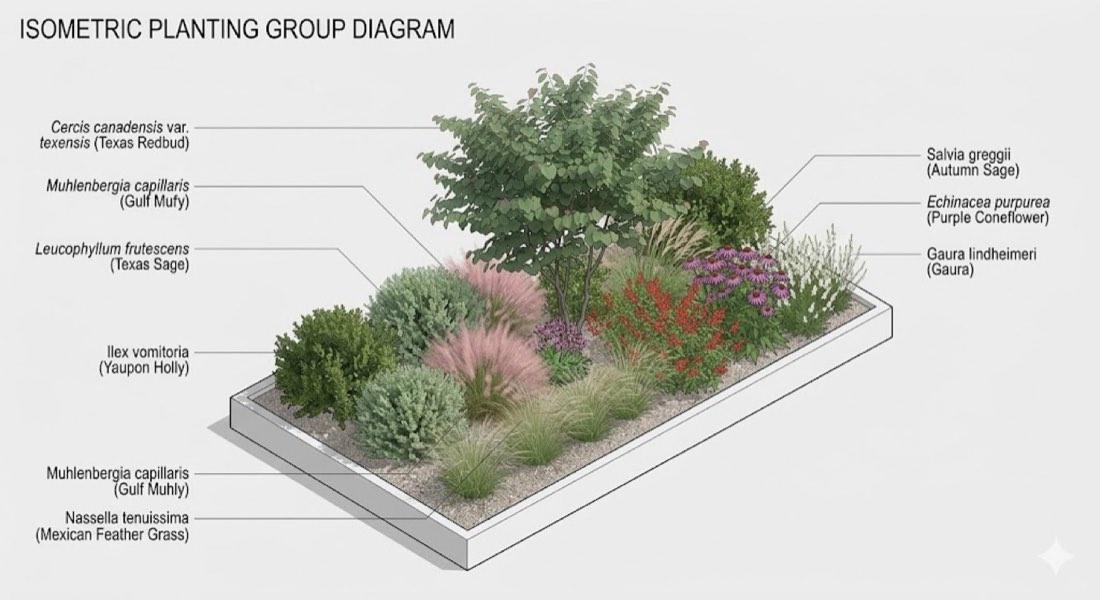
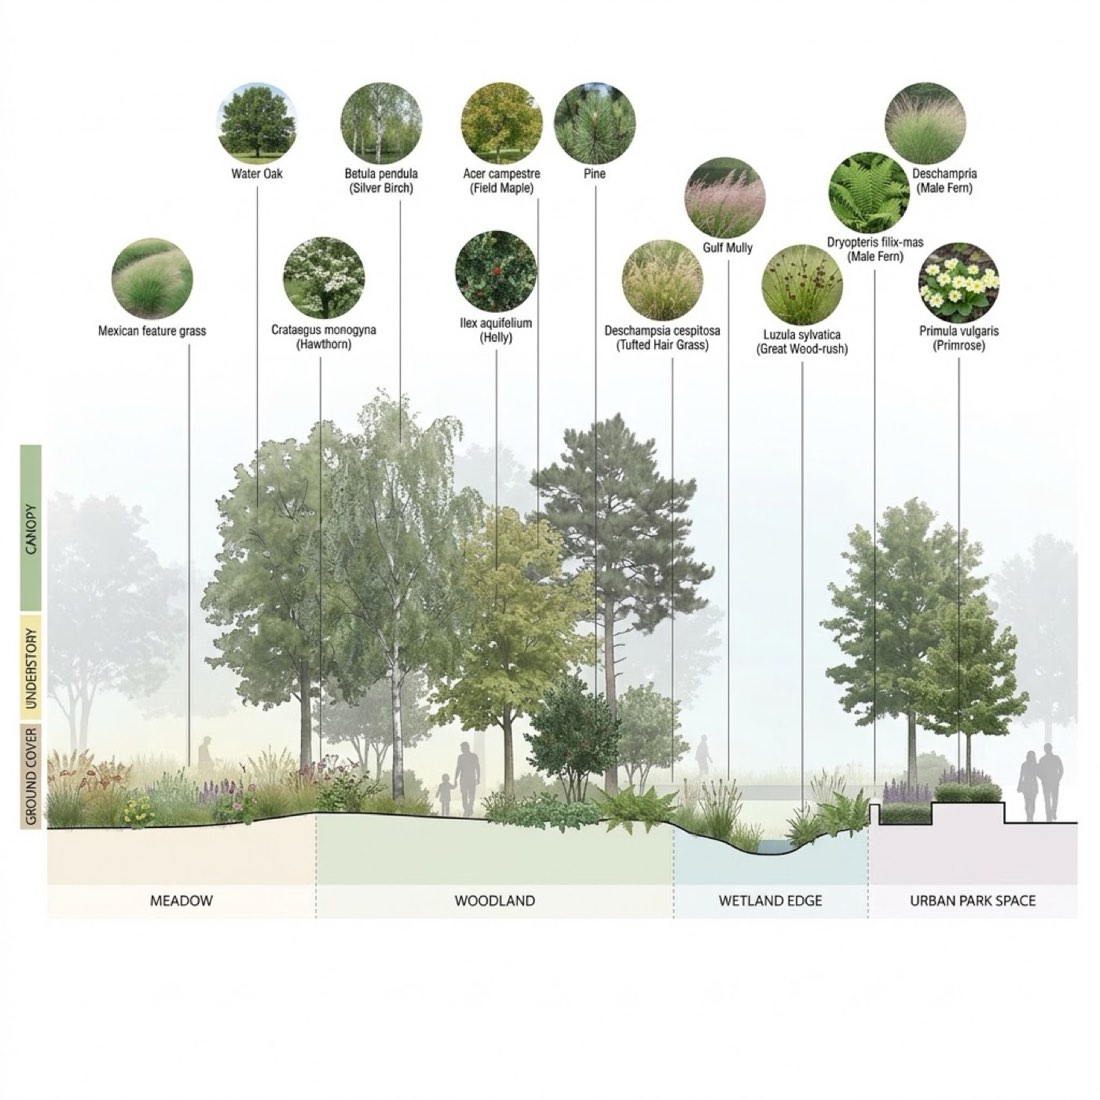
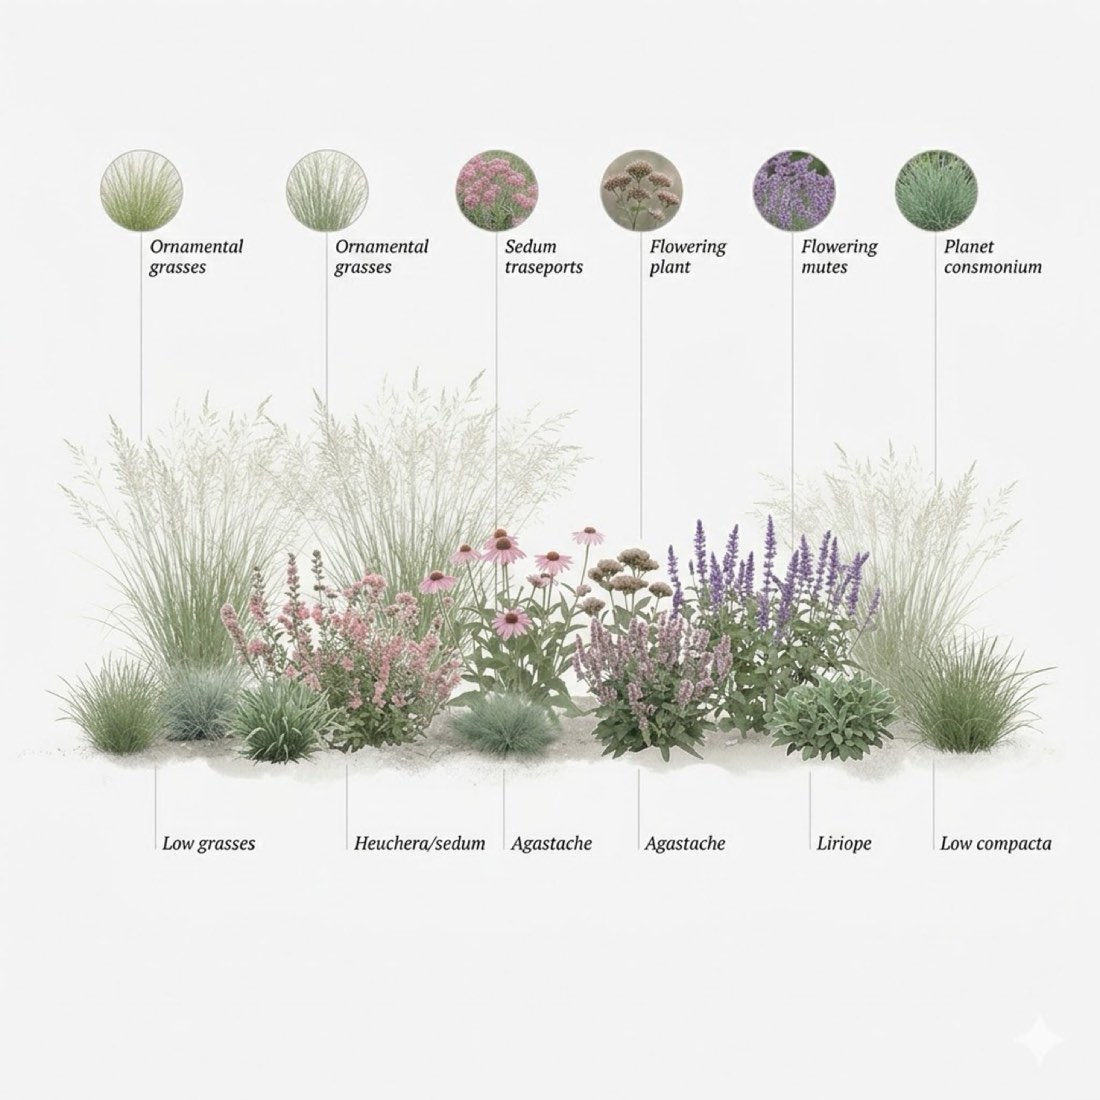
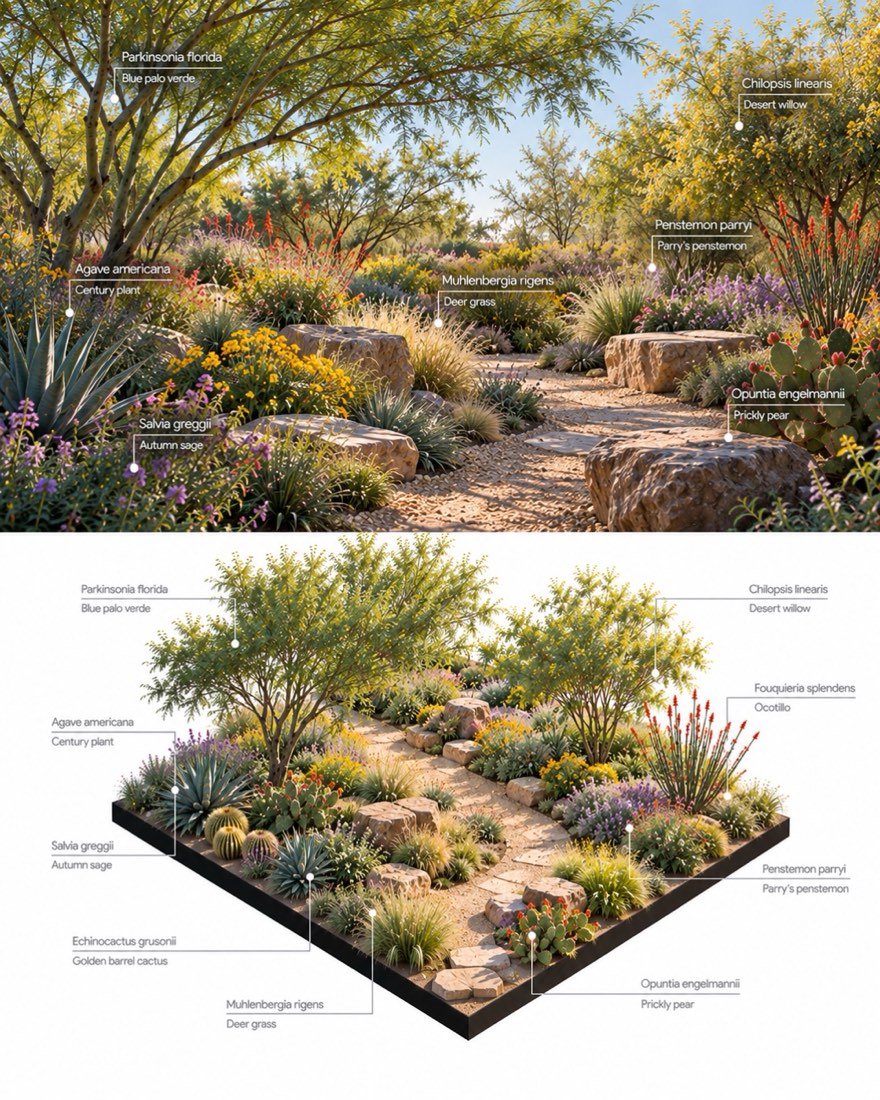
Planting

✦ Before → After18 examplesExample 01 · FreeOpen lesson →
Example 01
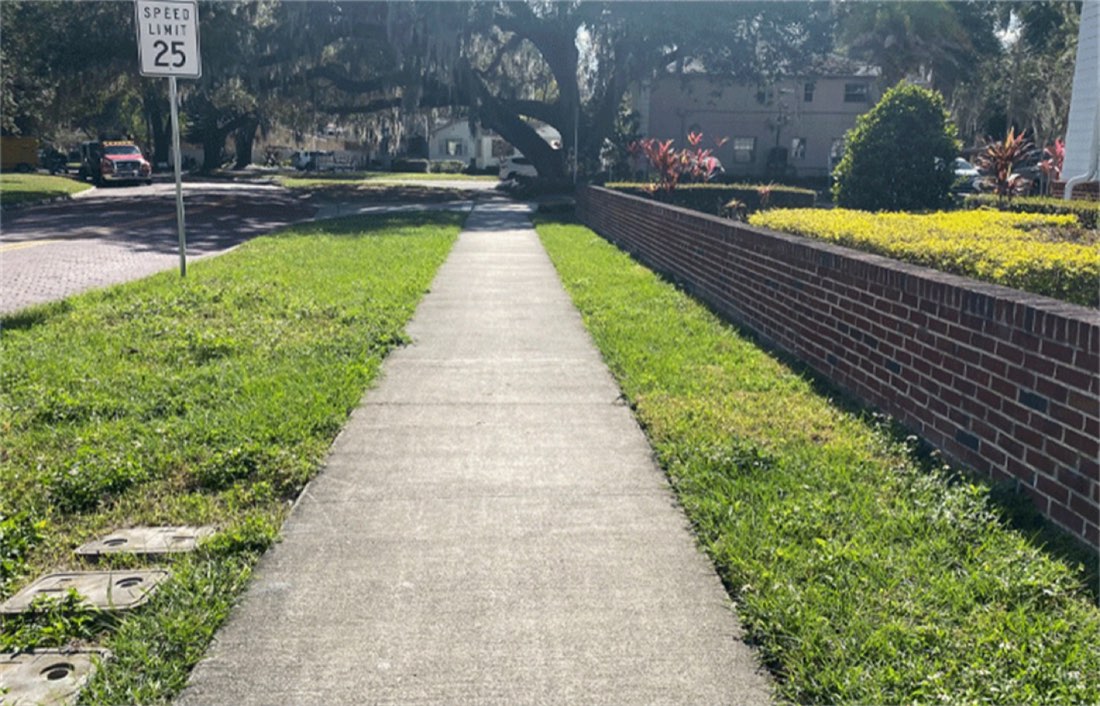
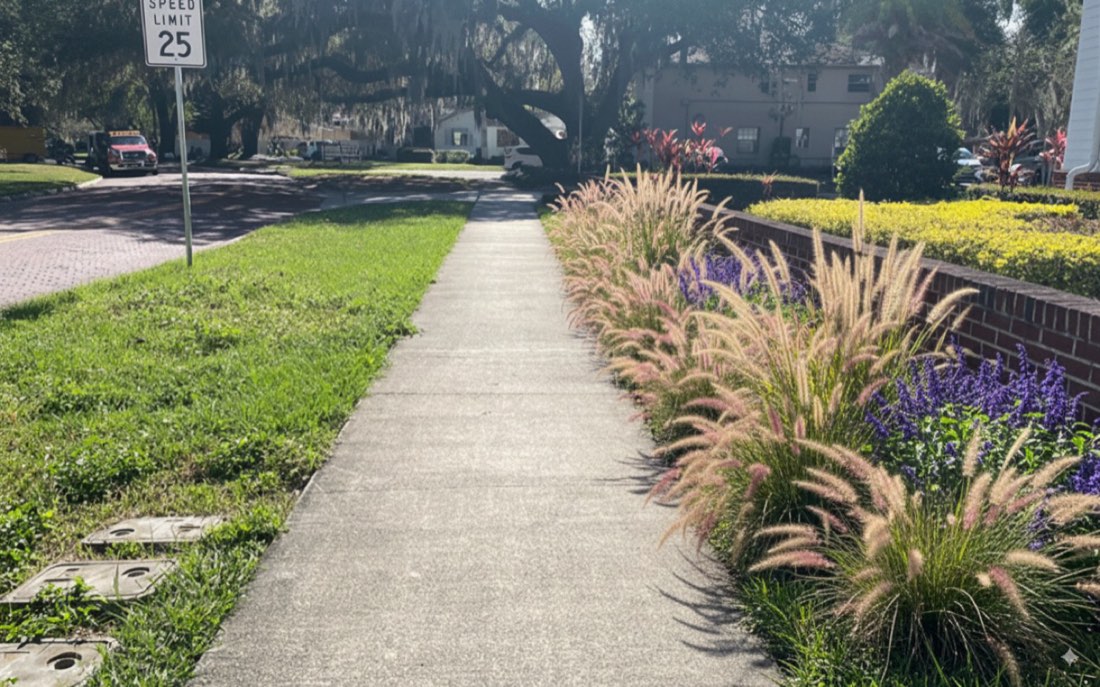
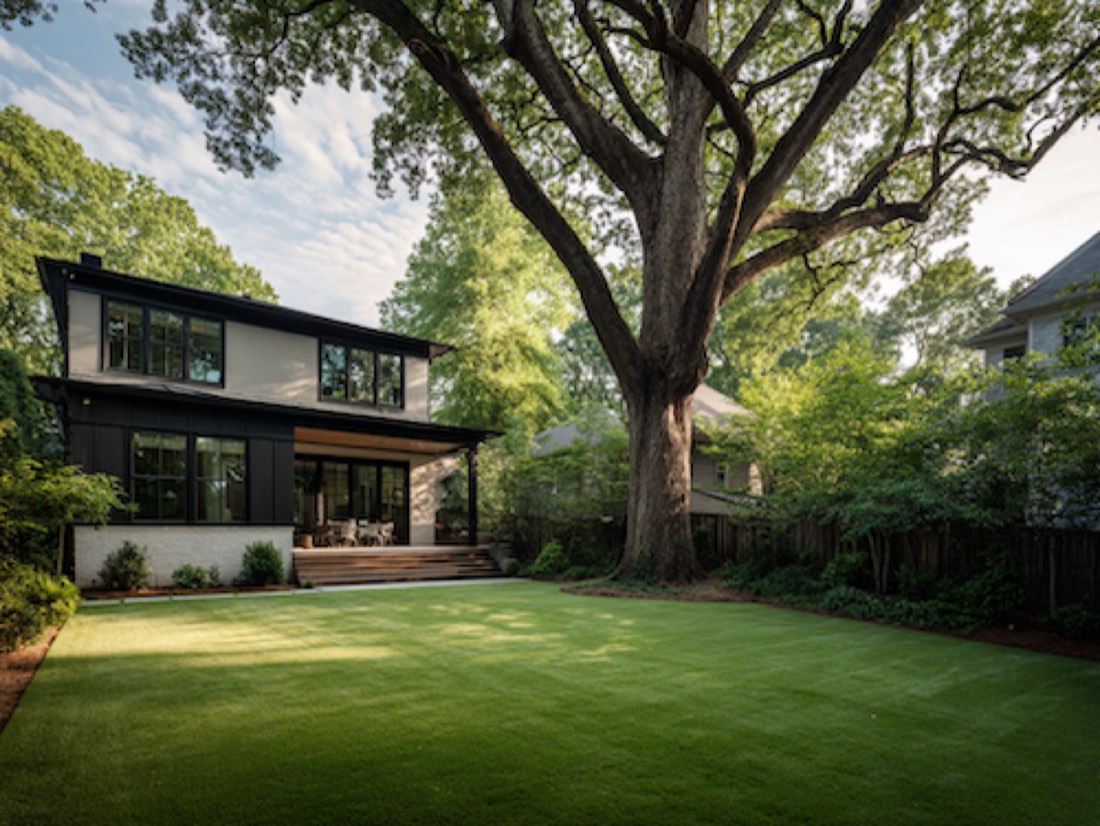
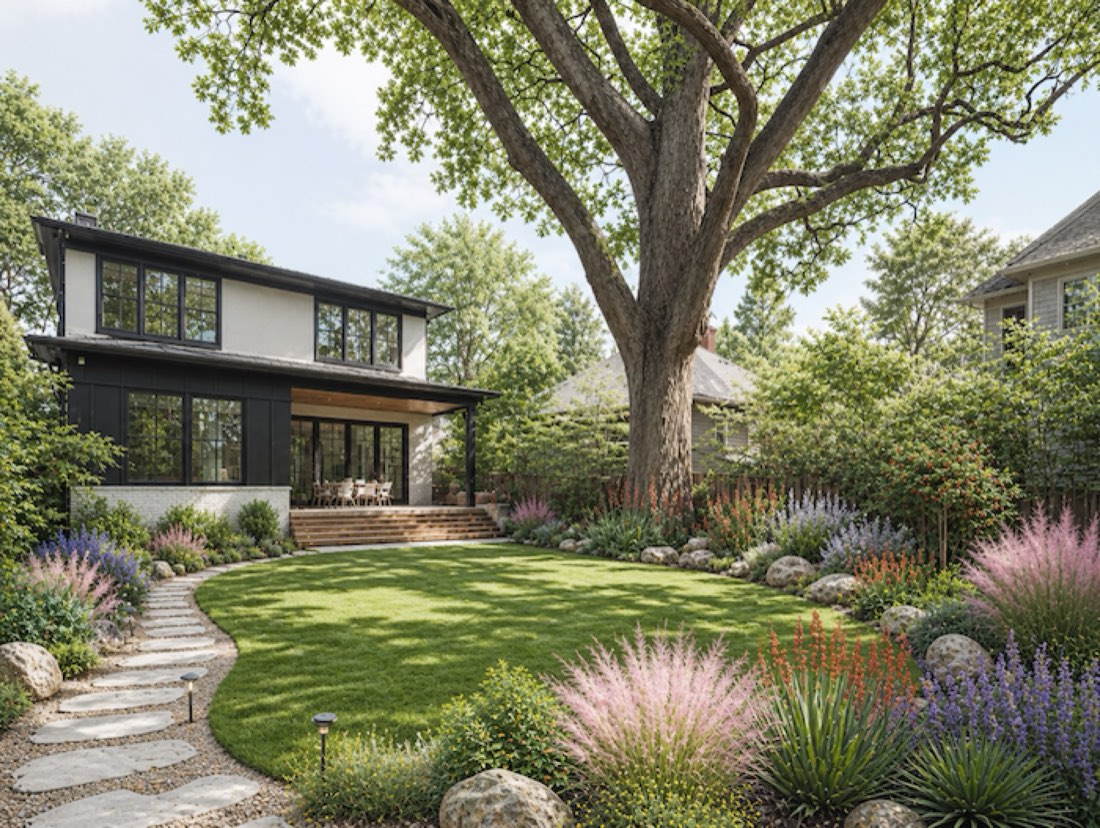
Planting – Example 1: PhotoPlanting – Example 1: Nano Banana
PhotoNano Banana

Photo → Nano Banana → ChatGPT

Prompt · Free prompt

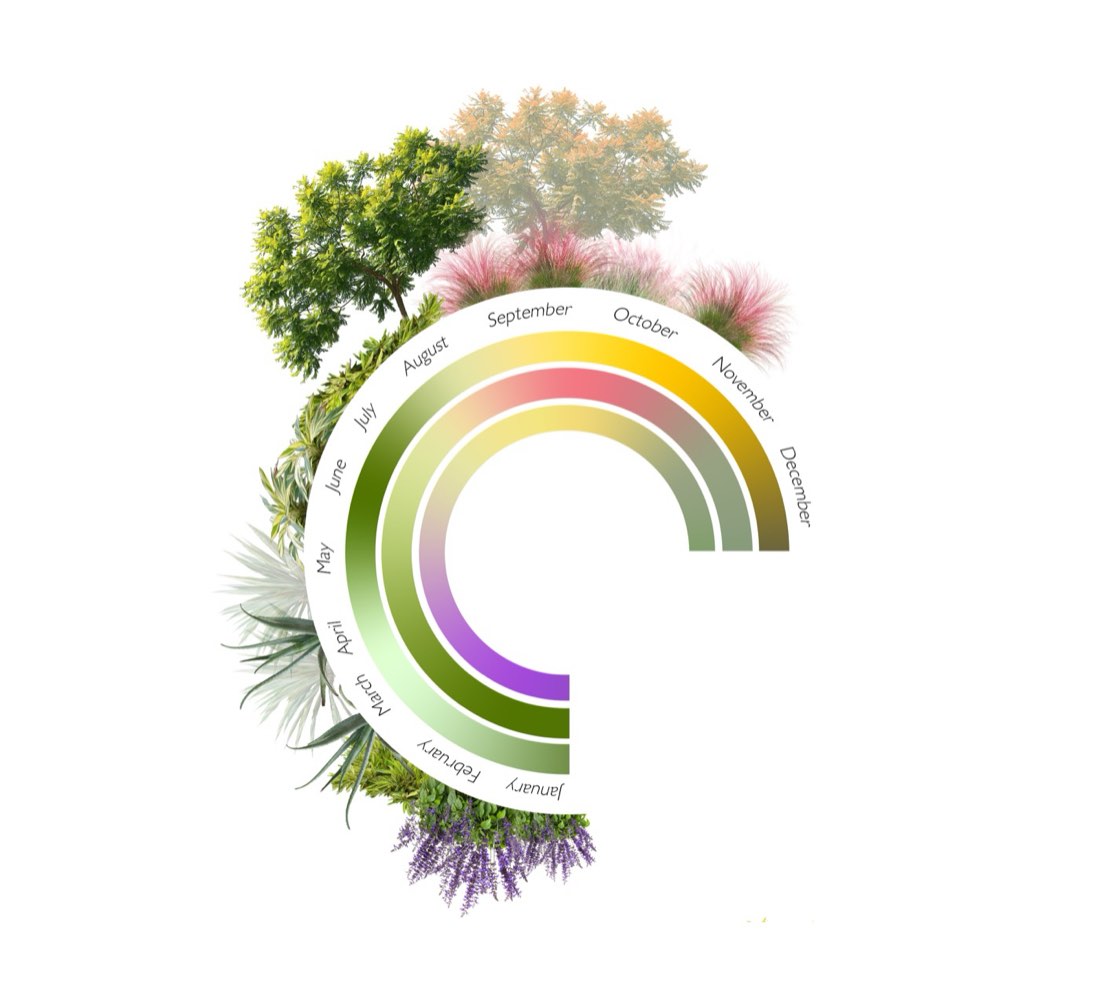
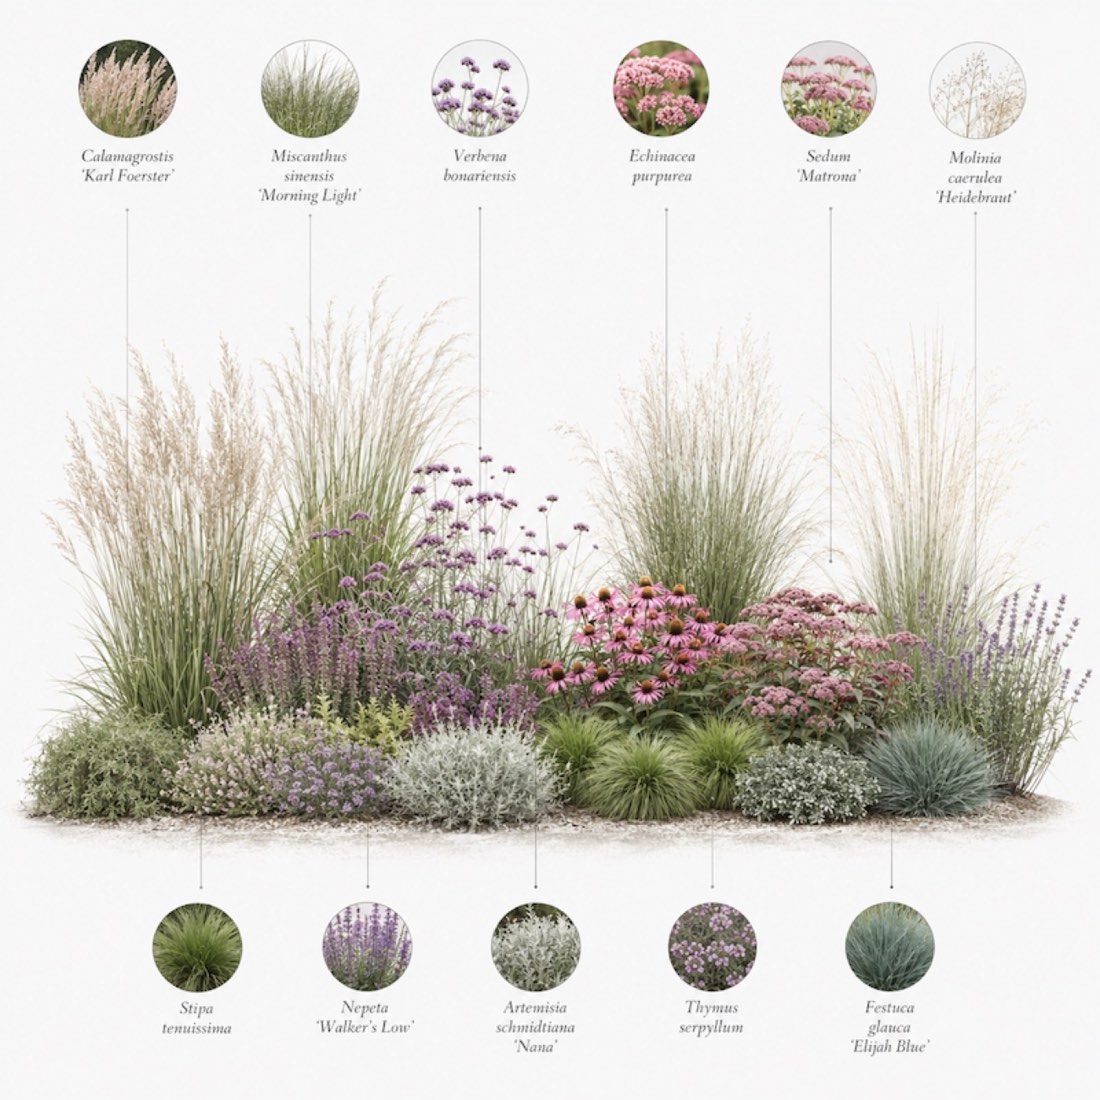
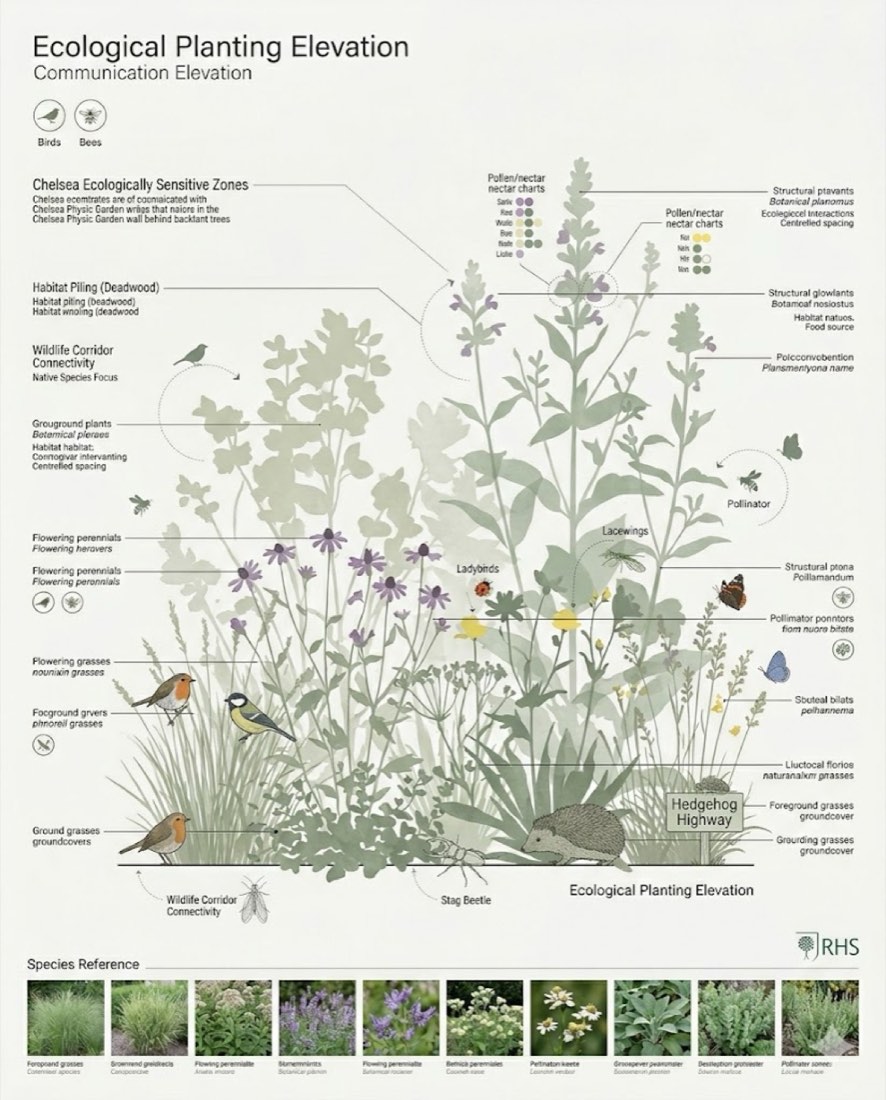
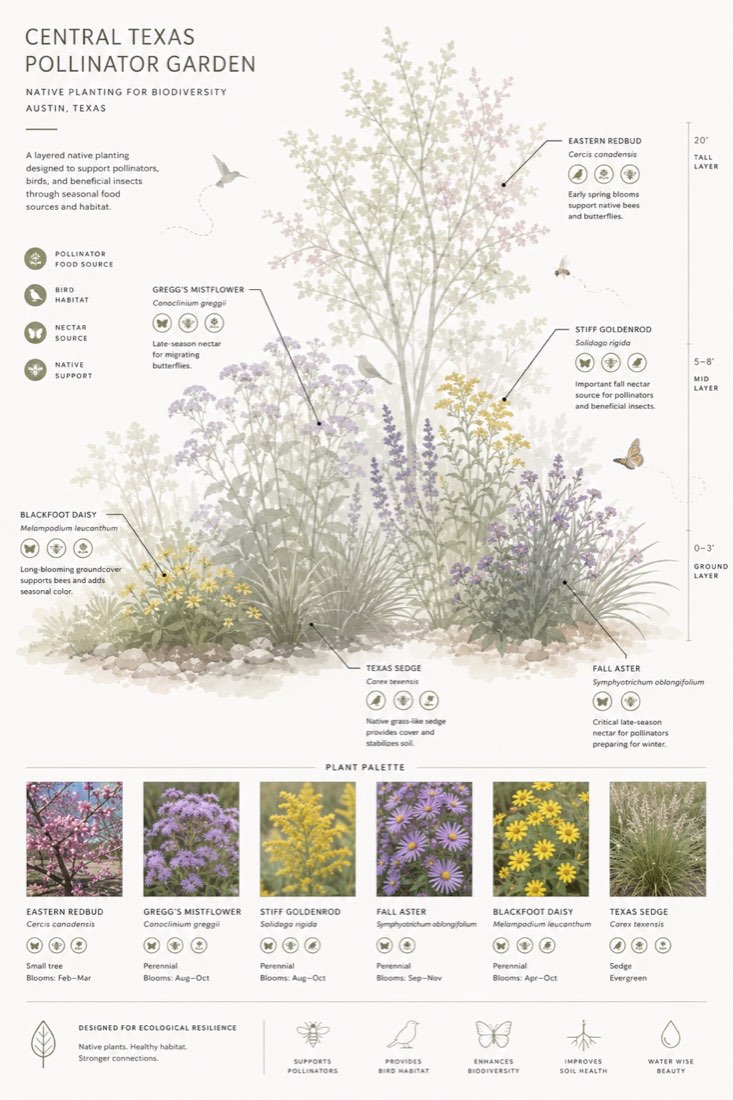
Plant Gulf Muhly, Mealy Sage, Feather reed grass on the right side of sidewalk

在人行道右侧种植粉黛乱子草(Gulf Muhly)、蓝花鼠尾草(Mealy Sage)和拂子茅(Feather reed grass)

Example 05
Planting – Example 5: (Upload my reference image)Planting – Example 5: (Upload my reference image)
(Upload my reference image)(Upload my reference image)

(Upload my reference image) → (Upload my reference image)

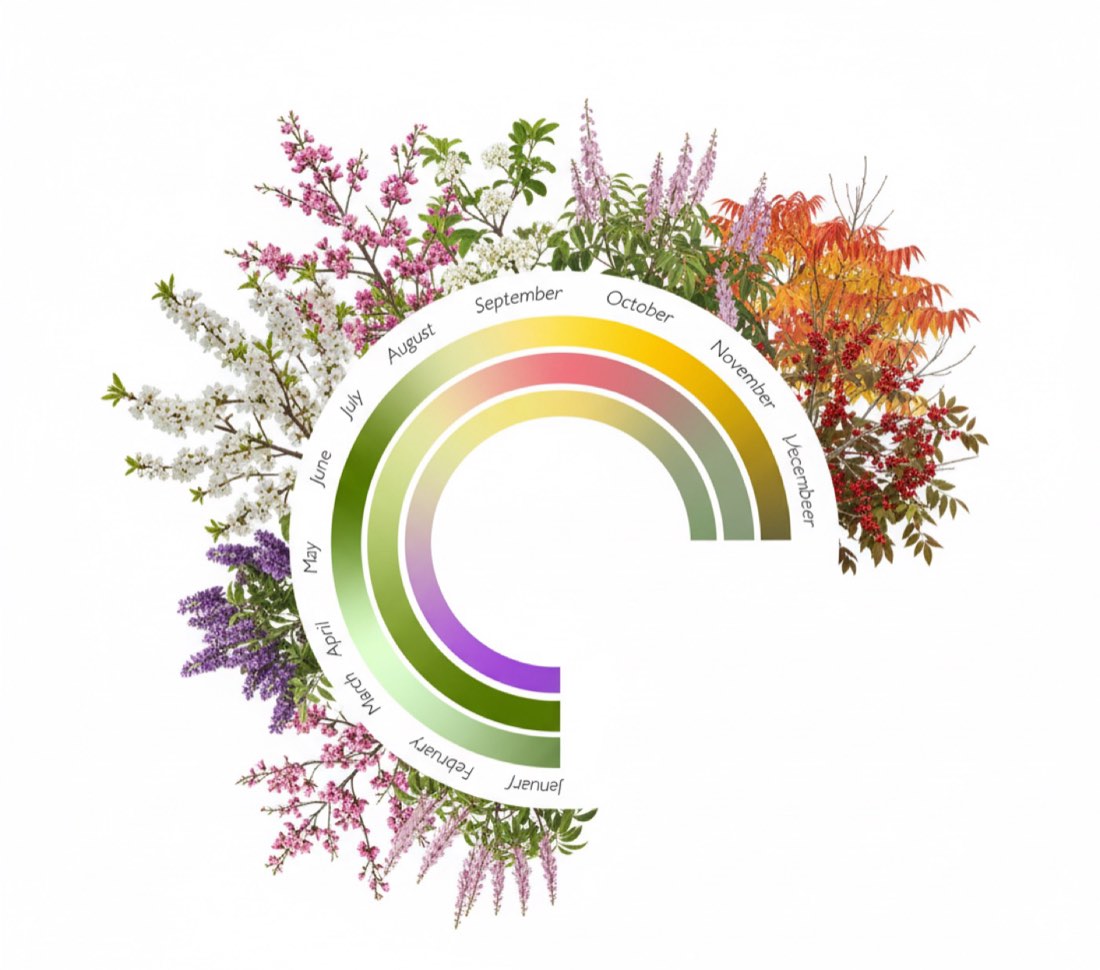
Based on my plant listMembers only
Example 12
Planting – Example 12: Nano BananaPlanting – Example 12: ChatGPT
Nano BananaChatGPT

Nano Banana → ChatGPT → Nano Banana

PromptMembers only
Prompt 1Members only
Prompt 2Members only
Example 18
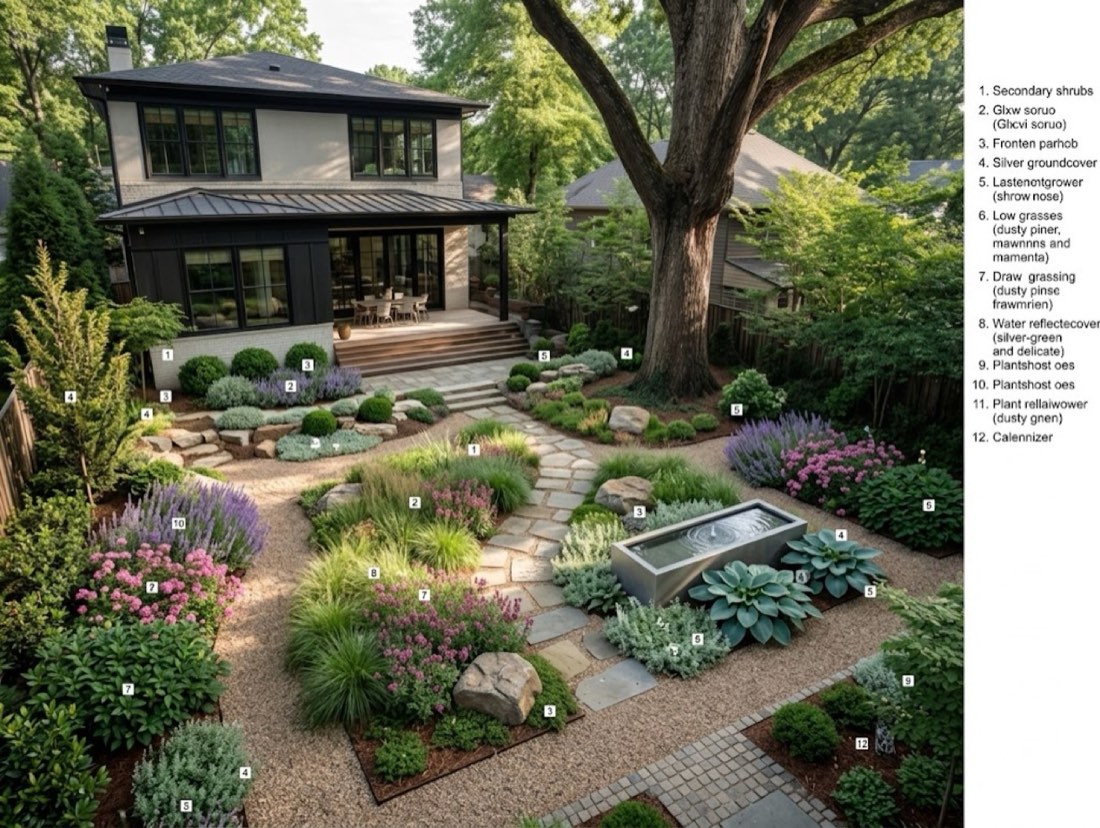
Planting – Example 18: make a planting plan at the bottomPlanting – Example 18: After
make a planting plan at the bottomAfter

make a planting plan at the bottom

PromptMembers only
Advanced Practice for Landscape Design

Plan to Perspective

✦ Before → After1 examplesExample 01 · FreeOpen lesson →
Example 01
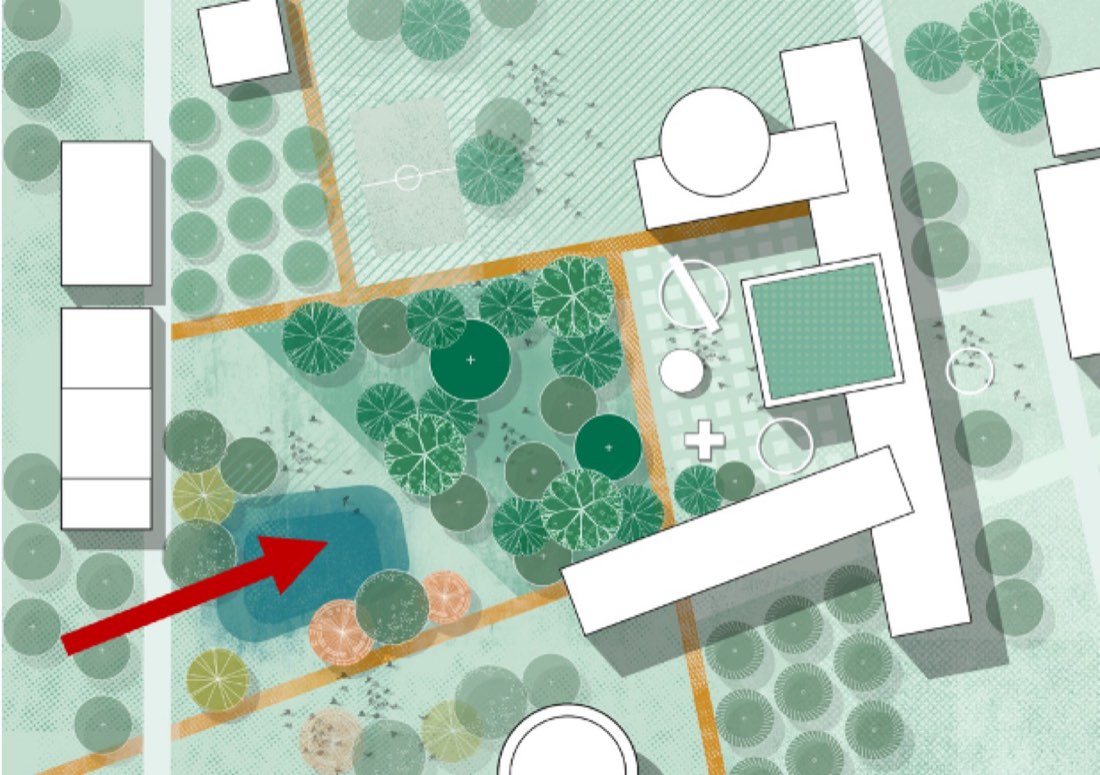
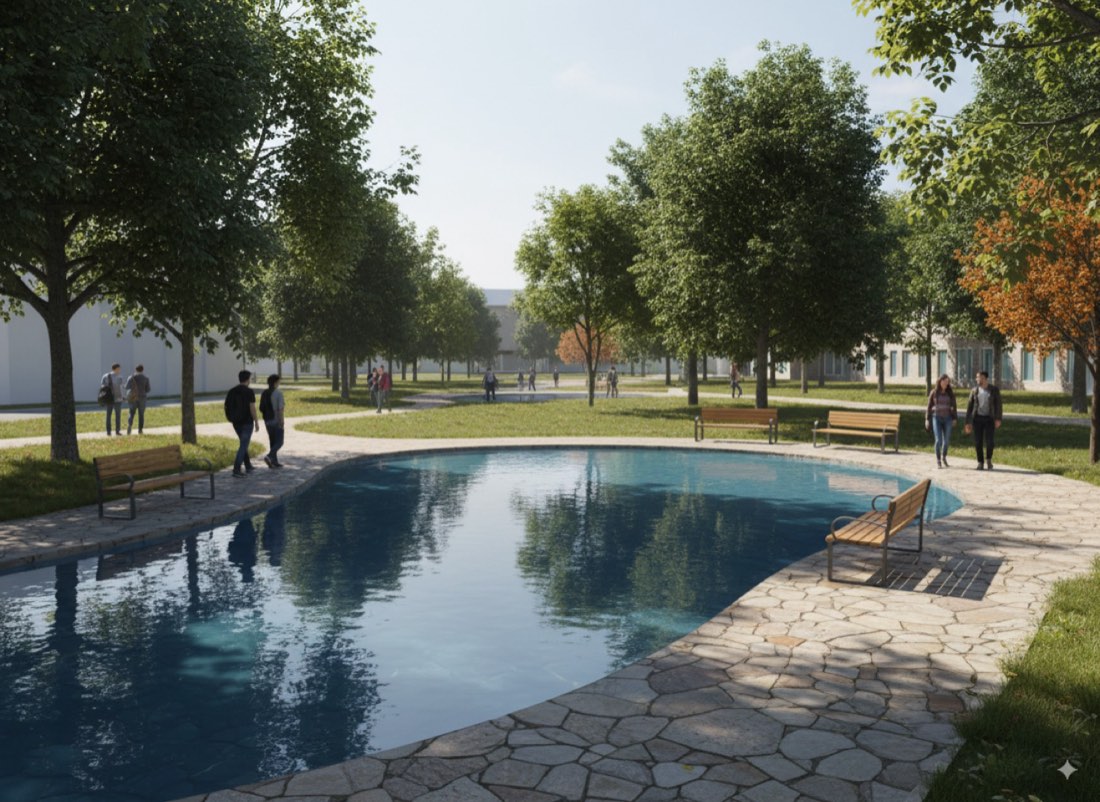
Plan to Perspective – Example 1: PlanPlan to Perspective – Example 1: Nano Banana
PlanNano Banana

Plan → Nano Banana → ChatGTP

Prompt · Free prompt

Create a 3D rendering of this landscape design in a 17x11 ratio, with the view looking from the water feature toward the main building?

生成这个景观设计的 3D 效果图,比例 17x11,视角从水景看向主建筑。

Advanced Practice for Landscape Design

Plan to CAD

✦ Before → After1 examplesExample 01 · FreeOpen lesson →
Example 01
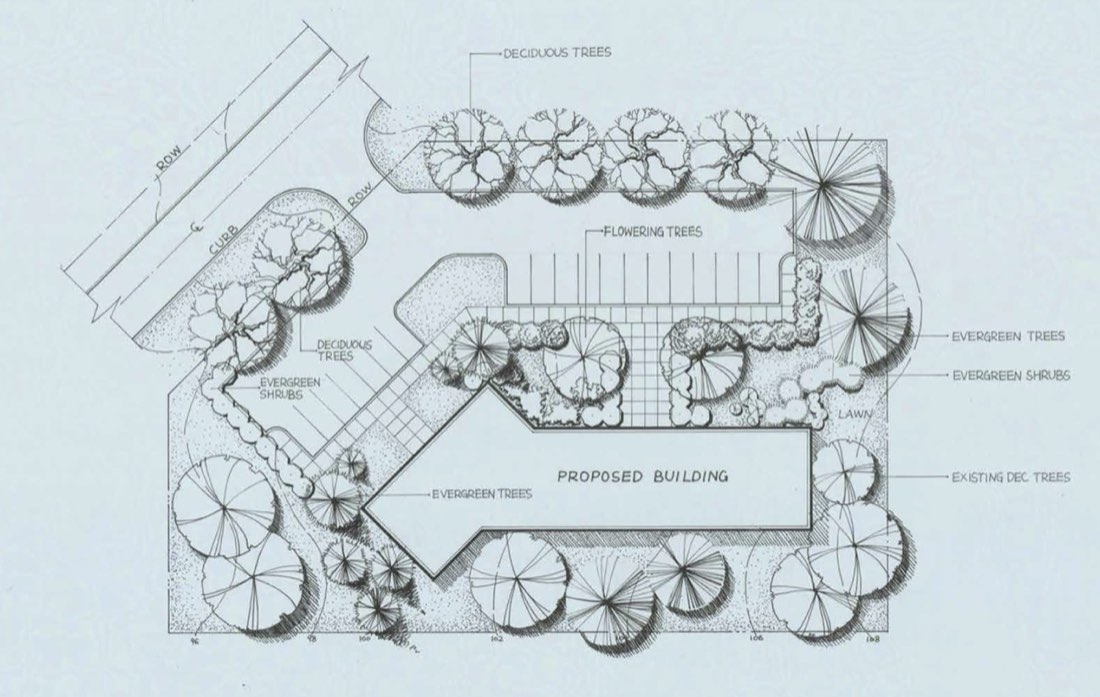
Plan to CAD – Example 1: BeforePlan to CAD – Example 1: Nano Banana
BeforeNano Banana

Nano Banana

Prompt 1 · Free prompt

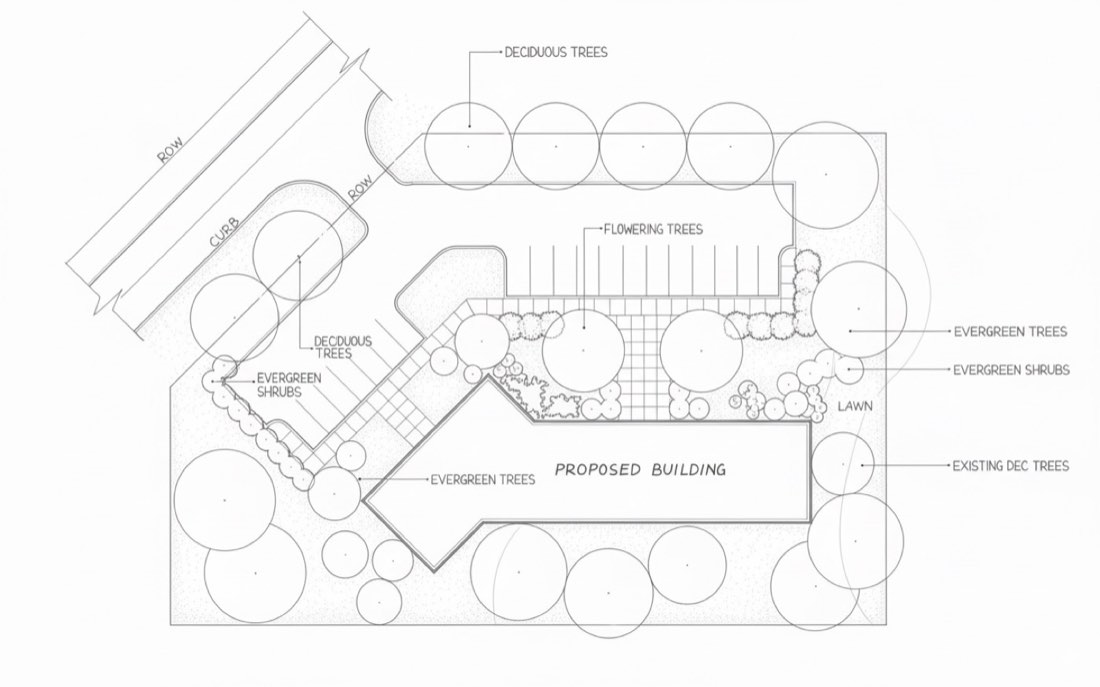
Convert this hand-drawn landscape site plan into a precise technical CAD drawing style. Use single-layer thin lines throughout with clear, uniform line weights. Remove all sketch textures, shading, and hatching. Keep only clean vector-style outlines for paths, planting beds, lawns, curbs, ROW, and building footprints. For all trees, replace detailed sketch symbols with simple line circles of appropriate size to represent canopy outlines. Shrubs can be shown as smaller circles or ovals. The result should be professional, minimal, and ready for CAD or Illustrator editing, with accurate linework and no shading.

把这张手绘景观总平面图转换为精确的 CAD 技术图纸风格。全图使用单层细线,线宽清晰统一。去掉所有草图质感、明暗和排线。道路、种植池、草坪、路缘、道路红线和建筑轮廓只保留干净的矢量式轮廓线。所有树木都用大小合适的简单圆圈代替细致的草图符号,表示树冠轮廓。灌木可以用较小的圆或椭圆表示。结果应专业、极简,线条准确、无明暗,可直接在 CAD 或 Illustrator 中编辑。

Prompt 2 (to ChatGPT) · Free prompt

Turn this plan to single SVG version of the CAD drawing, keeping the vectorized, clean line style.

把这张平面图转为单个 SVG 版本的 CAD 图纸,保持矢量化的干净线条风格。

Advanced Practice for Landscape Design

Photo to 3D model

✦ Before → After1 examplesExample 01 · FreeOpen lesson →
Example 01
Photo to 3D model – Example 1: BeforePhoto to 3D model – Example 1: After
BeforeAfter

Photo to 3D model

Prompt · Free prompt

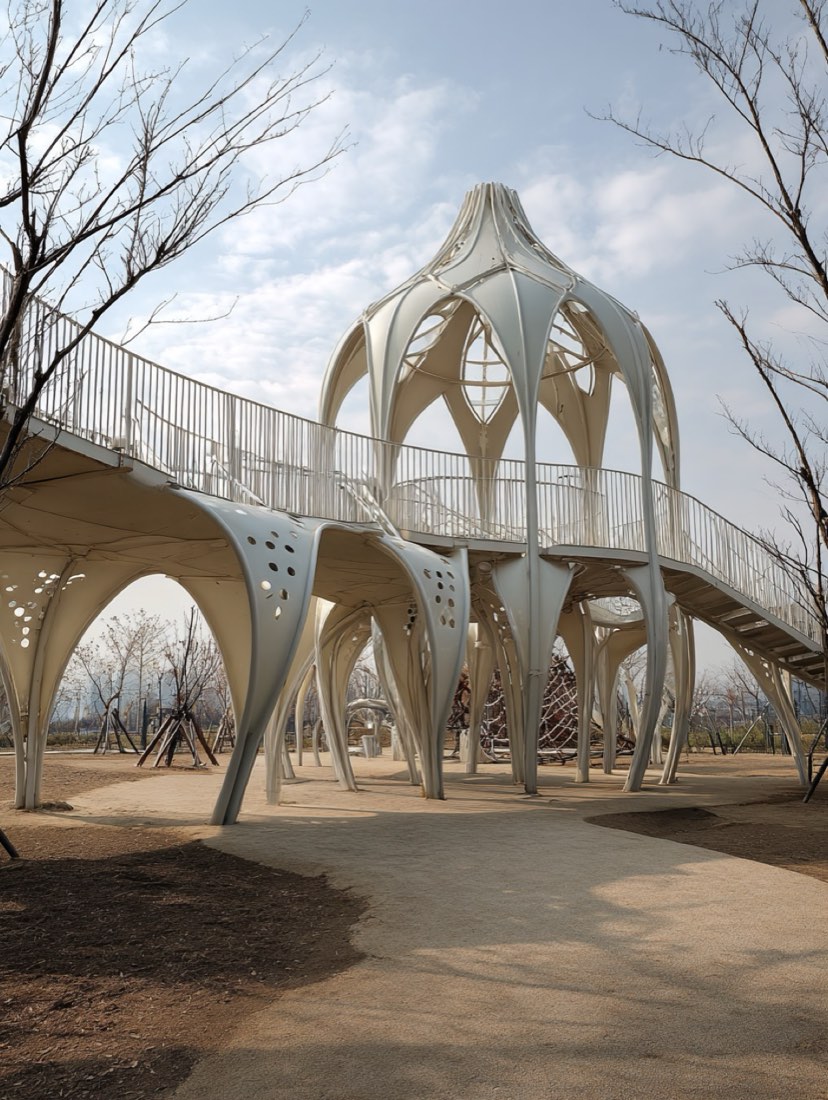
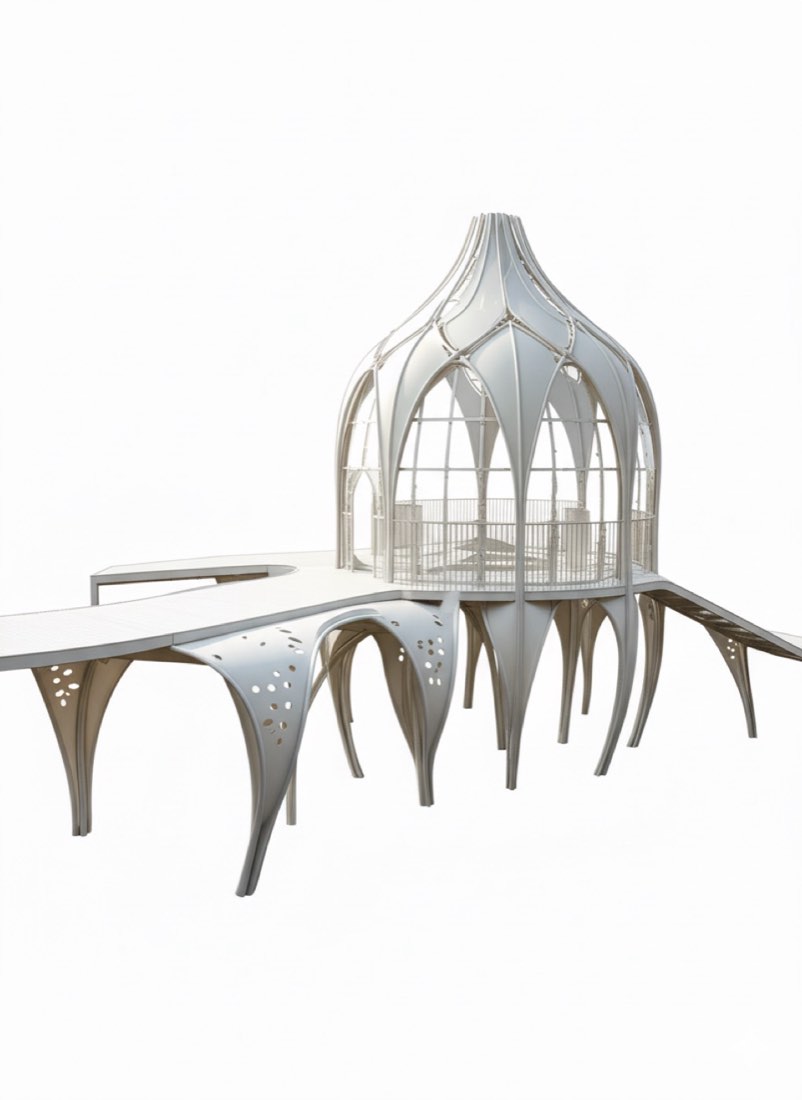
Based on this structure photograph, generate a high-fidelity 3D building model inthe style of "3d print model." Key Requirements: Aim for a realistic look, preserving the main structure and texture details of thebuilding, but stylized for a game. Emphasize realistic lighting and shadow effects. Use a 45-degree top-down perspective to showcase the structure's three-dimensionality. Materials should be clearly defined, such as reflective glass and metallic surfaces. It should look like a high-quality 3D render suitable for a game engine. White background.

根据这张构筑物照片,生成“3D 打印模型”风格的高保真 3D 建筑模型。关键要求:追求写实效果,保留建筑的主体结构和纹理细节,但带有游戏风格化处理。突出真实的光影效果。使用 45 度俯视视角展现构筑物的立体感。材质要清晰明确,例如反光玻璃和金属表面。效果应像适用于游戏引擎的高品质 3D 渲染。白色背景。

Advanced Practice for Landscape Design

Plan to Birdseye and Perspective

✦ Before → After3 examplesExample 01 · FreeOpen lesson →
Example 01
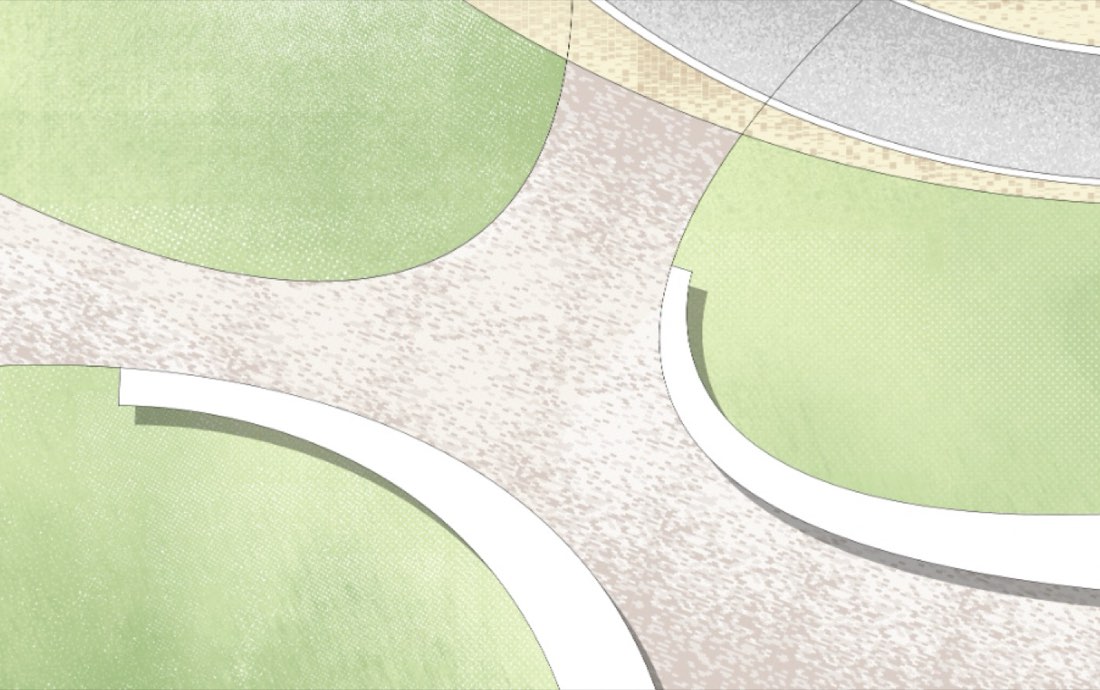
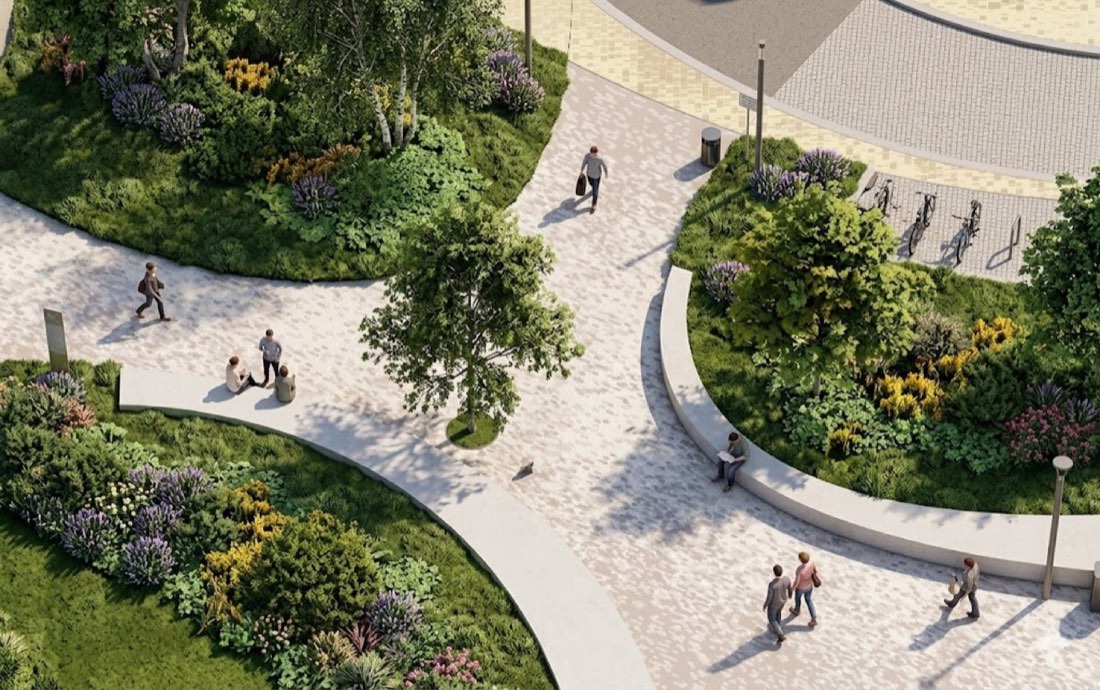
Plan to Birdseye and Perspective – Example 1: BeforePlan to Birdseye and Perspective – Example 1: After
BeforeAfter

Plan to Birdseye and Perspective

Prompt · Free prompt

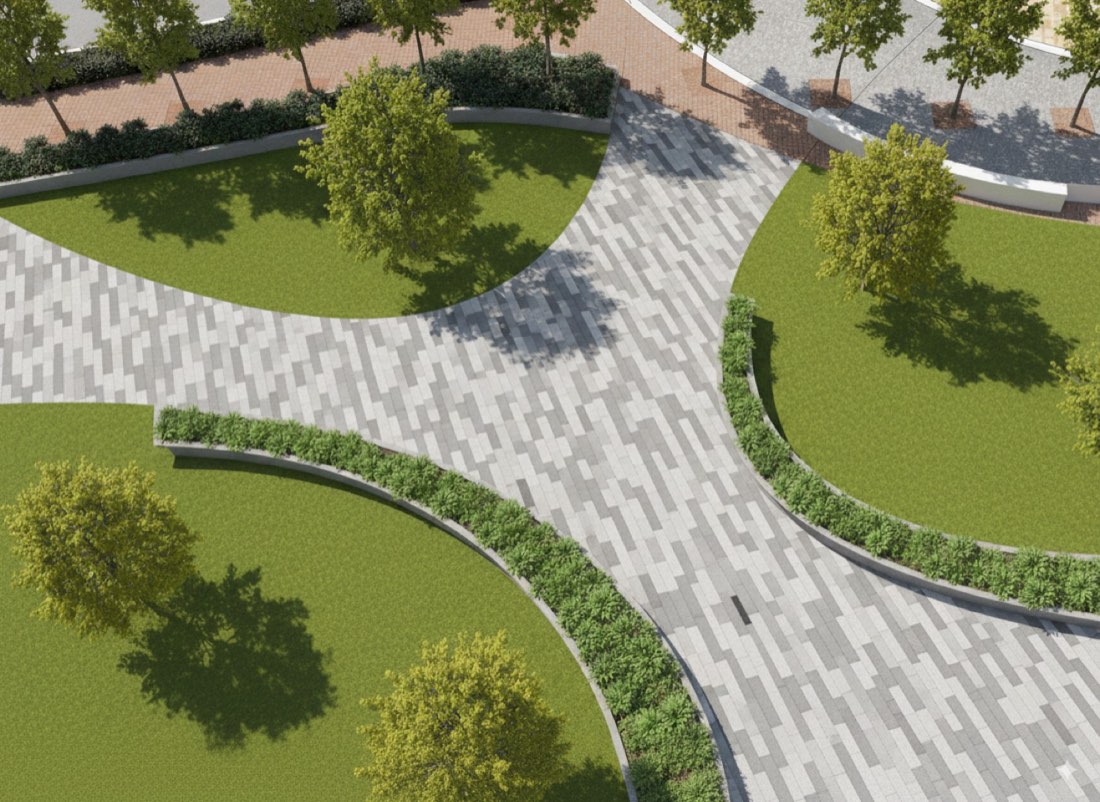
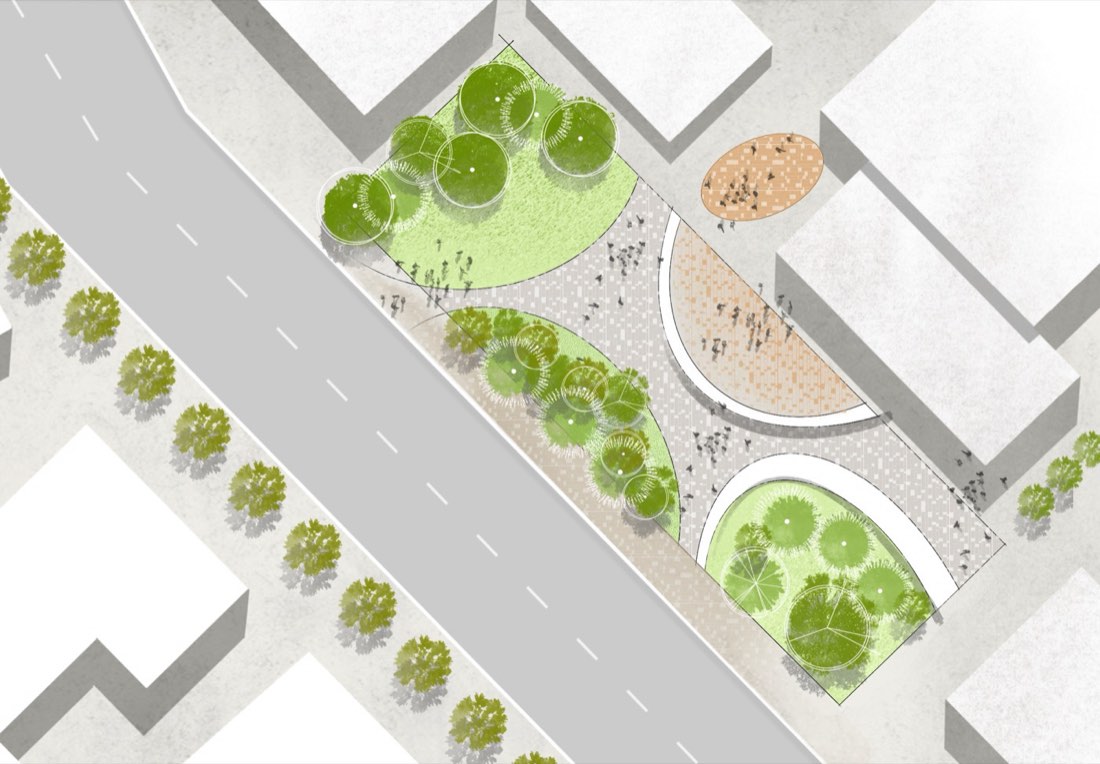
Convert this watercolor-style landscape plan into a photorealistic bird’s-eye view rendering in the style of Lumion. Maintain the original spatial layout and composition, but replace the watercolor textures with realistic materials and details. Render the softscape with natural grass, planted beds, and a variety of trees and shrubs using photorealistic vegetation. Apply concrete or stone textures to paths and plazas. Surround the landscape with modern residential buildings typical of contemporary California architecture — mid-rise structures with clean facades, balconies, and large windows. Use soft natural daylight, ambient shadows, and subtle reflections to enhance realism. The camera should capture a high, slightly angled bird’s-eye view, looking out toward the urban fabric beyond the site, giving a clear sense of how the landscape integrates with the surrounding modern neighborhood.

把这张水彩风格的景观平面图转换为 Lumion 风格的照片级鸟瞰效果图。保持原有空间布局和构图,但用写实的材料和细节替换水彩质感。软景部分用照片级植被表现:自然草地、种植池以及多种乔木和灌木。道路和广场使用混凝土或石材纹理。在景观周围布置典型的当代加州风格现代住宅——立面干净、带阳台和大窗户的中高层建筑。使用柔和的自然日光、环境阴影和细微的反射增强真实感。相机采用较高、略倾斜的鸟瞰视角,望向场地外的城市肌理,清楚展现景观如何融入周边的现代社区。

Advanced Practice for Landscape Design

Rendering to analytical diagram overlays

✦ Before → After1 examplesExample 01 · FreeOpen lesson →
Example 01
Rendering to analytical diagram overlays – Example 1: BeforeRendering to analytical diagram overlays – Example 1: After
BeforeAfter

Rendering to analytical diagram overlays

Prompt · Free prompt

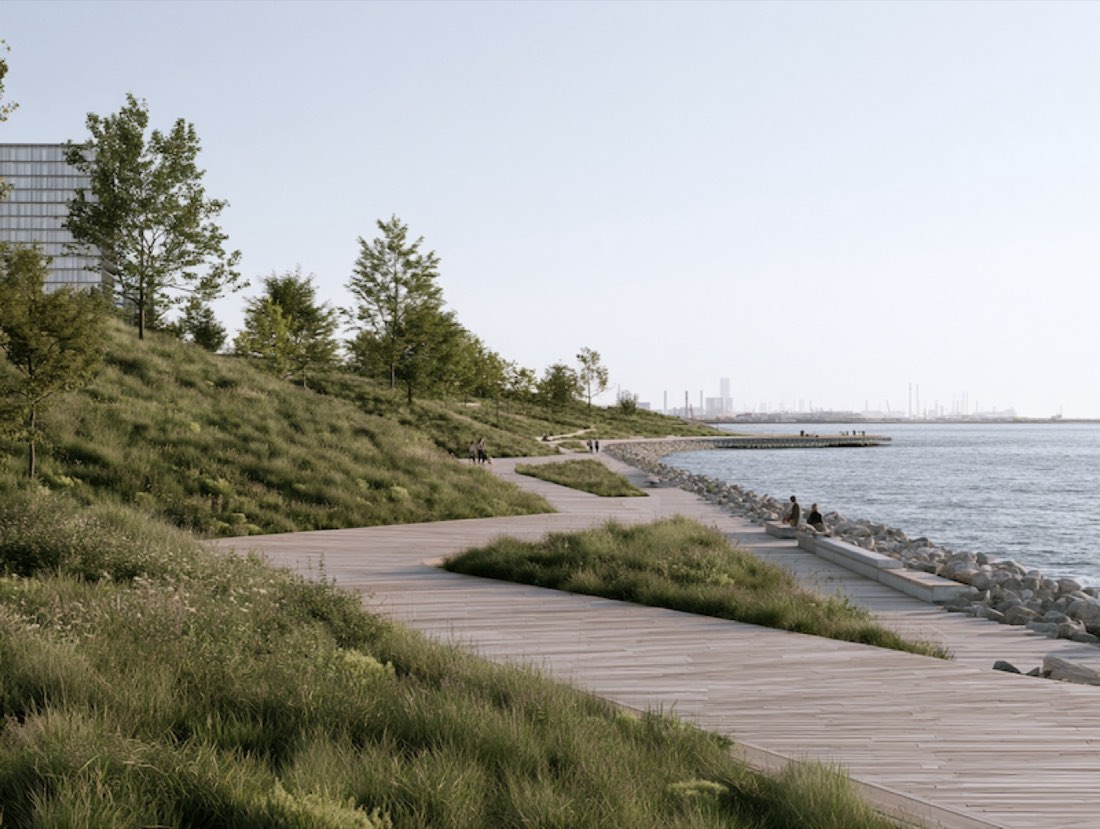
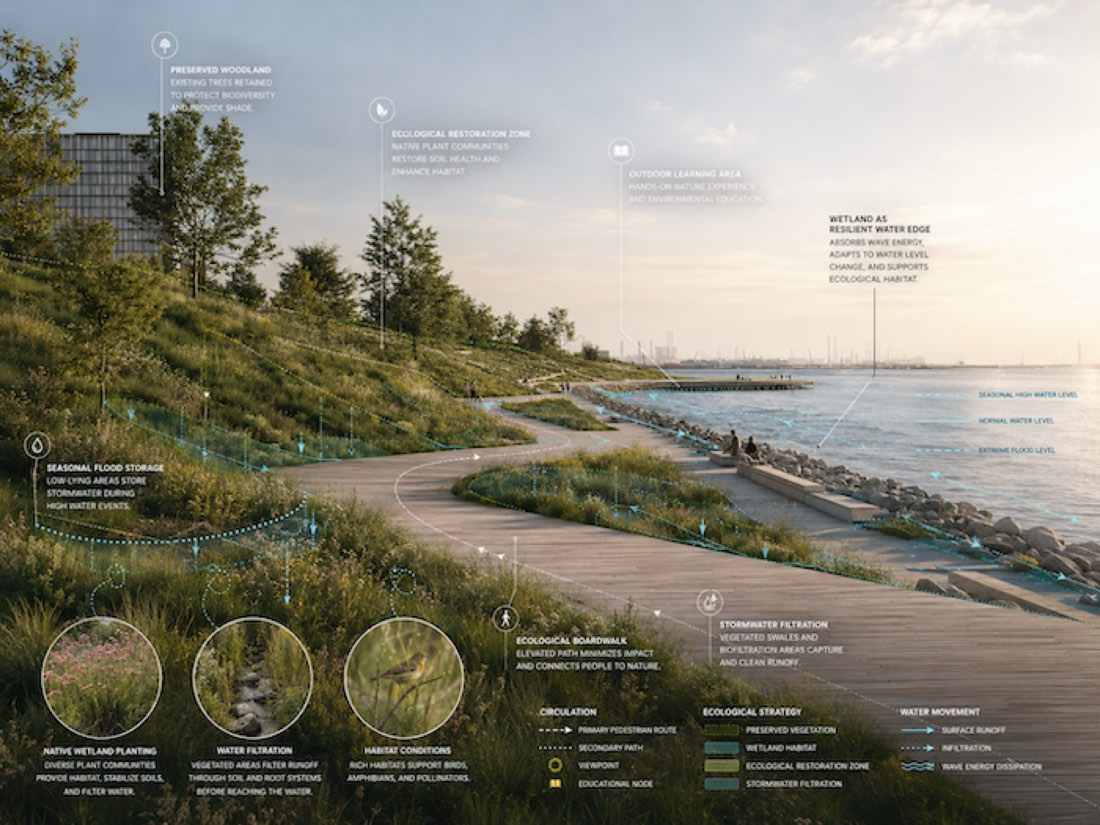
Transform my uploaded landscape architecture rendering into a professional landscape design visualization with integrated analytical diagram overlays. PRESERVE THE DESIGN: Keep the original landscape design, camera angle, perspective, spatial layout, landform, paths, boardwalks, water bodies, planting areas, buildings, structures, and major design elements exactly as shown in my uploaded image. Do not redesign the site. add minor rendering sun lights to the image. BASE RENDERING STYLE: Create a realistic but refined landscape architecture competition rendering. USE: - soft natural daylight - slightly atmospheric sky - realistic wetland and meadow planting - natural water reflections - layered native vegetation - realistic timber, stone, soil, and planting textures - subtle depth and atmospheric perspective - people naturally using the landscape - professional architectural visualization rather than cinematic CGI The rendering should remain slightly desaturated and editorial so that the analytical graphics are clearly visible. ANALYTICAL OVERLAY: Overlay architectural and landscape analysis graphics directly onto the perspective rendering. The graphics should feel carefully drawn in Adobe Illustrator over a professional landscape rendering. Use thin, precise vector linework rather than large opaque graphic shapes. SHOW RELEVANT LANDSCAPE SYSTEMS SUCH AS: - circulation and pedestrian movement - wetland zones - ecological habitat - stormwater management - floodable landscape - high water level - normal water level - planting zones - preserved vegetation - ecological restoration - educational areas - viewpoints - boardwalk connections - public activity areas Only show analytical information that makes sense for the uploaded project. WATER + ECOLOGY ANALYSIS: Where relevant, clearly illustrate how water interacts with the landscape. Use thin cyan or turquoise diagram lines to indicate: - normal water level - seasonal high water level - flood extent - water movement - infiltration - drainage - wetland filtration Allow some diagram lines to follow the actual terrain and water surface in perspective so the graphics feel spatially integrated rather than pasted onto the image. Use dotted and dashed lines for secondary ecological boundaries. CALLOUTS: Add several restrained analytical callouts connected to important design features using thin white or light-colored leader lines. POSSIBLE CALLOUTS INCLUDE: WETLAND AS RESILIENT WATER EDGE: ECOLOGICAL BOARDWALK: NATIVE WETLAND HABITAT: SEASONAL FLOOD STORAGE: PRESERVED WOODLAND: OUTDOOR LEARNING AREA: ECOLOGICAL RESTORATION ZONE: STORMWATER FILTRATION: USE CONCISE ARCHITECTURAL LANGUAGE.: Do not overcrowd the rendering with text. DETAIL MAGNIFIERS: Include 2–3 subtle circular magnified detail windows where appropriate. USE THEM TO HIGHLIGHT: - wetland planting - habitat conditions - water filtration - seasonal vegetation - ecological details Connect each circle precisely to its corresponding location. The circles should remain partially transparent and visually integrated with the rendering. GRAPHIC LANGUAGE: USE A RESTRAINED PALETTE: WHITE — LABELS AND PRIMARY ANNOTATIONS: cyan / turquoise — hydrology and water systems soft green — ecology and planting systems very limited yellow — important ecological or experiential highlights Use thin lines, dashed boundaries, translucent fills, small arrows, and delicate diagrammatic marks. Avoid thick arrows and oversized infographic icons. TYPOGRAPHY: Use clean architectural sans-serif typography. LABELS SHOULD BE: - uppercase - compact - white or muted neutral - clearly aligned - professionally spaced Maintain a strong hierarchy between major strategy labels and secondary annotations. STYLE TARGET: The final image should feel like a high-end landscape architecture competition visualization combining: realistic landscape rendering + ecological analysis + hydrological strategy + architectural annotation. It should resemble a professionally rendered landscape perspective that has been carefully post-produced in Photoshop and Adobe Illustrator. IMPORTANT: Avoid an AI-generated infographic appearance. DO NOT USE: - excessive glowing lines - neon graphics - random icons - oversized labels - excessive arrows - floating UI elements - heavy gradients - futuristic HUD graphics - cartoon-style diagrams - overly saturated rendering - excessive annotations Keep the analytical layer subtle, precise, technical, and elegant. The landscape rendering must remain the dominant visual element, while the diagrams explain how the design performs environmentally and spatially.

把我上传的景观设计效果图,转换为一张叠加分析图层的专业景观设计可视化图。 保留设计: 完全保持我上传图像中的原有景观设计、相机角度、透视、空间布局、地形、道路、木栈道、水体、种植区、建筑、构筑物和主要设计元素。 不要重新设计场地。给图像加入少量阳光效果。 底图渲染风格: 生成写实而精致的景观设计竞赛效果图。 使用: - 柔和的自然日光 - 略带氛围的天空 - 写实的湿地和草甸种植 - 自然的水面倒影 - 有层次的本土植被 - 写实的木材、石材、土壤和种植质感 - 细微的纵深和空气透视 - 自然使用景观的人们 - 专业的建筑可视化,而不是电影式 CGI 效果图保持略微低饱和、有杂志感,让分析图示清晰可见。 分析图层: 在透视效果图上直接叠加建筑和景观分析图示。 图示应像在专业景观效果图上用 Adobe Illustrator 精心绘制的。 使用细而精确的矢量线条,而不是大块不透明的图形。 展示相关的景观系统,例如: - 交通与人行流线 - 湿地分区 - 生态栖息地 - 雨水管理 - 可淹没景观 - 高水位 - 常水位 - 种植分区 - 保留植被 - 生态修复 - 科普教育区 - 观景点 - 木栈道连接 - 公共活动区 只展示对上传项目有意义的分析信息。 水与生态分析: 适当时,清楚表现水与景观的相互作用。 用细的青色或蓝绿色分析线表示: - 常水位 - 季节性高水位 - 淹没范围 - 水流方向 - 下渗 - 排水 - 湿地过滤 让部分分析线顺着透视中实际的地形和水面走,使图示在空间上融为一体,而不是贴在图上。 次要的生态边界用点线和虚线表示。 标注: 用细的白色或浅色引线,在重要设计要素处加入几个克制的分析标注。 可用的标注包括: 湿地作为韧性水岸 生态木栈道 本土湿地栖息地 季节性蓄洪 保留林地 户外学习区 生态修复区 雨水过滤 使用简洁的建筑语言。 不要让文字挤满效果图。 细节放大圈: 在适当位置加入 2–3 个淡淡的圆形放大细节窗口。 用来突出: - 湿地种植 - 栖息地状况 - 水过滤 - 季节性植被 - 生态细节 每个圆圈精确连接到对应位置。 圆圈保持部分透明,在视觉上与效果图融为一体。 图示语言: 使用克制的配色: 白色——标签和主要标注 青色/蓝绿色——水文和水系统 柔和绿色——生态和种植系统 极少量黄色——重要的生态或体验亮点 使用细线、虚线边界、半透明填充、小箭头和精致的分析符号。 避免粗箭头和过大的信息图图标。 字体: 使用干净的建筑无衬线字体。 标签应: - 全大写 - 紧凑 - 白色或柔和中性色 - 对齐清楚 - 间距专业 主要策略标签与次要标注之间保持清晰的层级。 风格目标: 最终图像应像一张高端景观设计竞赛可视化作品,结合: 写实景观效果图 + 生态分析 + 水文策略 + 建筑标注。 它应像一张专业渲染、并经过 Photoshop 和 Adobe Illustrator 精心后期处理的景观透视图。 重要: 避免 AI 生成的信息图感。 不要使用: - 过多的发光线条 - 霓虹图形 - 随意的图标 - 过大的标签 - 过多的箭头 - 悬浮的 UI 元素 - 浓重的渐变 - 未来感 HUD 图形 - 卡通式分析图 - 过饱和的效果图 - 过多的标注 让分析图层保持低调、精确、技术性和优雅。景观效果图必须始终是视觉主体,分析图则解释设计在环境和空间上如何发挥作用。
Get every prompt in the library

218 tested prompts, 210 worked examples and 423 before/after images for Nano Banana and ChatGPT, plus the 291-page bilingual PDF guide.

Get the full library