AI for Architecture
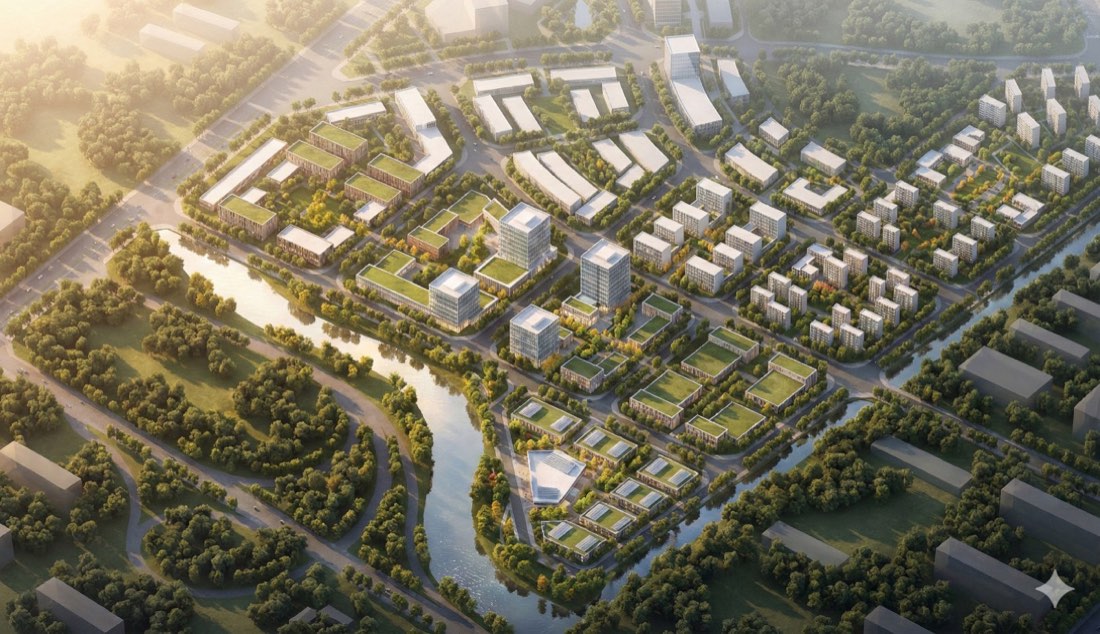
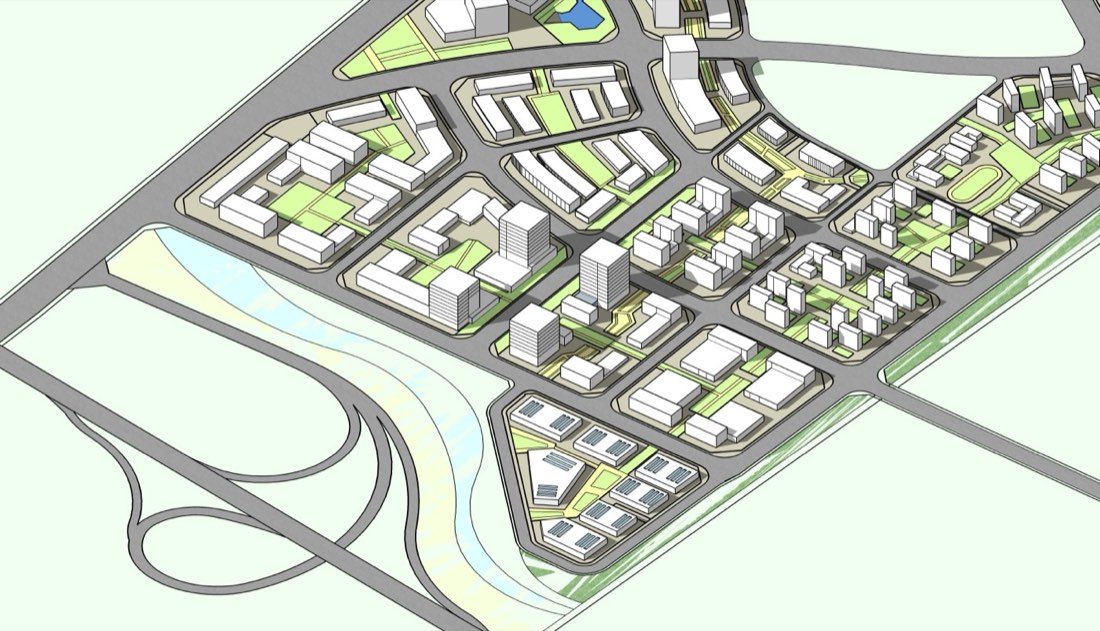
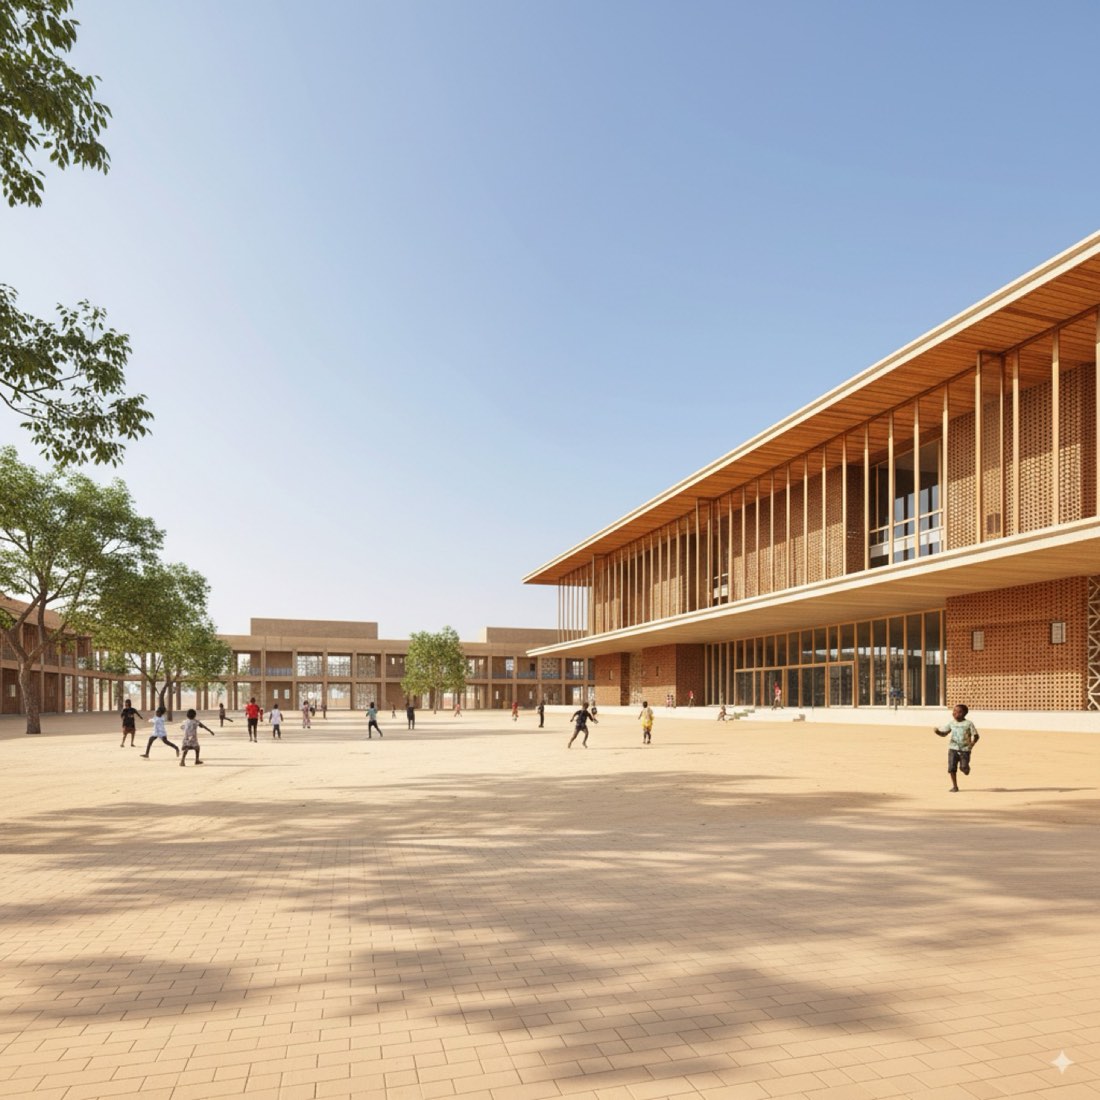
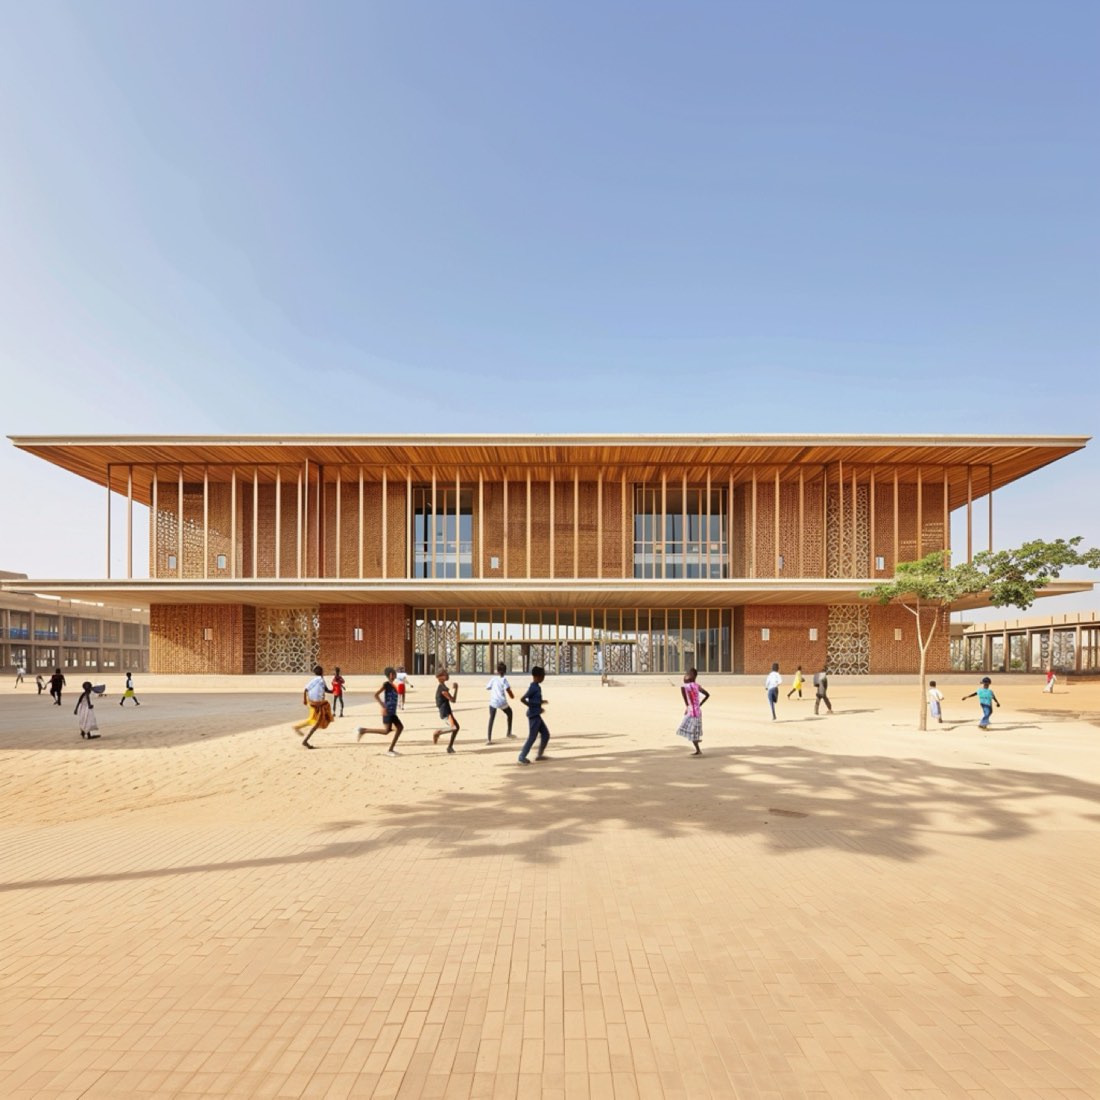
Export one clean clay-style screenshot from SketchUp, upload it to Google Gemini (Nano Banana), and keep working in the same chat: first a rendering, then facade options, close-up details, an interior view, a drone view, a physical-model look and an axonometric diagram. Staying in one conversation keeps the style consistent, so a single image becomes a full presentation set without extra modelling or rendering software.
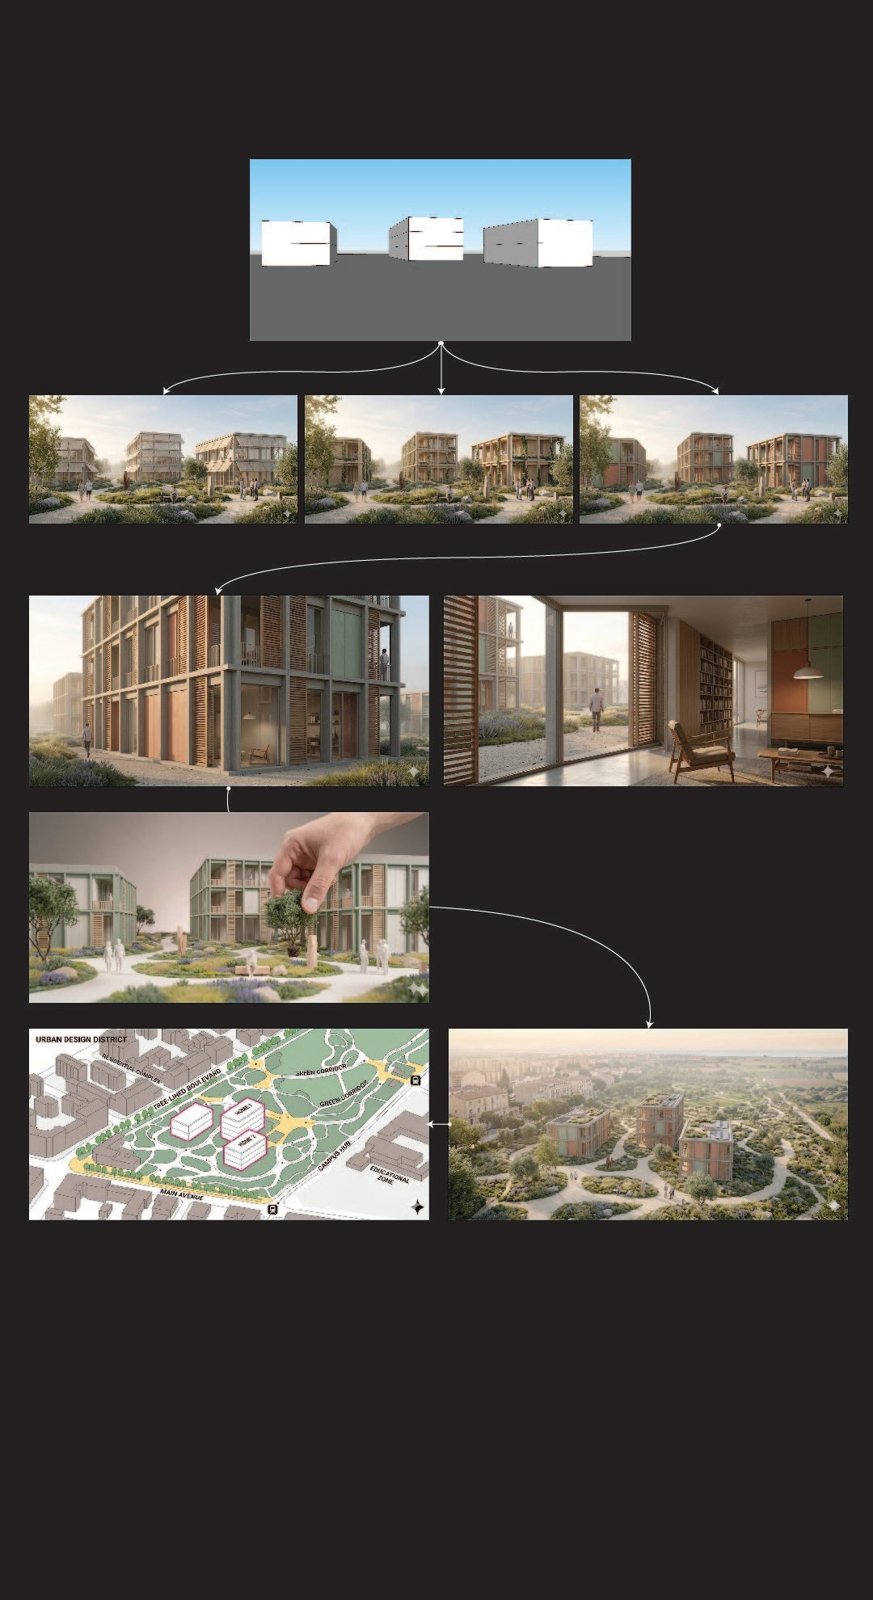
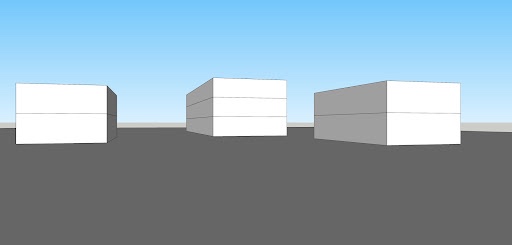
Step 1: prepare the SketchUp screenshot
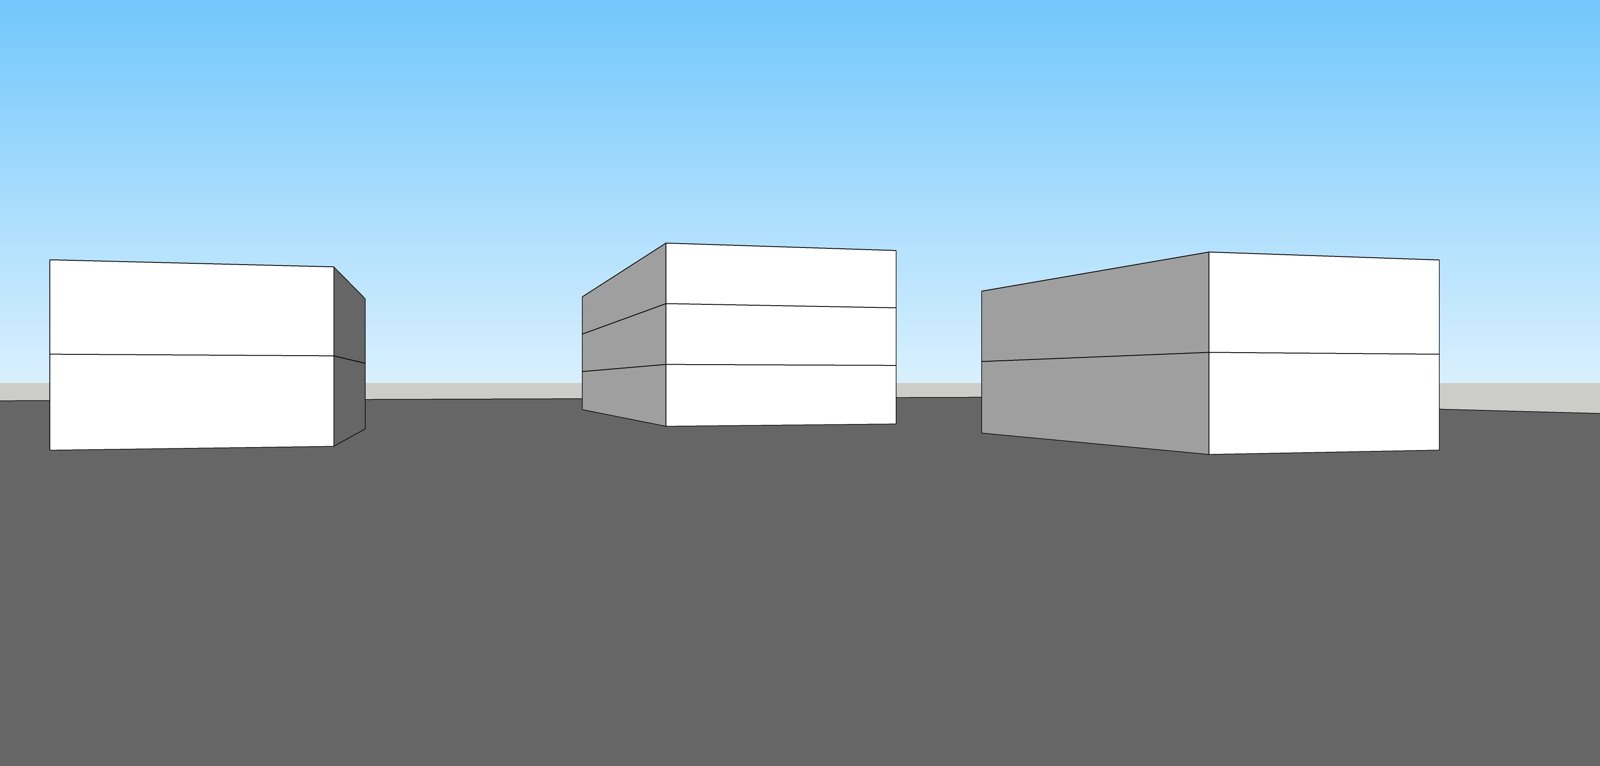
- Use a clear camera view (front, angled or perspective).
- Keep the model simple: a white or clay model works best.
- Avoid heavy shadows and textures.
- Export at high resolution.
Step 2: upload it to Gemini and render
Drag the screenshot into a Gemini chat and describe the style, materials, lighting, rendering quality and context (urban or landscape setting).
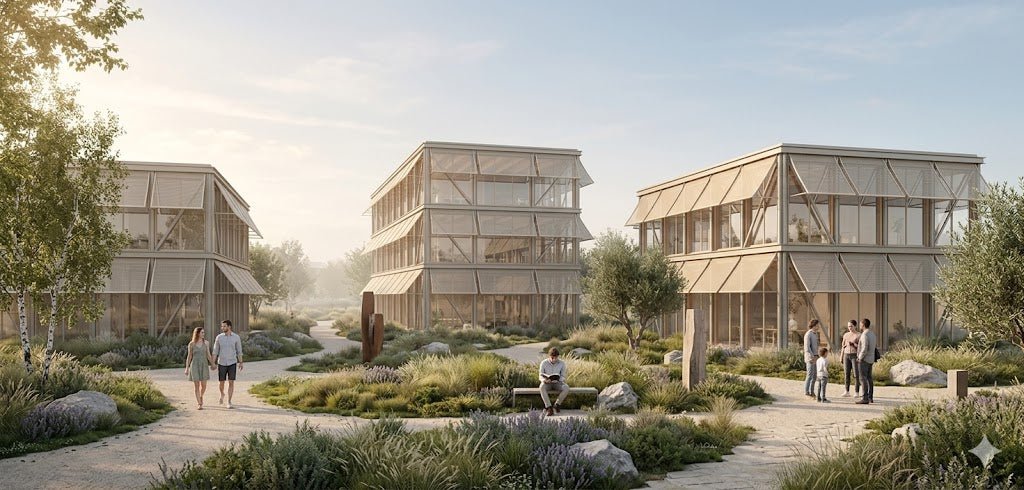
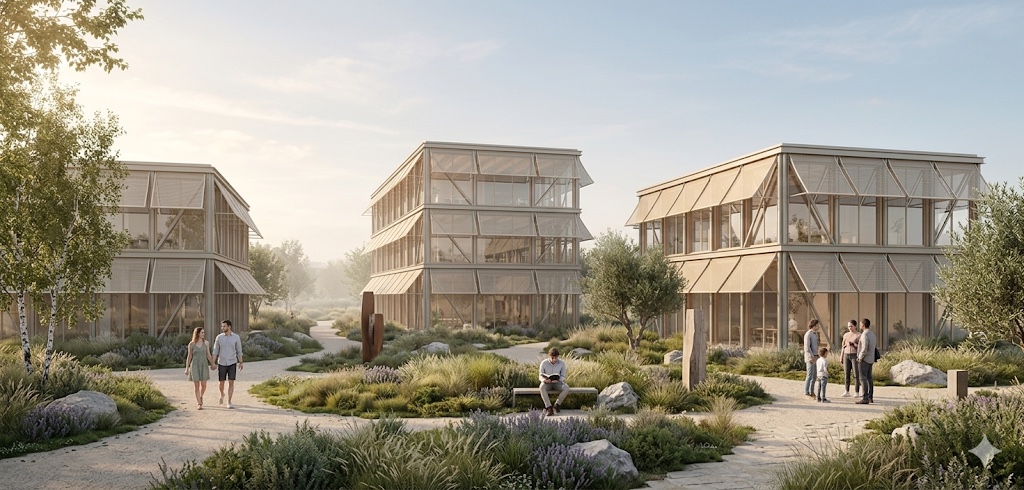
Render my landscape architecture model in a soft contemporary European architectural visualization style, utilizing warm sunlight with soft global illumination, minimal harsh shadows, and slight atmospheric haze for depth. The landscape design should feel naturalistic and integrated, featuring curved pedestrian paths, mixed grasses, shrubs, and small trees in layered planting, alongside scattered stones or sculptural vertical elements and soft terrain transitions without rigid edges. Include a few people in relaxed poses, such as walking, sitting, and talking, to create a calm social atmosphere within a color palette of muted greens, warm beige, soft gray, and slightly desaturated tones. The lighting mood should be peaceful, warm, cinematic, and quiet, with gentle highlights and soft shadows, while the composition emphasizes human-scale space, depth, and enclosure between buildings and landscape. Maintain the building’s overall massing, stories, scale, and proportions, but implement a new façade system reflecting modern eco-village architecture. This architecture is a lightweight contemporary pavilion-style building composed of a clear structural system, featuring a visible metal structural frame with diagonal bracing, slender vertical columns, and large transparent glass curtain walls revealing the interior floors. Horizontal floor plates are expressed with thin metal edges and subtle cladding panels, maintaining precise alignment and spacing. Add semi-open sun-shading awnings to every floor level, following the same horizontal lines of the existing floor plates; these awnings should be light-colored, translucent or perforated panels, such as metal mesh or fabric-like shading screens, mounted slightly outside the facade structure. These shading elements must align with the building grid and follow the exact building proportions, creating a layered facade depth while maintaining transparency and airflow.
Step 3: generate facade options in the same chat
Do not start over. Ask for a new facade and tell Gemini to keep the landscape and environment the same, so you get comparable options.
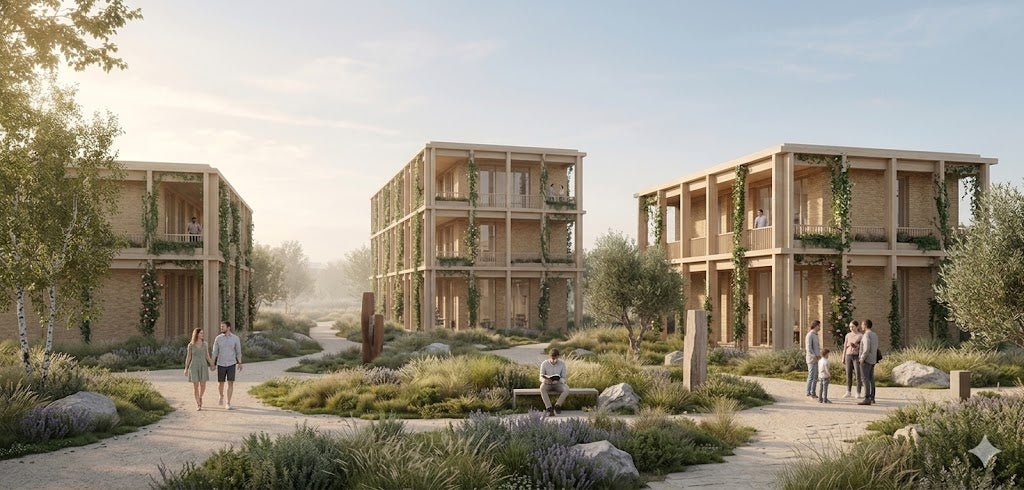
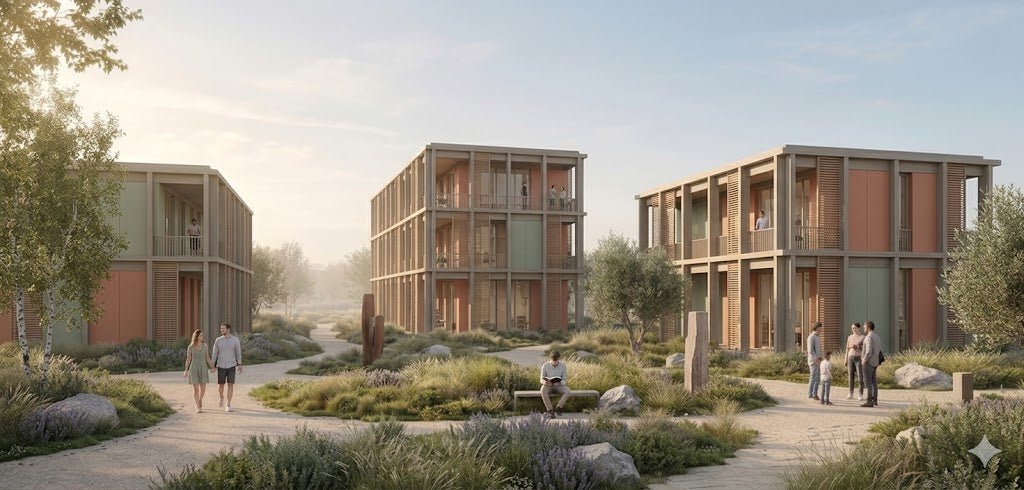
change facade: a modular timber façade defined by a regular structural grid. The façade should feature: Light-toned timber columns and horizontal slabs forming a clear orthogonal frame Recessed balconies/loggias within each module Warm brick infill panels behind the structure Full-height glazing set back from the outer frame to create depth Add a layered façade system: Outer layer of climbing vegetation and integrated greenery growing vertically across the façade Middle layer as the exposed structural grid Inner layer with glazing and solid walls keep landscape and other environments same
Keep my building’s overall massing, stories, scale, proportions, but applnew façade system. Buildings in muted terracotta and sage green colors. Large floor-to-ceiling windows with wooden privacy slats.Remove layer of climbing vegetation and integrated greenery growing vertically across the façade. European architectural visualization style. Keep rest environment and landscape same.
Step 4: close-up details and an interior view
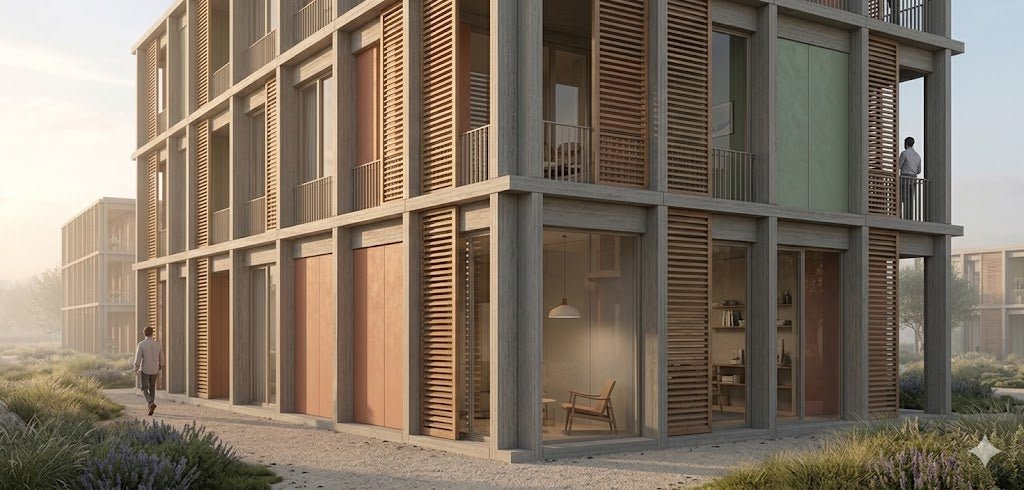
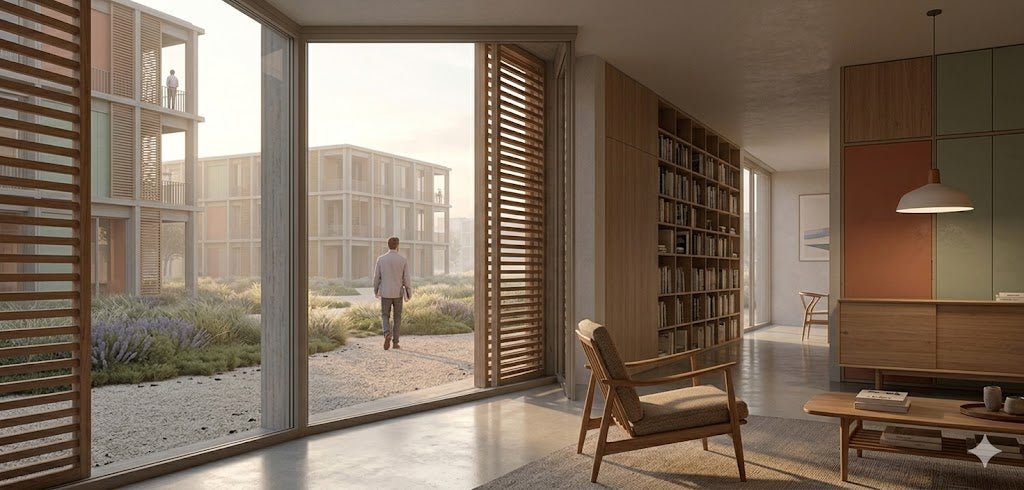
Render a close-up architectural view focusing on facade details, highlighting the panel system, structural rhythm, materials, and textures. Keep the environment consistent with the original scene. Keep the scale like real life. High-detail competition rendering, soft lighting, MIR-style architectural visualization.
based on the architecture rendering, make image: from living look to outside. the living room should modern decor with wooden furniture.
Step 5: bird's-eye and drone views
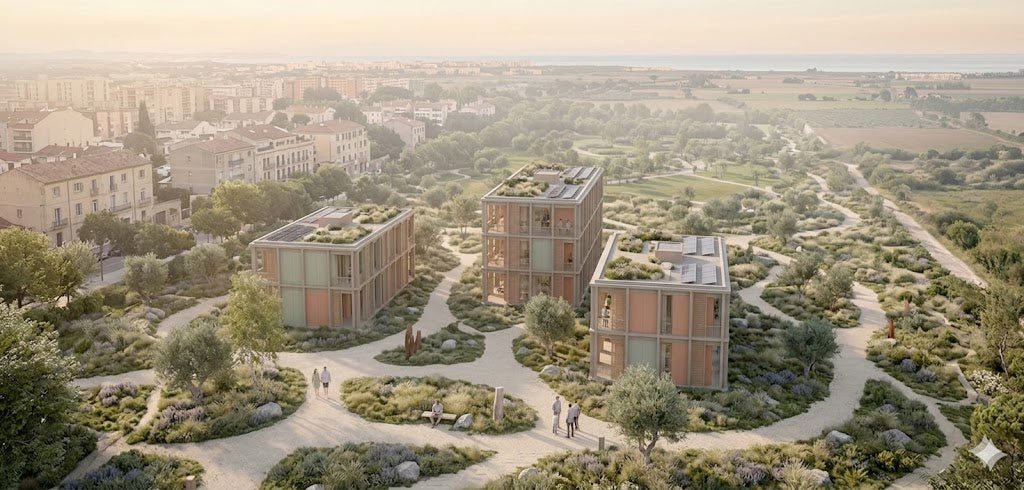
Turn my architecture rendering to Drone Shot (Cinematic) Camera positioned 80–120 meters above ground, angled 35° downward, orbiting slightly off-axis to reveal building massing and urban context. Lens 24–35mm drone perspective. Soft haze and cinematic atmosphere. MIR-style rendering. keep the overall color and atmosphere same.
Step 6: a physical-model look and diagrams
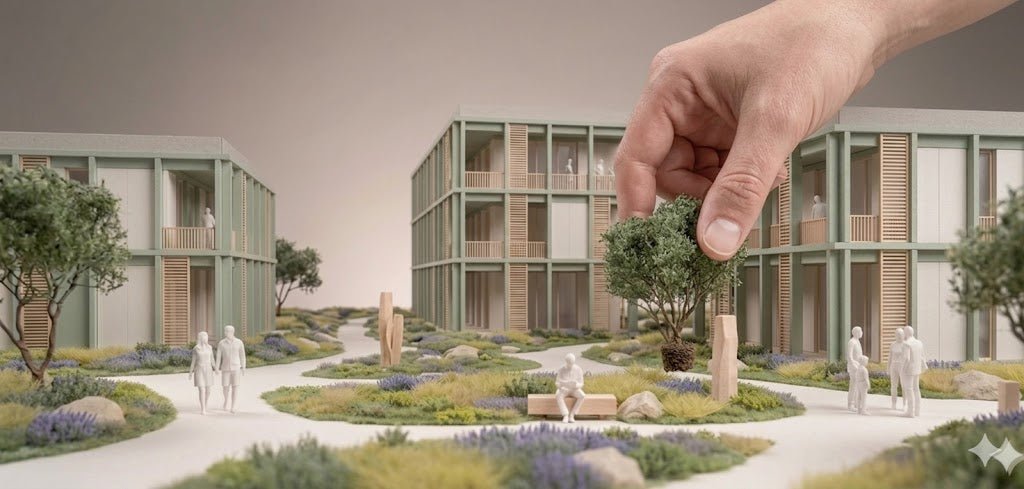
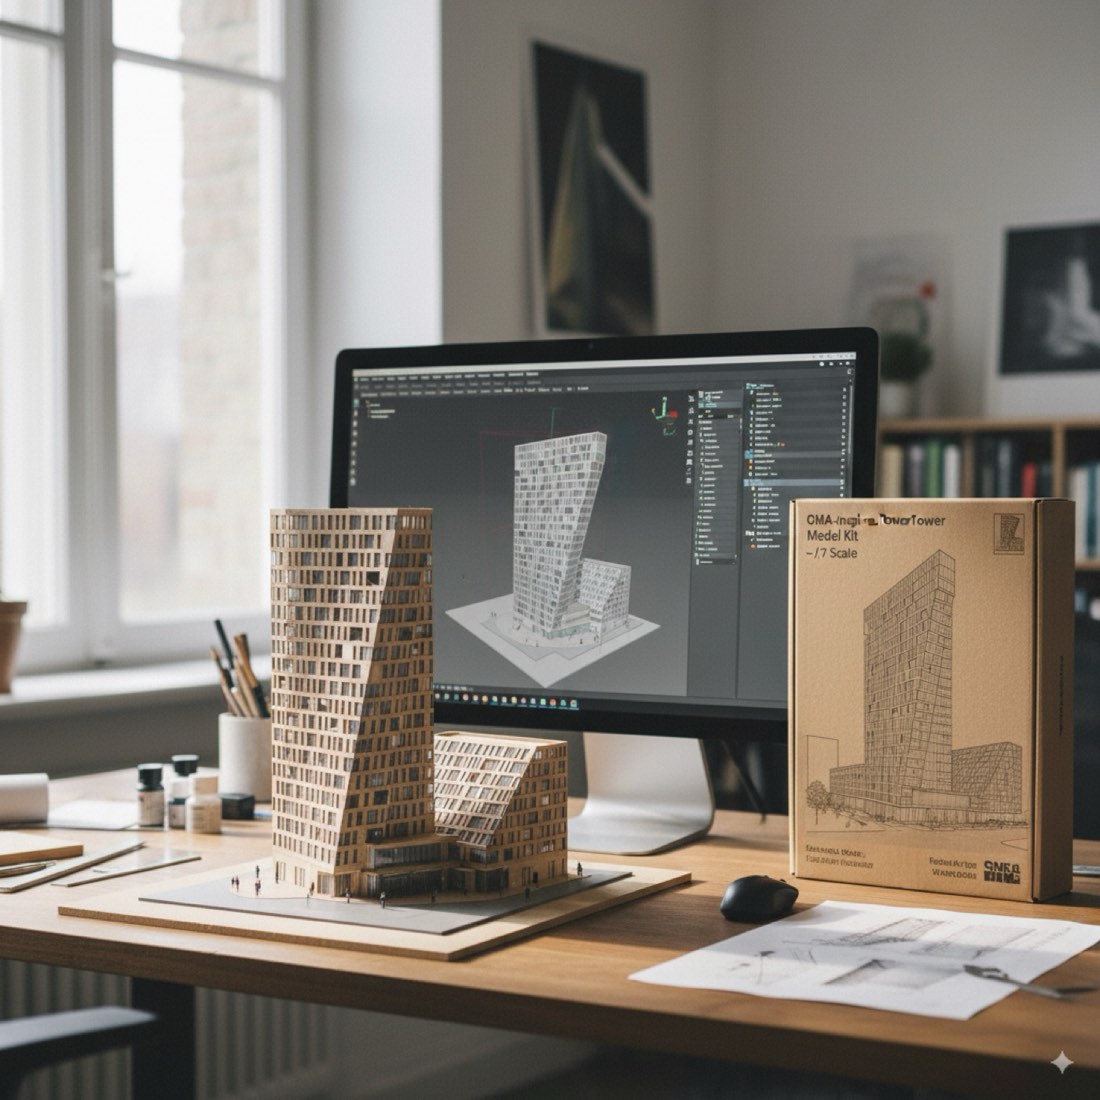
Render my architectural / landscape model in a physical scale model (maquette) style. Use minimal, abstracted geometry with clean edges and simplified forms. Materials: Buildings in matte pastel green (sage green) Roofs with subtle ribbed texture Windows in clear or slightly frosted acrylic Ground plane in smooth off-white (foam board style) Landscape as soft green textured patches (moss / flocking effect) Add tiny human figures with minimal detail to indicate scale. Lighting: Soft studio lighting, evenly diffused No harsh shadows Subtle warm-gray gradient background Camera: Shallow depth of field (macro lens feel) Focus on central area, foreground/background slightly blurred Color palette: Muted, pastel, desaturated tones Clean and cohesive (green + off-white + light wood) a hand is placing the model tree to this model Overall mood: Calm, conceptual, gallery-quality architectural model Precise, minimal, and elegant Avoid realism textures, avoid clutter — keep it abstract, tactile, and model-like.
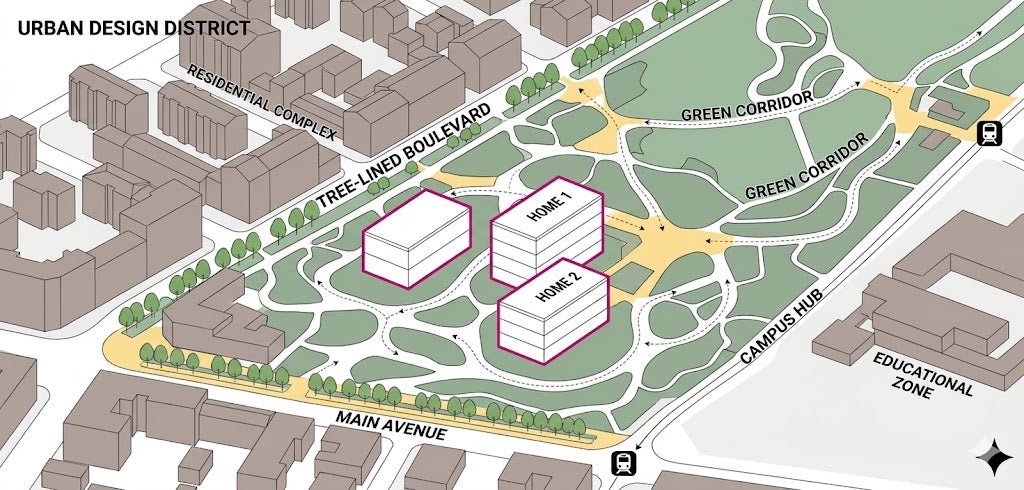
Turn my rendering to an urban design axonometric masterplan diagram in a clean architectural illustration style. Keep my building’s overall massing, stories, scale, proportions. View & layout Bird’s-eye axonometric projection No perspective distortion, no realism Buildings Simple white extruded massing blocks thick magenta/pink outlines for proposed buildings Existing green spaces turn to flat green. Sharp edges, minimal detail Public realm Tree-lined streets and green corridors shown with simplified green tree symbols Landscape is diagrammatic and abstract Circulation Pedestrian paths shown with dashed arrows Transit nodes indicated with simple icons (train / metro) Major streets clearly labeled Text & labels Use bold axonometric text aligned to site geometry ALL CAPS for key areas (e.g. “Residential Building”) Program labels directly on building volumes: HOME 1, HOME 2, HOME 3 Graphic style Flat vector illustration Muted architectural color palette White background or very light beige base map No shadows, no textures, no photorealism Overall mood Clear, professional, competition-ready urban design diagram Similar to planning diagrams used in architectural masterplans and city proposals
Why one chat works
- The visual style stays consistent from image to image.
- You never re-upload the base image.
- Each prompt only has to describe the change.
- It works for architecture and landscape projects alike.
By Zixu Qiao, LandSpace Architecture. Adapted from the original article on the LandSpace blog. Updated 2026-11-17.