AI for Architecture
Start from one street photo or Street View screenshot. Ask an image AI (such as Nano Banana) to overlay a hand-drawn design sketch, turn it into a section perspective, then a realistic rendering, extra views and a masterplan from an aerial photo. Finally, use pairs of these images as start and end frames in a video model such as Seedance 2.0 to animate each step, and join the clips into one video.
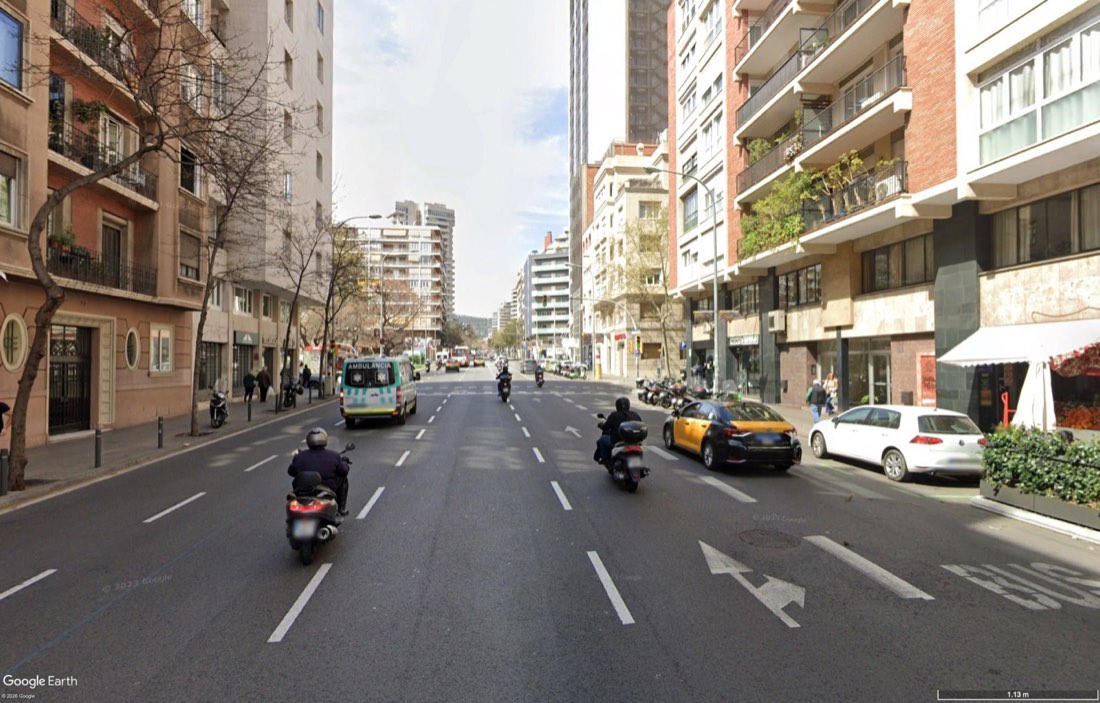
Step 1: start with a street photo
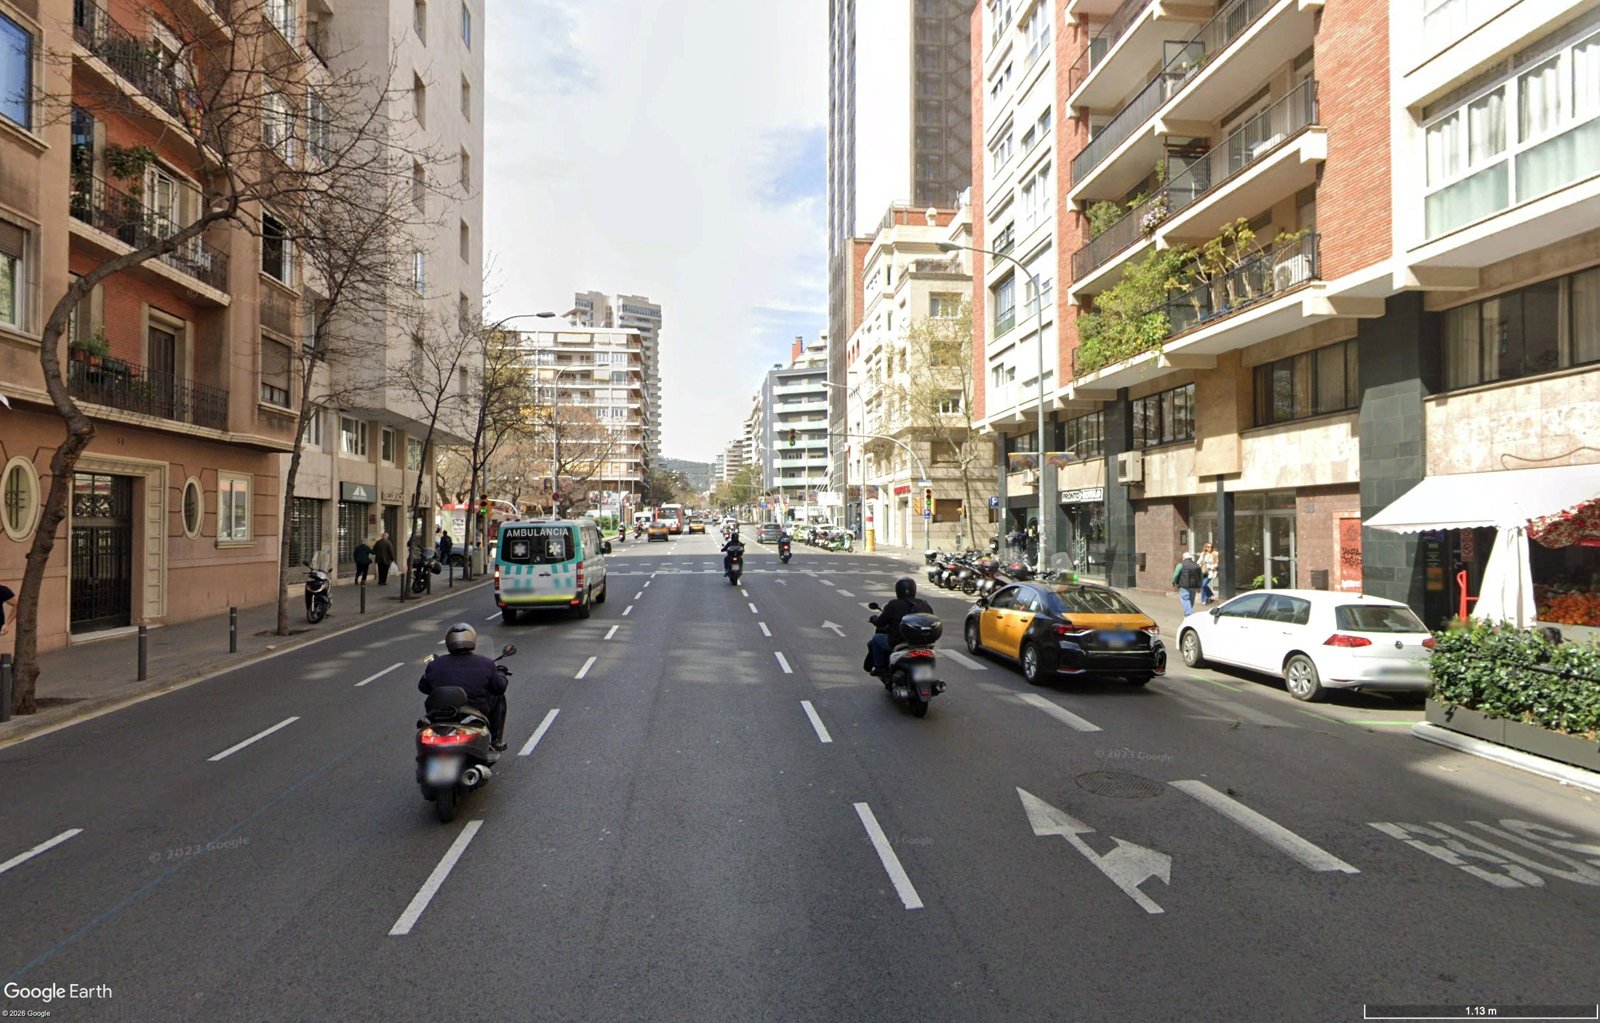
A Google Street View screenshot or your own site photo works. What matters is a clear perspective of the street you want to redesign.
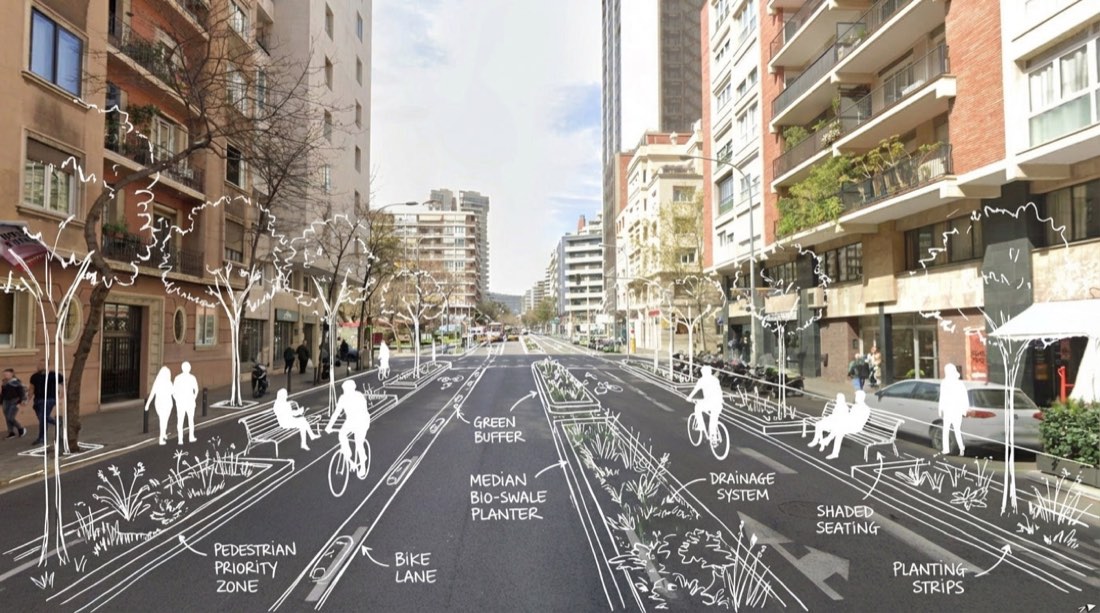
Step 2: overlay a sketch design
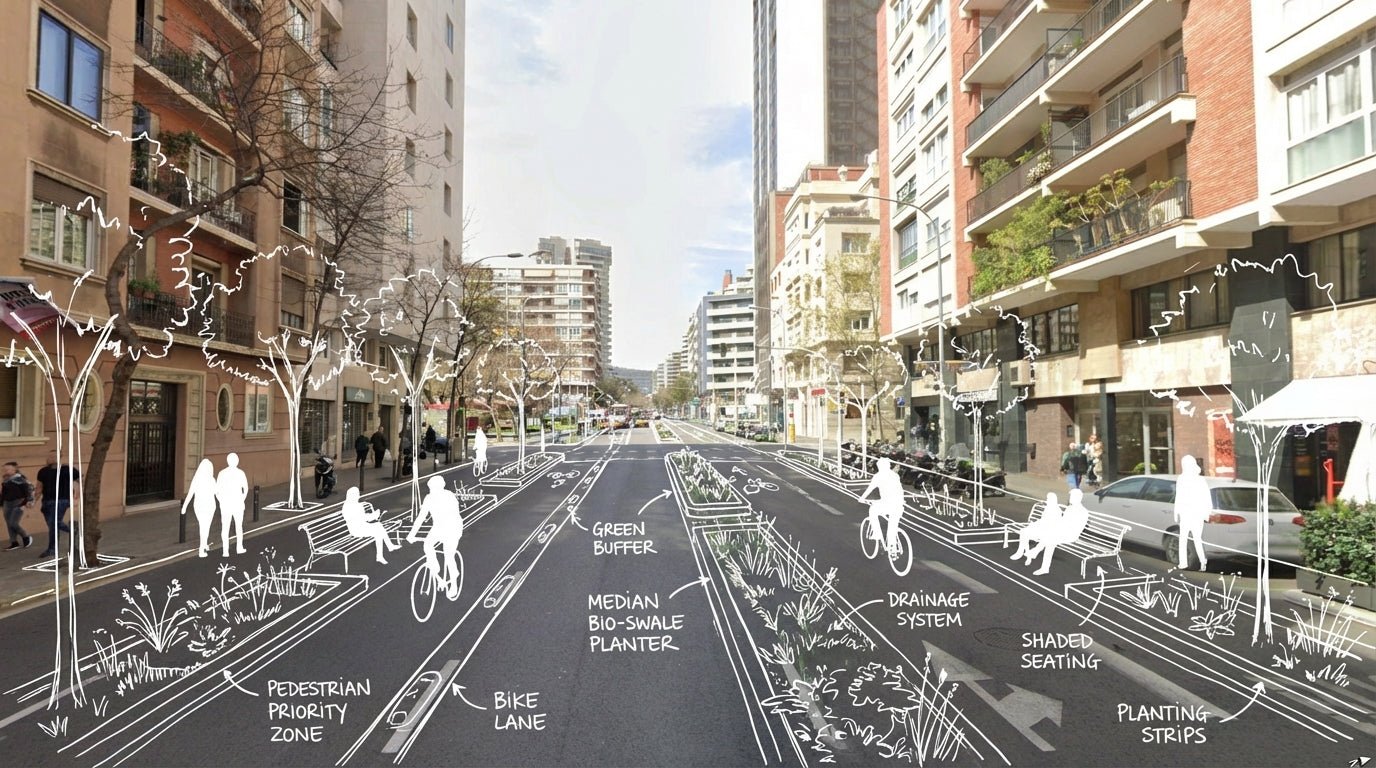
Transform my street-view image into a streetscape design diagram with hand-drawn white sketch overlays.Keep the original photo as the base layer, preserving perspective, lighting, and existing context. Overlay loose, hand-drawn white linework (thin ink lines with slight variation) to illustrate streetscape improvements, including: wide pedestrian paths, shared street zones, median bio-swale planter in the center of road, bike lanes, planting edges, bio-swales, rain gardens, street trees, seating niches, curb extensions, and traffic-calmed lanes. Use organic, slightly imperfect sketch lines (not rigid CAD), clearly following the perspective of the street.Add simple white human silhouettes (walking, cycling, sitting) to show activity and scale. Include clean annotation labels and arrows in a handwritten or architectural diagram style to identify elements such as:pedestrian priority zone, bike lane, green buffer, drainage system, shaded seating, and planting strips. Highlight key interventions subtly (bike lane, green infrastructure) while keeping the overall graphic light and readable. Style: photo + architectural sketch overlay, urban design concept visualization, minimal, narrative-driven, Instagram-ready, competition diagram aesthetic.
Step 3: a section perspective
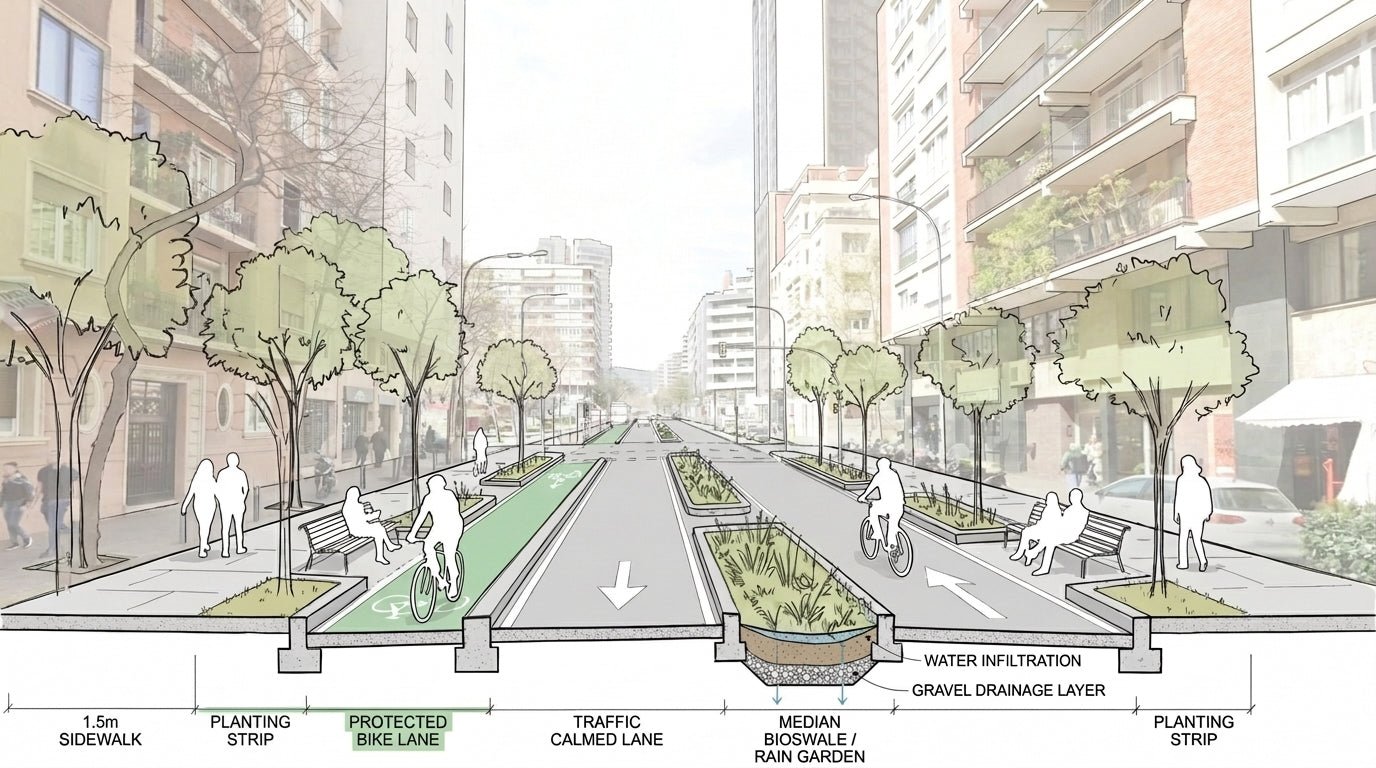
Based on the hand-drawn streetscape diagram, transform the image into a section-perspective streetscape drawing while keeping the same viewpoint and composition. Reveal the street section logic clearly within the same perspective, including: wide sidewalk furnishing / buffer zone traffic-calmed vehicular lane protected bike lane depressed bioswale / rain garden with planting and drainage layer planting strip with trees Show curbs as raised concrete edges, clearly separating each zone. Express the bioswale as a lowered section with soil, vegetation, and water infiltration detail. Integrate a clean section cut at the base of the image, showing zone widths and structure while maintaining the perspective above. Keep sketch-style linework, minimal color accents (bike lane, planting), and clear spatial organization. Style: hybrid perspective + technical section diagram, clean, architectural, competition-level graphic.
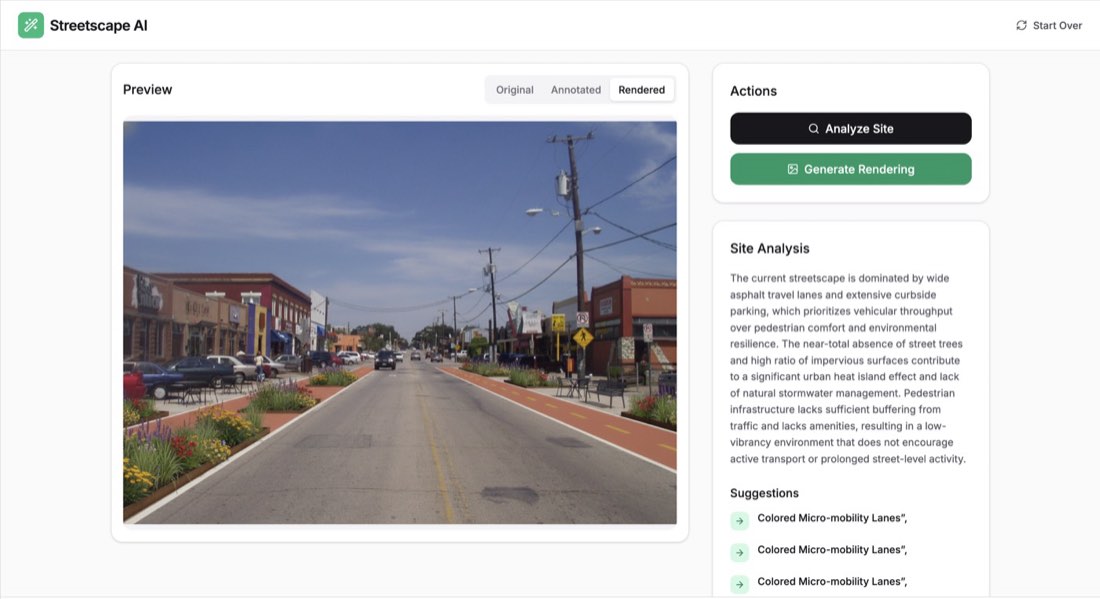
Step 4: sketch to realistic rendering
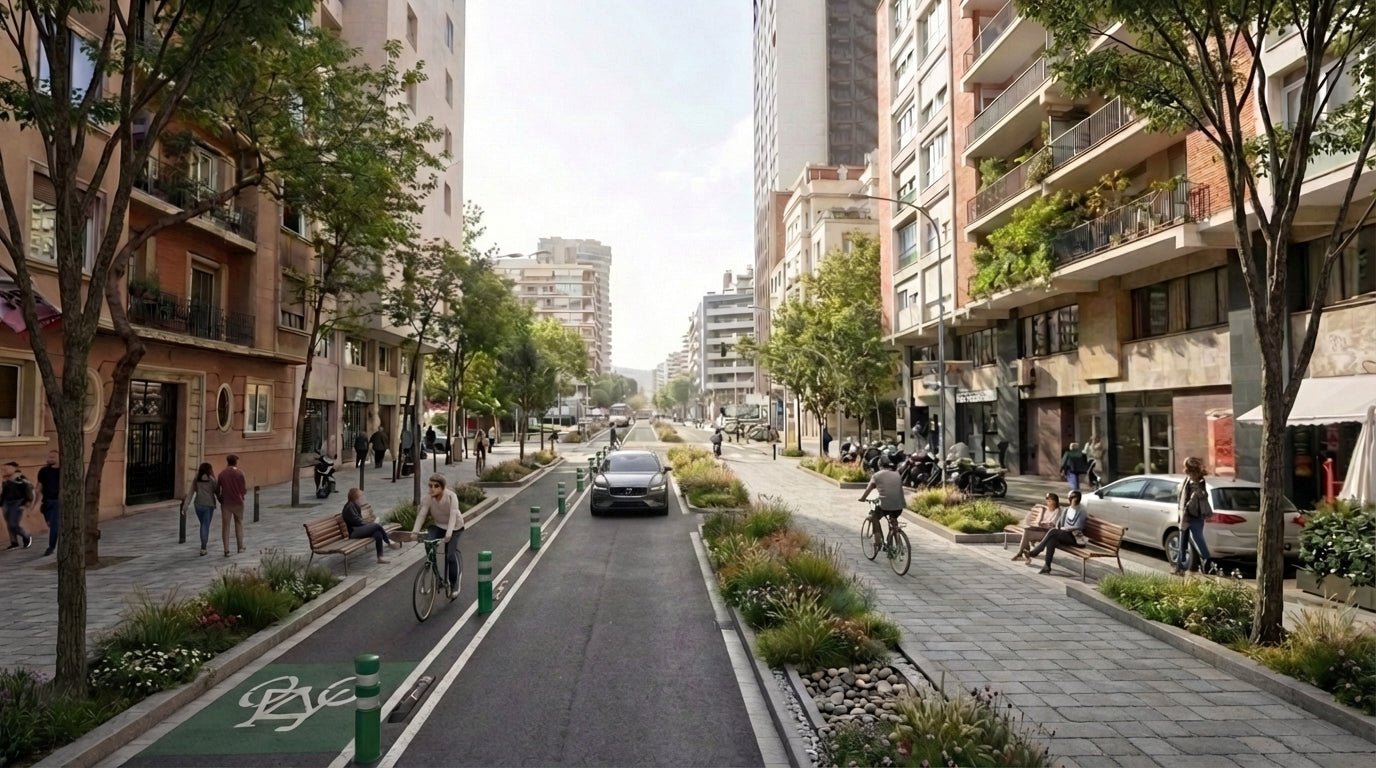
Based on the streetscape sketch diagram, transform the image into a realistic streetscape rendering. Keep the same camera view, perspective, buildings, and background unchanged. Remove all sketch lines, annotations, arrows, and diagram elements. Translate the design into a fully realistic environment, including: wide pedestrian sidewalks with detailed paving, furnishing zones, traffic-calmed vehicular lane, protected bike lane, bioswale / rain garden with real planting, street trees, seating areas, and curb edges. Make the bioswale clearly visible as a depressed planted strip, with natural soil, grasses, and drainage character. Show curbs, material transitions, and edge conditions realistically. Use high-quality materials and textures: concrete, stone paving, asphalt, vegetation, and water where applicable. Add people walking, cycling, and sitting naturally to create a lively public space.Lighting: soft natural daylight, realistic shadows, slightly cinematic atmosphere.Style: high-end architectural visualization, clean, natural, competition rendering, MIR style.
Step 5: edit, add views and a masterplan
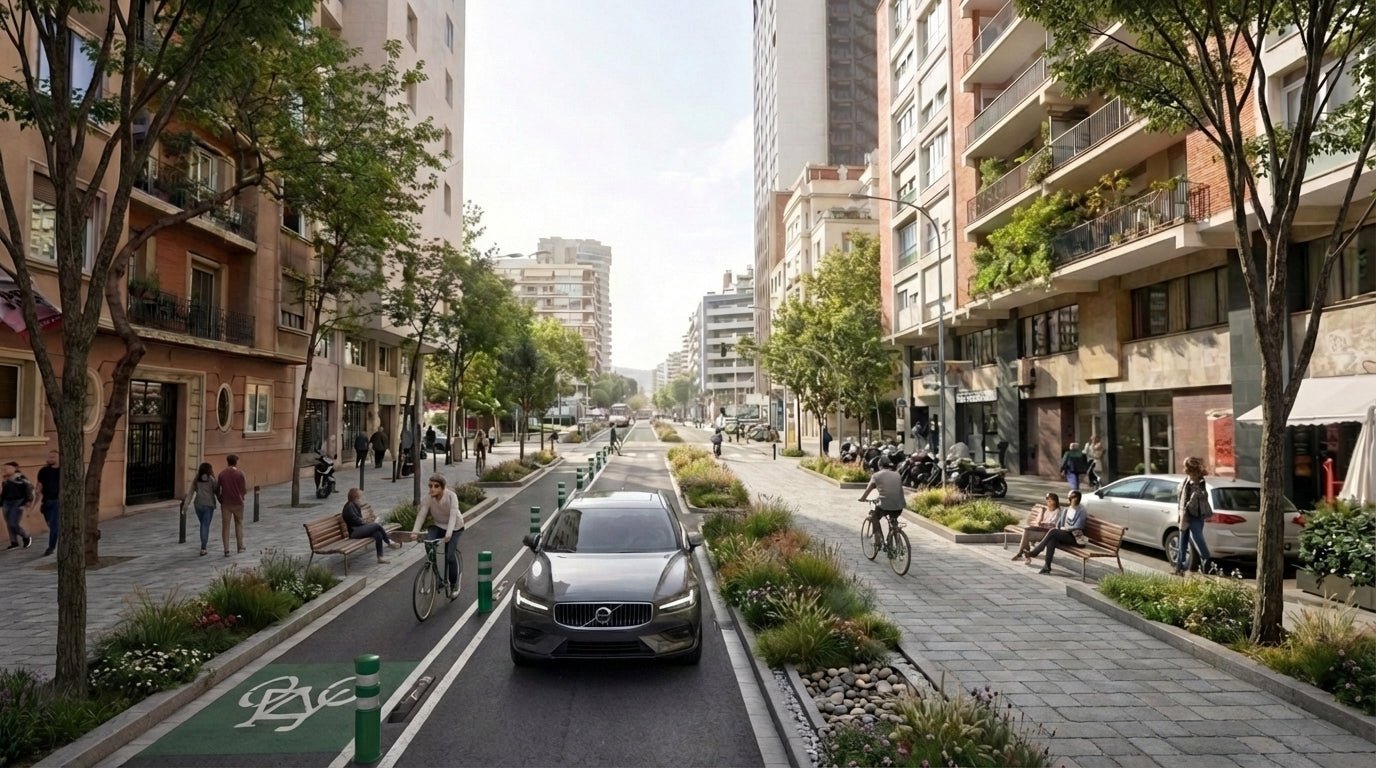
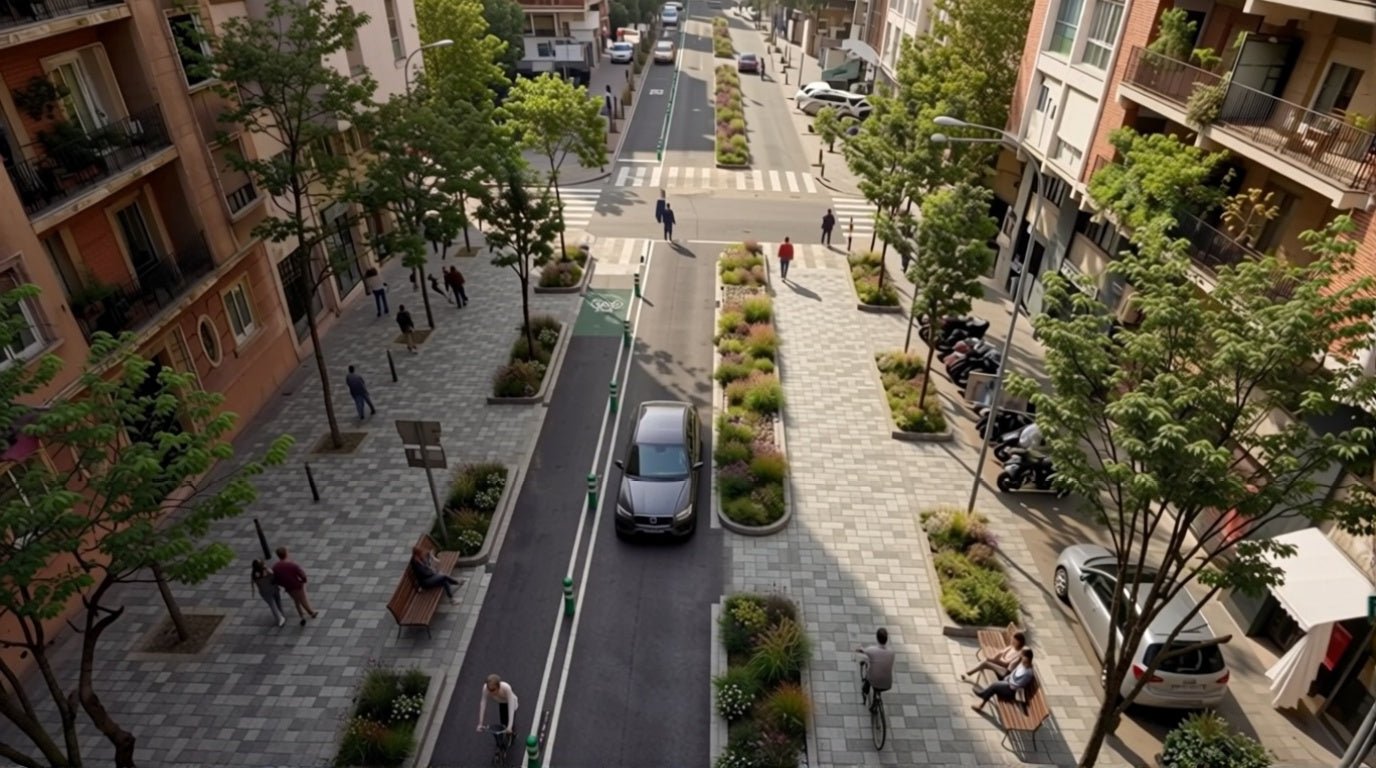
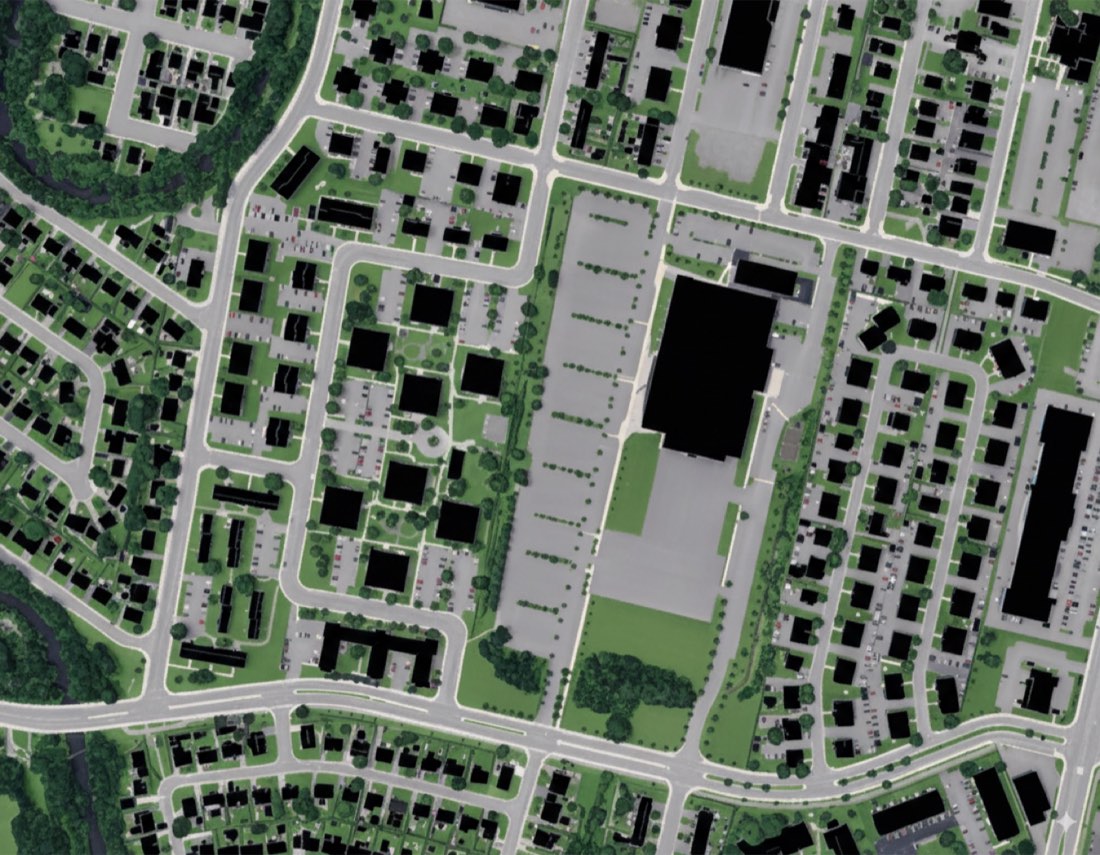
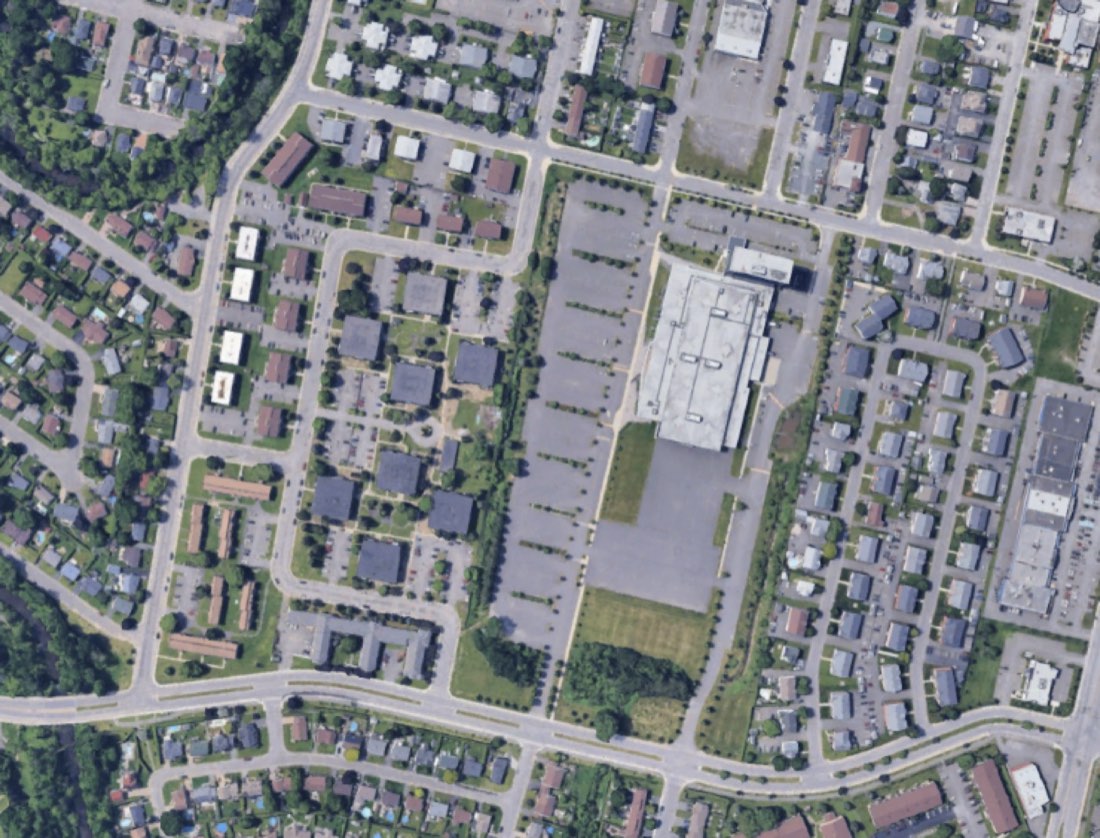
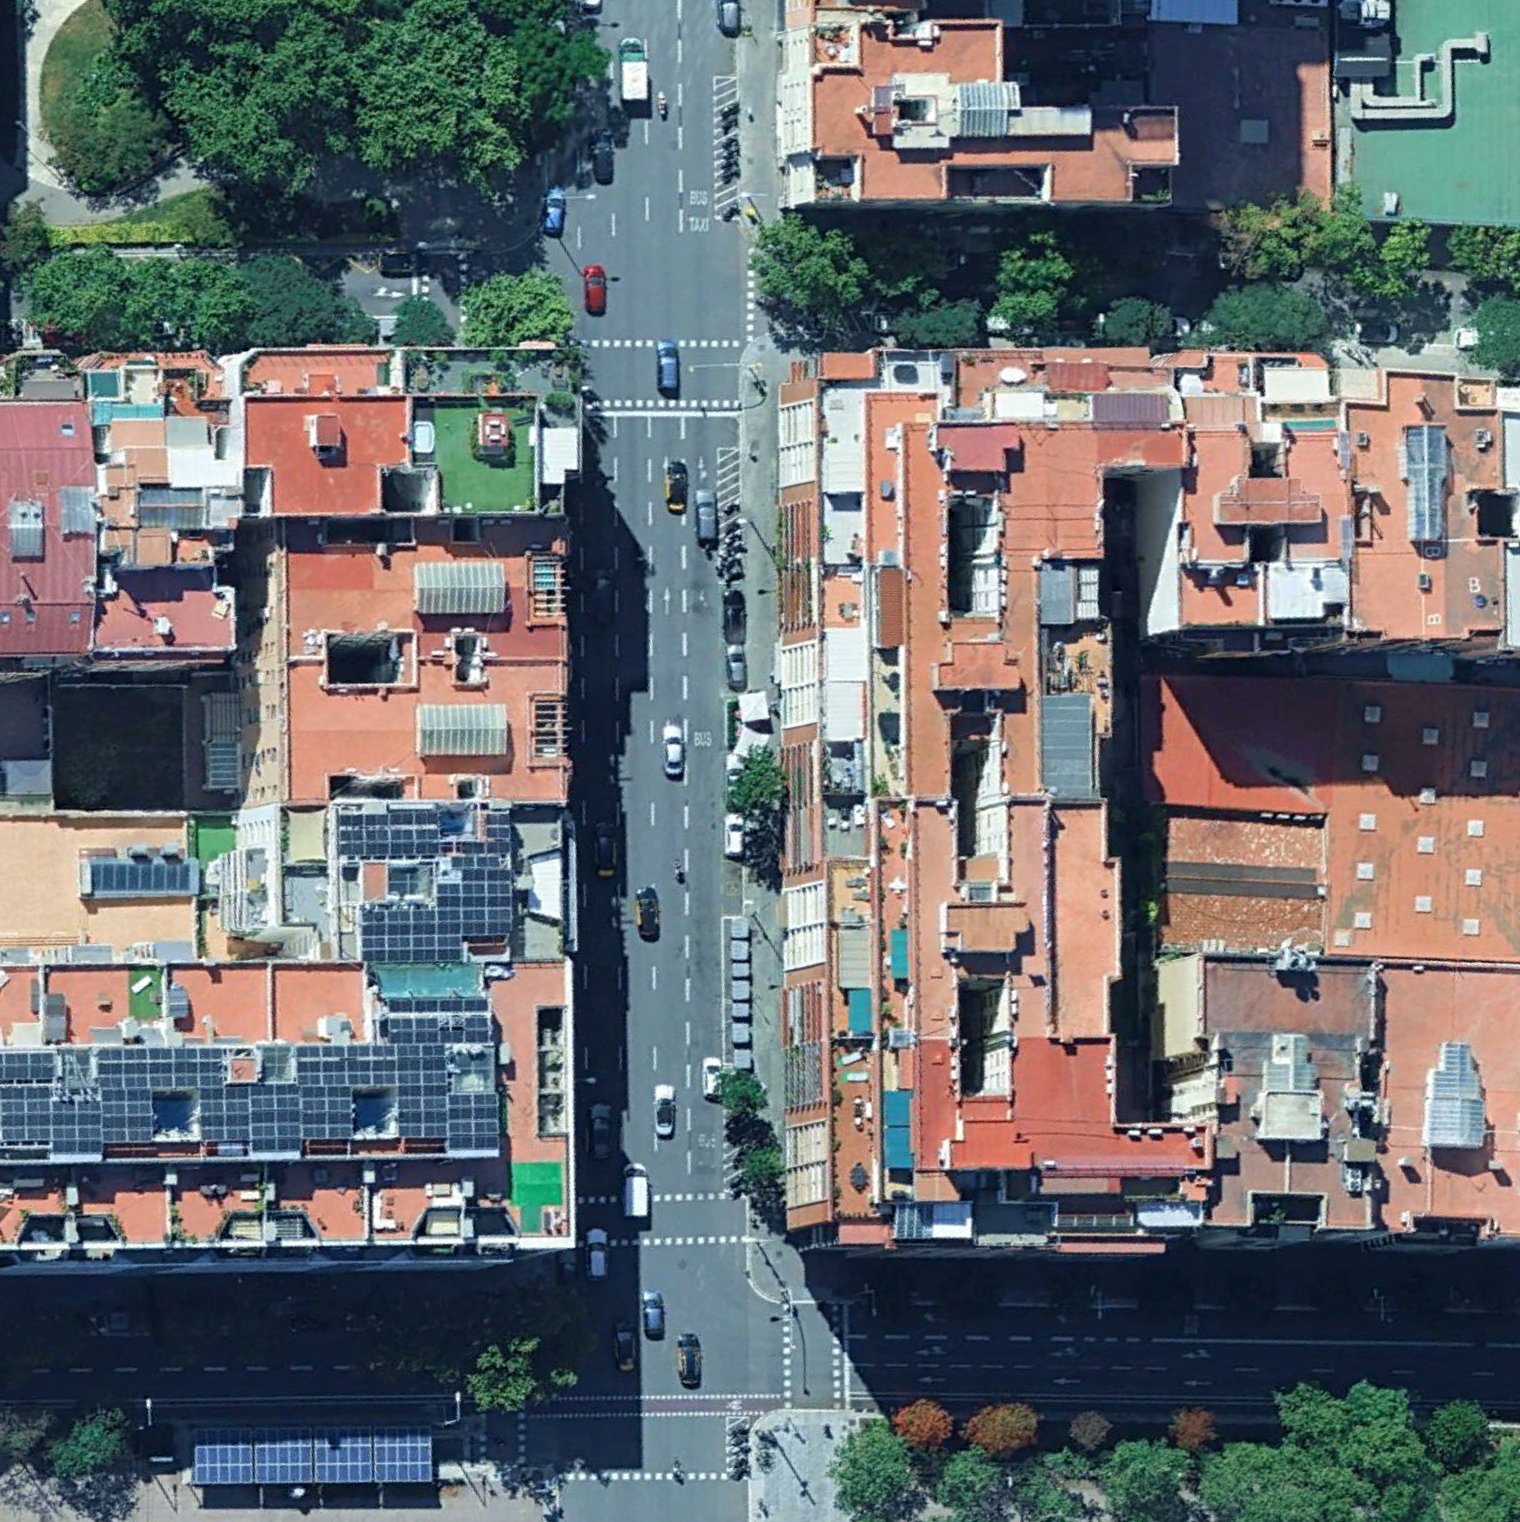
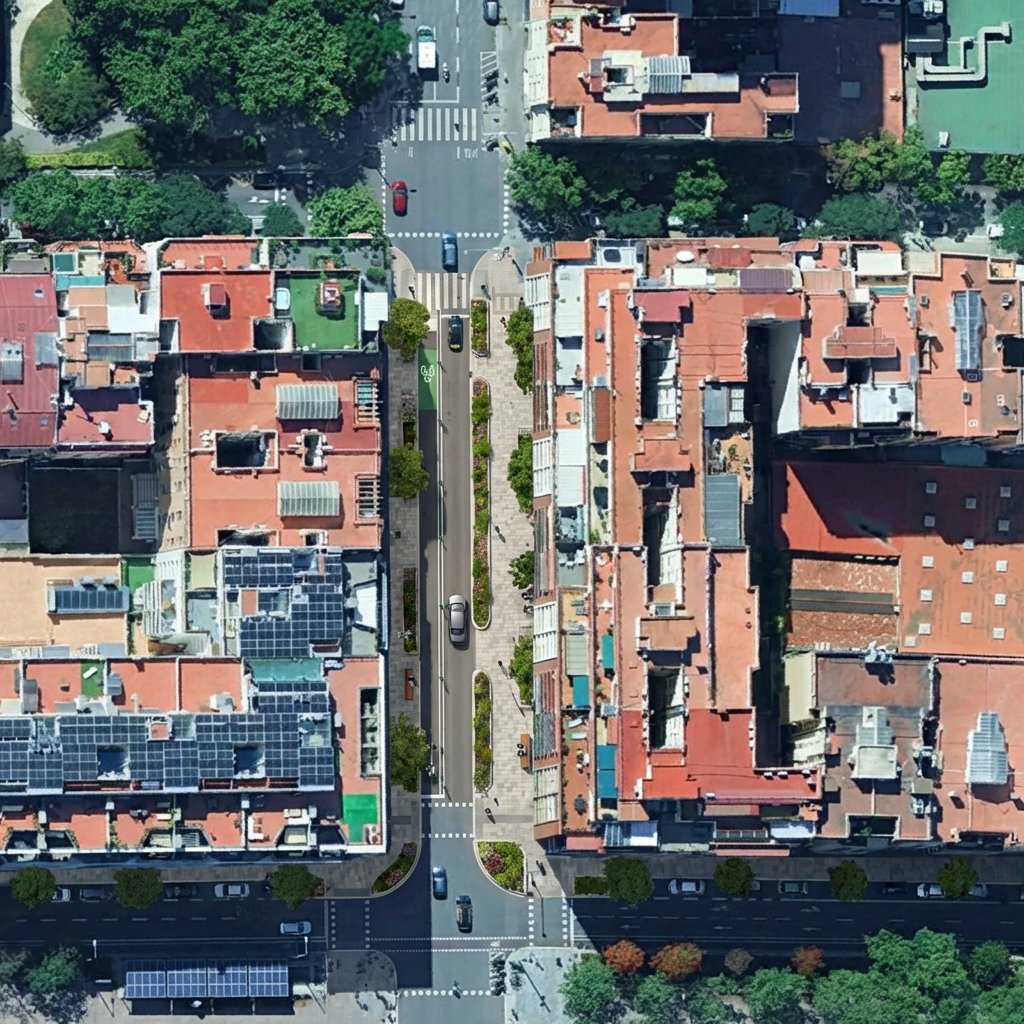
Make targeted edits instead of re-rendering: change labels, add or remove cars, bikes and people, or swap paving. Then ask for a street-level view, a bird's-eye view and a top-down view. For a masterplan, upload a Google Earth aerial image and ask the AI to apply the same streetscape improvements to it.
Step 6: animate with start and end frames
In a video model (the original tutorial uses Seedance 2.0), use two images as the start and end frame of each clip: existing street to sketch, sketch to section, section to rendering, rendering to bird's-eye, bird's-eye to masterplan. Keep the camera static for the drawing steps.
Animate the transformation from Image 1 (clean street view) to Image 2 (annotated streetscape design).The camera remains completely static.Annotations appear gradually, one by one.For each annotation:– The line extends outward smoothly, as if being drawn– The arrow pops in gently at the end– The text label fades in next to itElements appear sequentially across the scene, not all at once.The drawing motion is clean and controlled, like a hand-drawn architectural diagram overlay.No dramatic effects. Keep it minimal and precise.
Color the elements in image 1 gradually and naturally to image 2.Elements corlored sequentially across the scene, not all at once.The drawing motion is clean and controlled, like a hand-drawn architectural diagram overlay.No dramatic effects. Keep it minimal and precise.
Animate the transition from Image 1 (annotated streetscape) to Image 2 (real planted street).The camera remains completely static.White annotations gradually disappear while planting elements grow at the same time.As each annotation fades out:– Lines retract and arrows disappear– Text labels fade awayAt the same locations, real planting begins to grow:– Grass and shrubs emerge first– Then trees grow upward smoothlyThe transformation is synchronized and continuous, as if the drawn design becomes reality.Growth is natural and controlled, no sudden scaling or popping.Final frame matches Image 2 exactly.Clean architectural visualization style, no dramatic effects.
Animate a transition from a street-level human perspective to a bird’s-eye view (Image 2).The camera starts at eye level and smoothly moves forward, then gradually tilts upward and rises, transitioning into an aerial view.The motion is continuous and natural, like a drone lifting from the street into the sky.No sudden jumps, no fast movement.People walk naturally along sidewalks and across the street.Cars move forward along the road in a realistic way.As the camera rises, the full urban layout becomes visible, matching the final bird’s-eye view.Lighting remains consistent and calm.Clean architectural visualization style. No dramatic effects.
Step 7: combine the clips
Join the clips in order to tell the whole story: existing condition, design concept, final proposal and multi-view presentation.
By Zixu Qiao, LandSpace Architecture. Adapted from the original article on the LandSpace blog. Updated 2026-11-17.