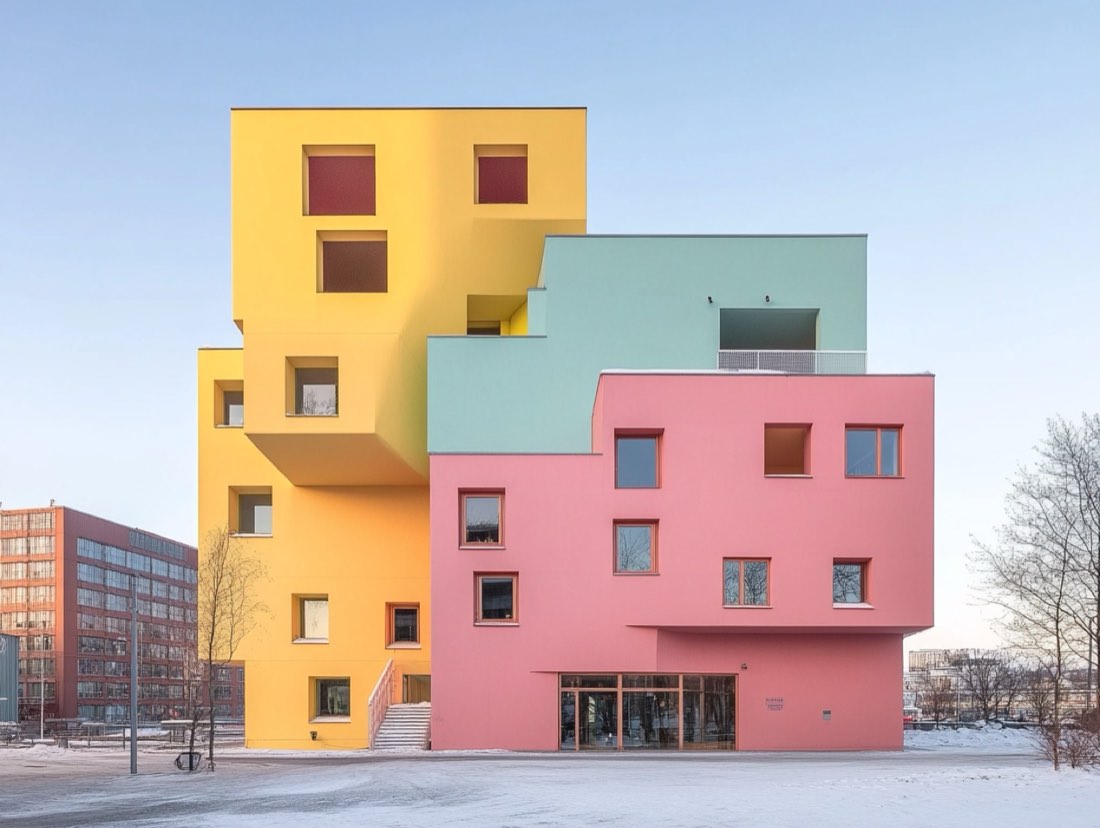
AI for Architecture
Install a Rhino MCP plugin (for example RhinoMCP from Rhino's Package Manager), start its server in Rhino with the mcpstart command, and register that server in an MCP-capable AI agent such as Codex, Claude Desktop or Cursor. The agent can then create, inspect and edit real Rhino geometry from plain-language instructions, step by step, and check each result before the next step. Setup takes about 15 minutes.
What MCP is
MCP (Model Context Protocol) is an open standard that lets AI agents use real software. Anthropic introduced it in November 2024, OpenAI adopted it in March 2025, and in December 2025 it moved to the Agentic AI Foundation under the Linux Foundation. A tool publishes one MCP server and any MCP-capable AI can use it, which is why it is often called the "USB-C for AI".
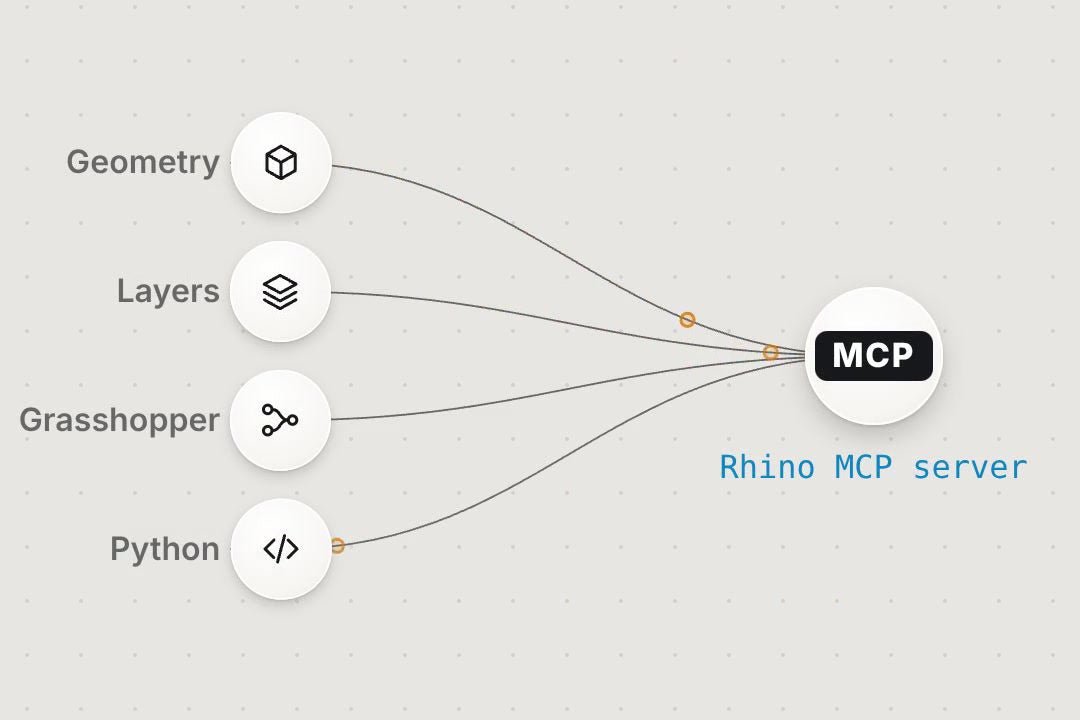
For architects, this turns an AI chat into a modelling assistant inside Rhino: instead of copying scripts from a chat, the agent runs the commands itself and sees what changed. The output is ordinary, editable Rhino geometry, not an image.
Set it up in five steps
You need Rhino 7 or newer (Rhino 8 recommended) on Windows or Mac, Python 3.10+, the uv package manager, and an MCP-capable agent: Codex (ChatGPT desktop app, Codex CLI or IDE extension), Claude Desktop or Cursor.
- In Rhino, open Tools → Package Manager, search for rhinomcp and install it.
- Type mcpstart in Rhino's command line to start the server.
- Register the server in Codex: run codex mcp add rhino -- uvx rhinomcp (this writes it to ~/.codex/config.toml). For Claude Desktop or Cursor, add the same command ("uvx", args ["rhinomcp"]) to claude_desktop_config.json or .cursor/mcp.json.
- Restart the agent and ask it to list the layers in your open Rhino file. Real layer names mean it works.
- Test with something small: "Create a 10 × 10 × 3 m box on a new layer called Test".
If the agent says it has no Rhino tools, restart the agent. If it sees the tools but calls fail, run mcpstart again and keep Rhino open. Connect only one AI client at a time.
Case study: one prompt, a whole house
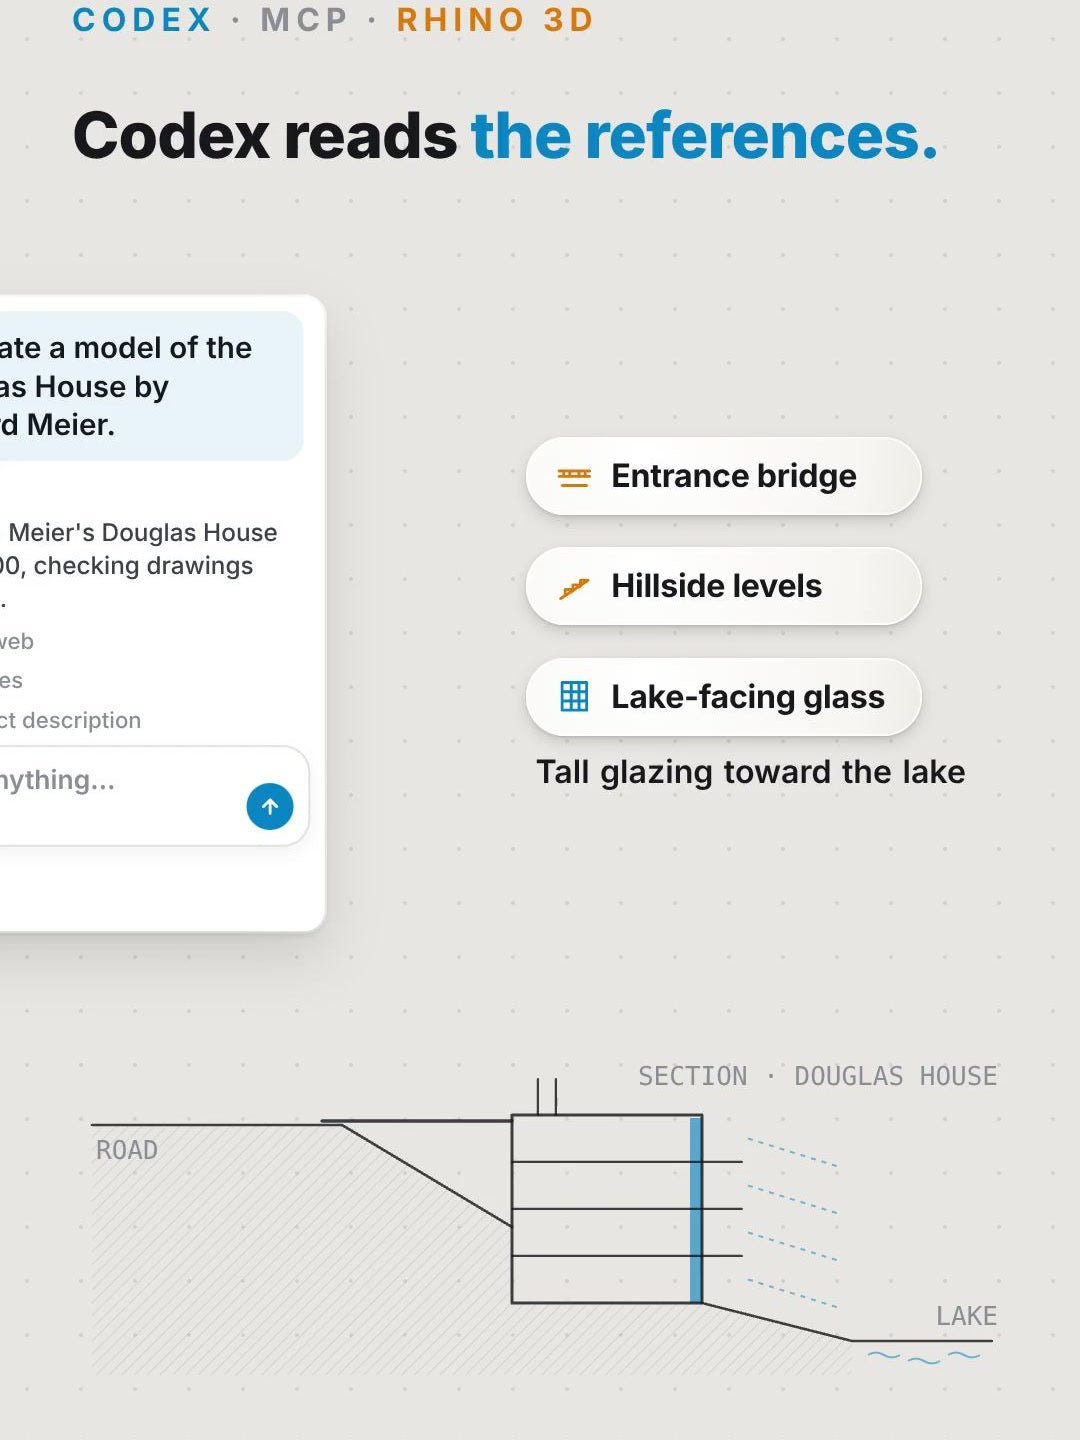
In the original tutorial, Codex was asked to model Richard Meier's Douglas House at about LOD 200. It first researched photos and drawings and listed the key features (entrance bridge at roof level, floors stepping down the slope, full-height glazing to the lake), stated its assumptions, then built terrain, floor plates, balconies, glazing and stairs live in Rhino.
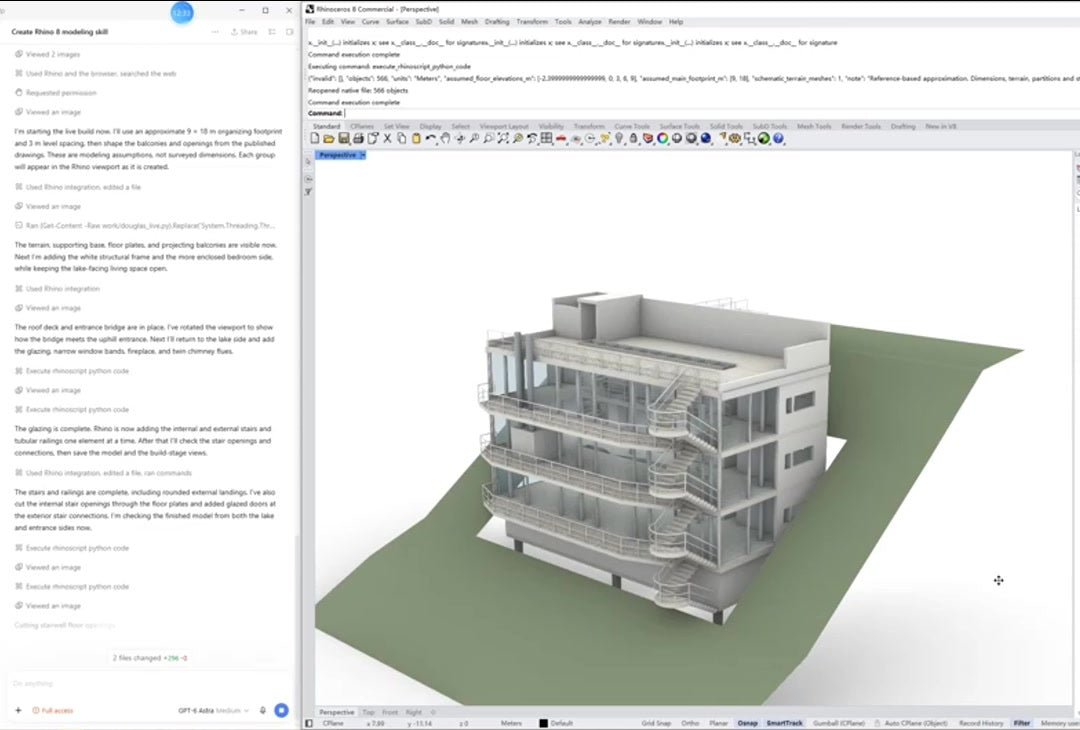
In Rhino, create a replica of [building] by [architect] at approximately LOD 200. Search for drawings and photos first and list the key features before modelling. Put each element type on its own layer (terrain, slabs, walls, glazing, stairs). Build in real time and tell me what you create at each step.
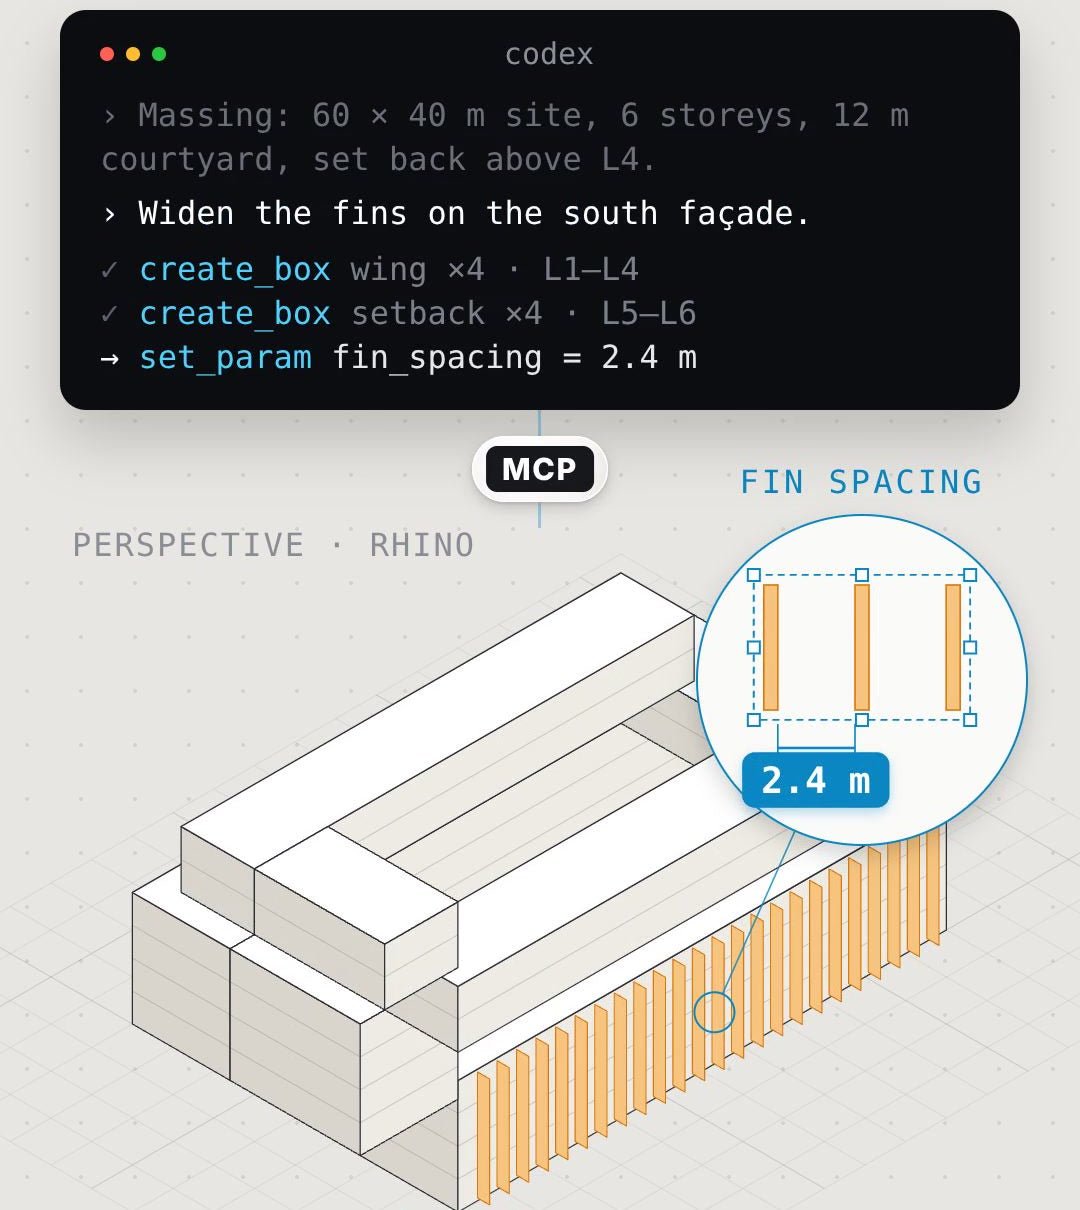
Create a massing model for a 60 x 40 m site: 6 storeys at 3.5 m, a 12 m central courtyard, and a 3 m setback above level 4. Use metres, put each level on its own layer, and report the gross floor area.
Add vertical fins to the south facade at 1.2 m spacing, 1.5 m deep. Then try 0.6 m and 2.4 m spacing on copies so I can compare.
Beyond text: images, skills and Grasshopper
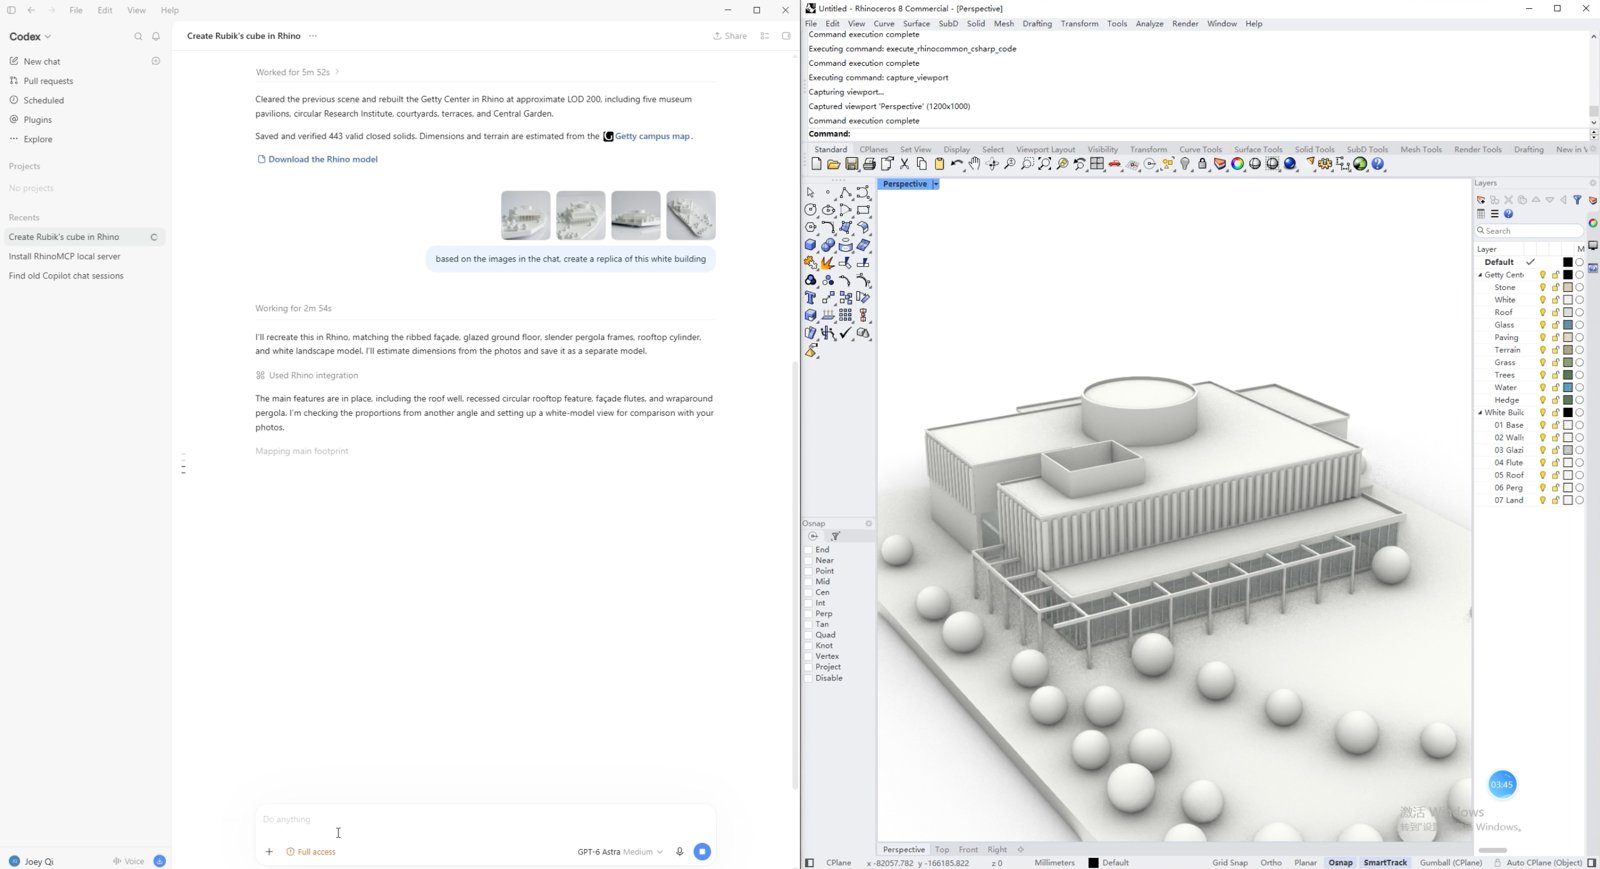
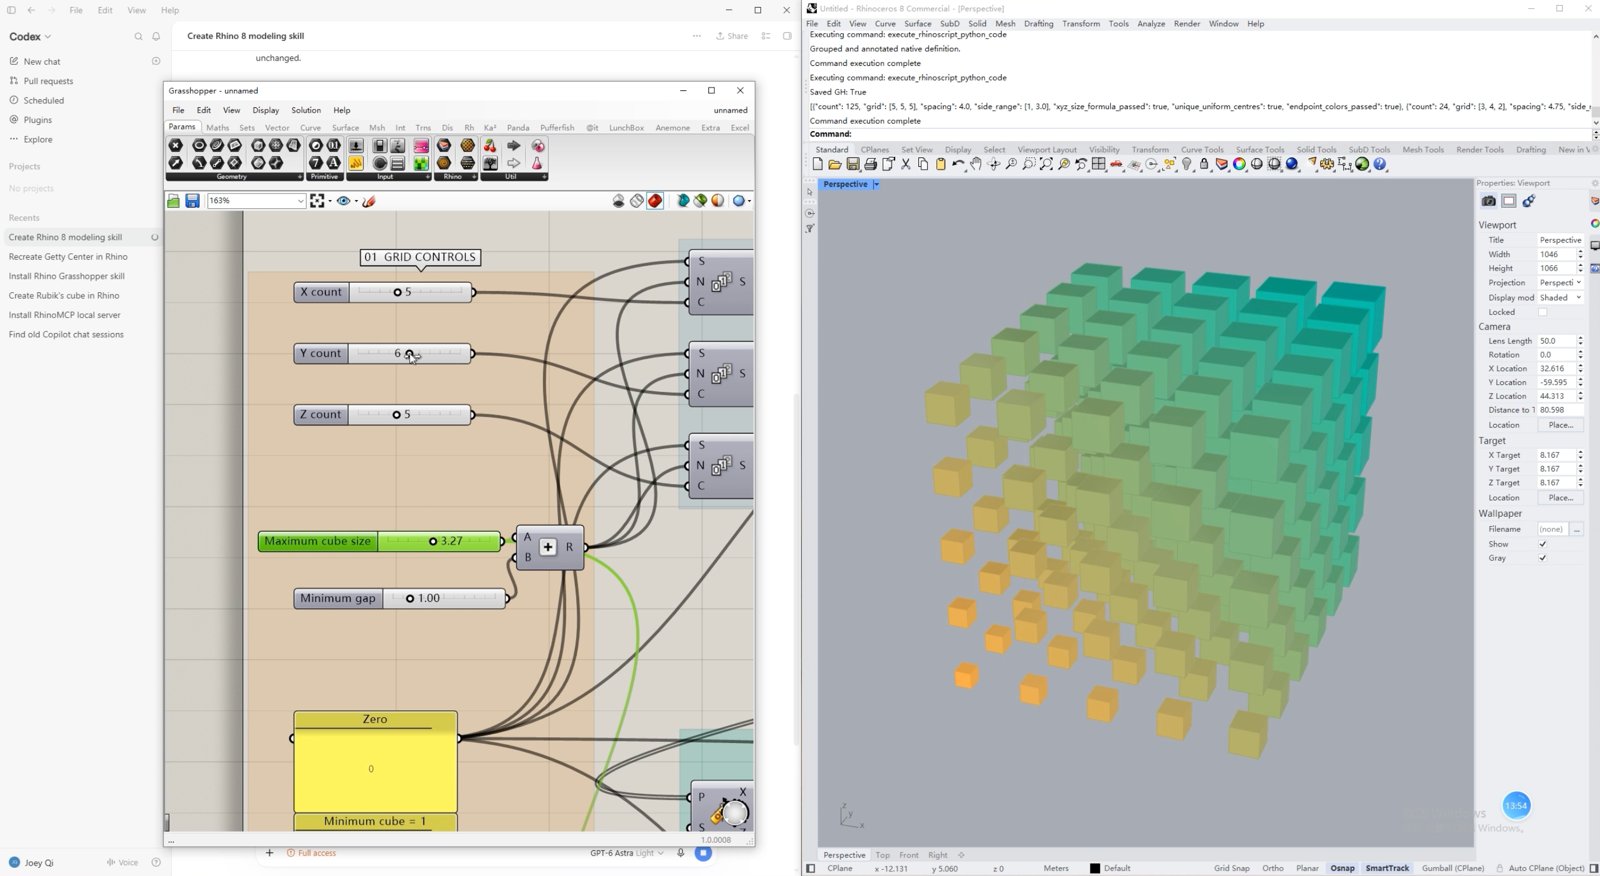
Photos of a handmade model can be given to the agent as references for a first editable model. Specialised skills (packaged instructions for a Rhino or Grasshopper task) make the agent more reliable on a specific job, and you can write your own around your office's standards. In Grasshopper, the agent can wire built-in components or write Python inside a GhPython component.
Limits and good practice
- A replica from online photos is an interpretation, not a survey. Check key dimensions.
- Always give units and dimensions; otherwise the AI guesses.
- Ask for layers by element type so the model stays editable.
- Save a copy before large changes; the agent edits your open file.
- Install MCP plugins only from sources you trust, and read scripts before approving them.
By Zixu Qiao, LandSpace Architecture. Adapted from the original article and the original article on the LandSpace blog. Updated 2026-11-17.